Blog

The Ultimate Guide to Window Painting: What Paints to Use & How to Remove Them
Want to paint your classroom or home windows for the holidays but not sure which paint to use? This complete guide breaks down the best paints for window art—including tempera, acrylic, latex, chalk markers, and Posca pens, and explains exactly how to remove each one from glass. Whether you’re creating classroom window murals, holiday displays, or seasonal business art, you'll find expert tips on choosing the right paint, making your designs look vibrant, and cleaning it all off with ease. Perfect for teachers, parents, and artists looking for easy window painting ideas and simple cleanup methods.
Learn more
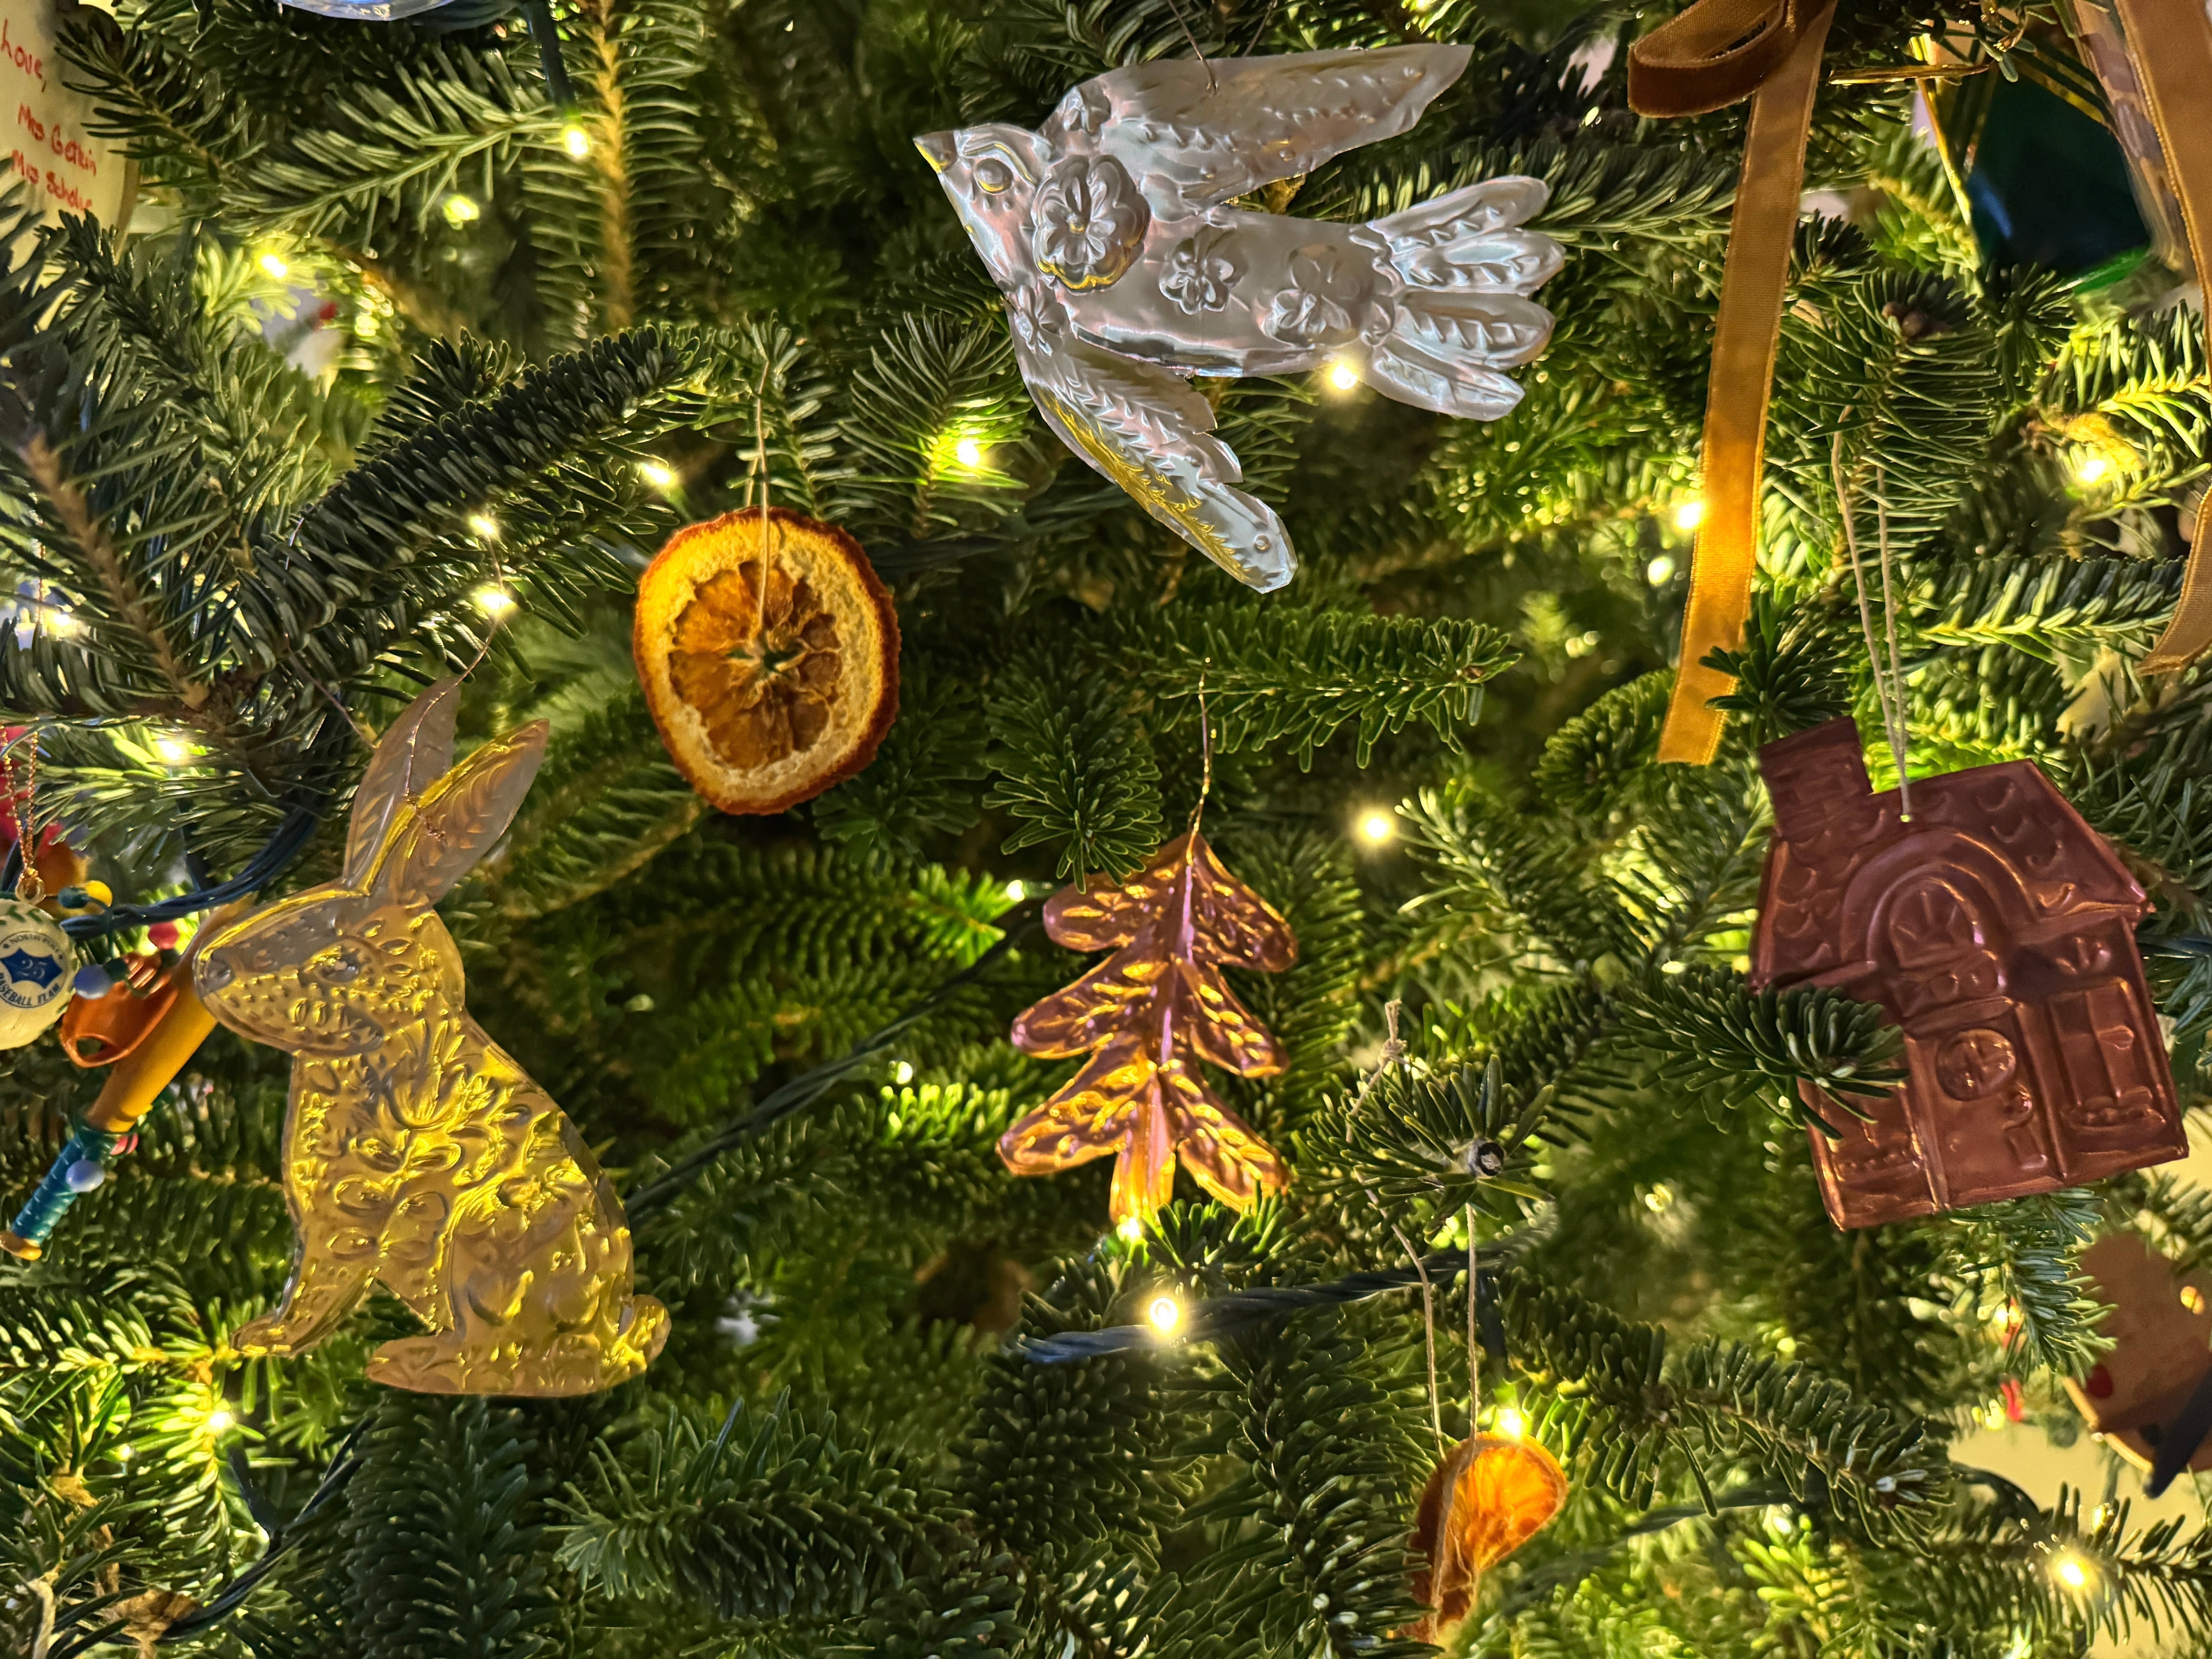
Embossed Foil Fall Decorations: The Perfect Craft for a Gathering
Learn how to make beautiful embossed foil fall decorations with just a few simple supplies! This easy DIY craft is perfect for autumn get-togethers, book clubs, or family nights, and creates shimmering leaves, acorns, and mushrooms to brighten your seasonal décor.
Learn more
Easy Coffee Filter Flowers Craft for All Ages! 🌸
Looking for an easy and engaging spring art project for kids? These colorful coffee filter flowers are perfect for art teachers and parents alike! With simple supplies and a big visual payoff, this process-based craft explores color mixing, creativity, and sensory play—making it an ideal addition to your spring arts and crafts lineup.
Learn more
Winter Themed Sensory & STEAM Art Projects for Kids
(click the video above for the full tutorial of how to make a snow storm in a jar) Winter is the perfect season for cozy, creative fun that also teaches valuable concepts. These sensory and STEAM-inspired art projects are engaging for kids of all ages and provide hands-on learning opportunities. Perfect for a classroom activity or family bonding time, these projects are simple to set up and endlessly customizable. Let’s dive in! 1. Snowstorm in a Jar Bring the magic of a swirling snowstorm indoors with this mesmerizing project. Using common household items, you can create a mini snowstorm that’s as fun to watch as it is to make. Materials: Clear jar or glass Baby oil White paint (tempera or acrylic) Water Glitter (optional for sparkle) Alka-Seltzer tablets (optional) mini plastic animals or trees Instructions: 1. Fill the jar about three-quarters full with baby oil. 2. In a separate cup, mix a few tablespoons of white paint with about a 1/4 cup of water until it’s liquid but opaque. 3. Pour the paint mixture into the jar with the oil. Watch as the two layers separate due to their different densities. 4. Sprinkle in glitter for extra shimmer. 5. Break an Alka-Seltzer tablet into small pieces and drop one in. Watch the snowstorm come to life as bubbles rise and carry the paint through the oil. For added fun, you can hot glue mini plastic animals or trees into the bottom of the jar before starting so that your snow storm resembles a snow globe! I found these woodland animals and trees at Michaels, or you can check out these woodland animals, or check out this set of mini polar animals here. All I did was use a pair of long craft tweezers and a dot of hot glue to stick them to the bottom. STEAM Learning: This activity demonstrates density (oil and water don’t mix) and chemical reactions (Alka-Seltzer produces carbon dioxide gas that moves the paint). It’s a great way to connect art with science! 2. Snow Dough This moldable, fluffy sensory material mimics real snow and offers endless opportunities for creative play. Kids can shape it into snowballs, snowmen, or even sculpted art pieces. Materials: 2 cups of corn starch ½ cup of hair conditioner (white and unscented is best) Glitter (optional) Essential oils (optional for scent) Instructions: In a large bowl, mix corn starch and conditioner until it forms a soft, crumbly dough. Adjust the ratio if needed for your desired texture. Add glitter for sparkle or a few drops of essential oil for a calming aroma. Let kids use their hands to mold and shape the dough into wintery creations like snowmen or cookie cutters for winter themed shapes. You can also make enough to be the snow in a winter themed sensory bin and add cute little trees, glass vase beads and winter themed animals. STEAM Learning: This project introduces states of matter, showing how a solid (baking soda) and liquid (conditioner) combine to form a new texture. Why These Projects Are Great for Kids These winter-themed activities are not just fun and creative—they’re also excellent opportunities for hands-on learning. Through sensory play and STEAM concepts, kids can: Understand scientific principles like density, states of matter, and chemical reactions. Develop fine motor skills through squeezing, shaping, building, crafting and open ended play Build their creativity by personalizing each project. Whether you’re looking for a snowy day activity or an engaging classroom lesson with lots of sensory and science fun, these projects are sure to bring smiles and spark curiosity. Gather your supplies and let the winter creativity begin!
Learn more
DIY Eco-Friendly Holiday Décor: Cardboard Winter Villages and Giant Paper Bag Snowflakes
Looking for festive, budget-friendly holiday décor ideas? This season, skip the store-bought decorations and try making your own with materials you likely already have at home. These eco-friendly crafts are not only beautiful but also fun for the entire family to create together! In this blog, I’ll show you how to turn cardboard and brown paper bags into adorable winter villages and stunning giant snowflakes. Back story: Picture this, it's the year of 2020 and you are an art teacher attempting to teach art during a global pandemic to kids who are either: a. quarantined at home while the rest of their classmates are in school, or b. an entire class of children who are remote learning from home and having to use only supplies that are accessible to them at their house. Sounds kind of like a nightmare huh? Nope! Just another day as a teacher during the Covid 19 Pandemic. *shutters at the memories* All jokes aside, even though teaching through the pandemic was one of the most difficult times I've experienced throughout my career, it also was filled with many silver linings. One of them was forcing myself to think creatively about how I could still provide quality instruction to my students despite the circumstances. One of the fun routes I decided to go was to have a focus on using eco friendly materials and upcycling everyday materials to create art with. One of the supplies we used most often was cardboard! So around the holidays I decided to have my students create gingerbread homes out of cardboard and white paint or paint pens, and it was so much fun! I also forced myself to start making Youtube videos that my students could access at their leisure when making these projects from home. Anyways, it was a wild time but I came out of it with lots of fun lessons and ideas to continue to share! So let's get into them, shall we? 1. Cardboard Winter Village Transform everyday cardboard into a cozy holiday display with this upcycled winter village project. Whether you’re making a quaint snowy town or whimsical gingerbread houses, this craft is a perfect family activity. Materials Needed Cardboard (think cereal boxes, shipping boxes, or leftover packaging) Scissors Glue Markers or paint Optional embellishments: buttons, fabric scraps, cotton balls, glitter Step-by-Step Instructions Cut House Shapes: Use scissors to cut out house shapes from the cardboard. Vary the sizes for a charming village vibe—tall houses, cottages, or even a shop or church! Decorate: Let your creativity shine! Draw or paint doors, windows, and roof tiles. Add festive touches like wreaths or string lights using your markers or paints. You can use my Winter Village Drawing Guide for inspo! Embellish: For an extra cozy feel, glue on buttons for doorknobs, fabric scraps for curtains, and cotton balls for snow. Display: Arrange your village on a mantle, windowsill, or as a centerpiece for your holiday table. Tip: Encourage each family member to decorate their own house, adding their unique style to the village. Additionally, you can make these winter homes in all sizes! I loved making a giant house with my adapted art class, made from my paper storage cardboard! You can learn more about that full project on my blog 5 Amazing Winter Art Projects for Adapted Art. 2. Giant Paper Bag Snowflakes If you’re looking for a show-stopping decoration, giant paper bag snowflakes are the way to go. These are easy to make, eco-friendly, and bring a magical touch to any room. Materials Needed 7 paper lunch bags (brown or white) Glue bottle or hot glue (preferred) Scissors Ribbon/ String for hanging Step-by-Step Instructions Glue the Bags: Apply glue in an inverted “T” shape (across the bottom edge and up the middle) and stack the bags together. Repeat until all bags are glued. Cut Designs: Once the glue dries, cut patterns along the edges of the stack—triangles, semicircles, or zigzags work great. Fan the Stack: Carefully fan the stack open and glue the two ends together to form a snowflake shape. Hang and Display: Attach a string to your snowflake and hang it in a window, from the ceiling, or as part of a photo backdrop. These snowflakes look stunning in clusters of different sizes or colors and you can even paint them after the holiday season and turn them into flowers! You can find a video tutorial from me here! DIY Gingerbread House Gift Bags Turn ordinary brown paper bags into charming gingerbread house-themed gift bags. These personalized bags are perfect for wrapping small presents or treats and add a whimsical holiday touch to your gift-giving. Materials Needed Brown paper lunch bags White paint pen or white acrylic paint with a small brush Ribbon or twine Small gift tags (optional: cut from colorful cardstock) Scissors (optional for trimming) Treats, gifts, or holiday goodies to fill the bag Step-by-Step Instructions Prepare the Bag: Start with a flat brown paper bag. Fold down the top edge if you want a shorter bag. Draw the House Details: Use a white paint pen or white tempera paint and a thin paint brush to draw details like windows, doors, rooflines, and holiday elements (e.g., wreaths, snowflakes, or swirls). Get creative! Each bag can have its own design, from modern houses to cozy cottages. Add Embellishments (Optional): Punch a hole at the top of the bag and thread ribbon or twine through to secure it once the gift is inside. Attach a gift tag for a personalized touch, adding the recipient's name. Fill and Finish Add gifts into bag with small amount of paper filler, Fold in the sides, thread your yarn or ribbon through holes, and tie in the front.
Learn more
8 Engaging Halloween and Fall Art Projects for Children
Looking for fun and engaging fall art projects? Check out these 8 creative ideas perfect for both art teachers and parents! From interactive haunted houses to cozy autumn drawings, these projects will inspire kids to embrace the fall and Halloween spirit while learning new art techniques
Learn more
Interactive Ghost Painting Art Lesson for the Classroom
Discover a fun and sustainable Halloween art project perfect for classrooms and homes! Inspired by Oliver Jeffers’ book “There’s a Ghost in This House” and the viral “Thrifted Ghost Paintings” trend, this easy DIY lesson teaches students how to upcycle old book pages and frames into spooky, creative art. Perfect for art teachers and seasonal arts and crafts activities, this project brings imagination and sustainability together for a festive classroom experience.
Learn more
Pop Art Apples: A Warhol-Inspired Printmaking Project 🍎
Bring the vibrant world of pop art into your home or classroom with a fun and easy art project that celebrates fall, creativity, and a local Pittsburgh legend—Andy Warhol!
Learn more
5 Exciting Fireworks Art Projects for Kids: Fun and Easy Techniques
Discover five creative ways to make fireworks art with your students! This blog covers wax resist, DIY scratchboard, fluorescent paint on black paper, foil marker print, and raised salt painting techniques. Perfect for art educators looking to inspire creativity in the classroom.
Learn more
Fireworks Salt Painting for the 4th of July
Learn how to create a raised salt fireworks painting in this fun and educational art project perfect for all ages. This step-by-step guide covers materials, instructions, and tips to help you create a dazzling fireworks display using simple art supplies. Enhance your classroom art activities with this engaging and creative project.
Learn more
Foil Marker Printing Rainbow Art Project Perfect for St. Patrick's Day
Are you ready to create a fun, easy and gorgeous art project for St. Patrick's Day? Well then look no further than foil marker printing! In this blog you will learn how to do this project with step by step photos and even a free St. Patrick's Day Drawing guide! The best part about this project? Most of the supplies you already have at home!
Learn more
How to Make Shaving Cream Marbled Paper Valentines
Let's make a fun and easy marbled paper valentine! Perfect for artists of all ages using only shaving cream and liquid watercolor- anyone can do it!
Learn more


