Blog
The Ultimate Guide to Window Painting: What Paints to Use & How to Remove Them
Want to paint your classroom or home windows for the holidays but not sure which paint to use? This complete guide breaks down the best paints for window art—including tempera, acrylic, latex, chalk markers, and Posca pens, and explains exactly how to remove each one from glass. Whether you’re creating classroom window murals, holiday displays, or seasonal business art, you'll find expert tips on choosing the right paint, making your designs look vibrant, and cleaning it all off with ease. Perfect for teachers, parents, and artists looking for easy window painting ideas and simple cleanup methods.
Learn moreMouse Paint: The Perfect Color Mixing Art Project for Lower Elementary Students
Introduce your students to color mixing and art making with the classic story, Mouse Paint This elementary art lesson is perfect for K–2, this project combines storytelling, playful discovery, and hands-on artmaking to teach primary and secondary colors in a fun and engaging way. The perfect kindergarten color mixing project!
Learn moreEmbossed Foil Fall Decorations: The Perfect Craft for a Gathering
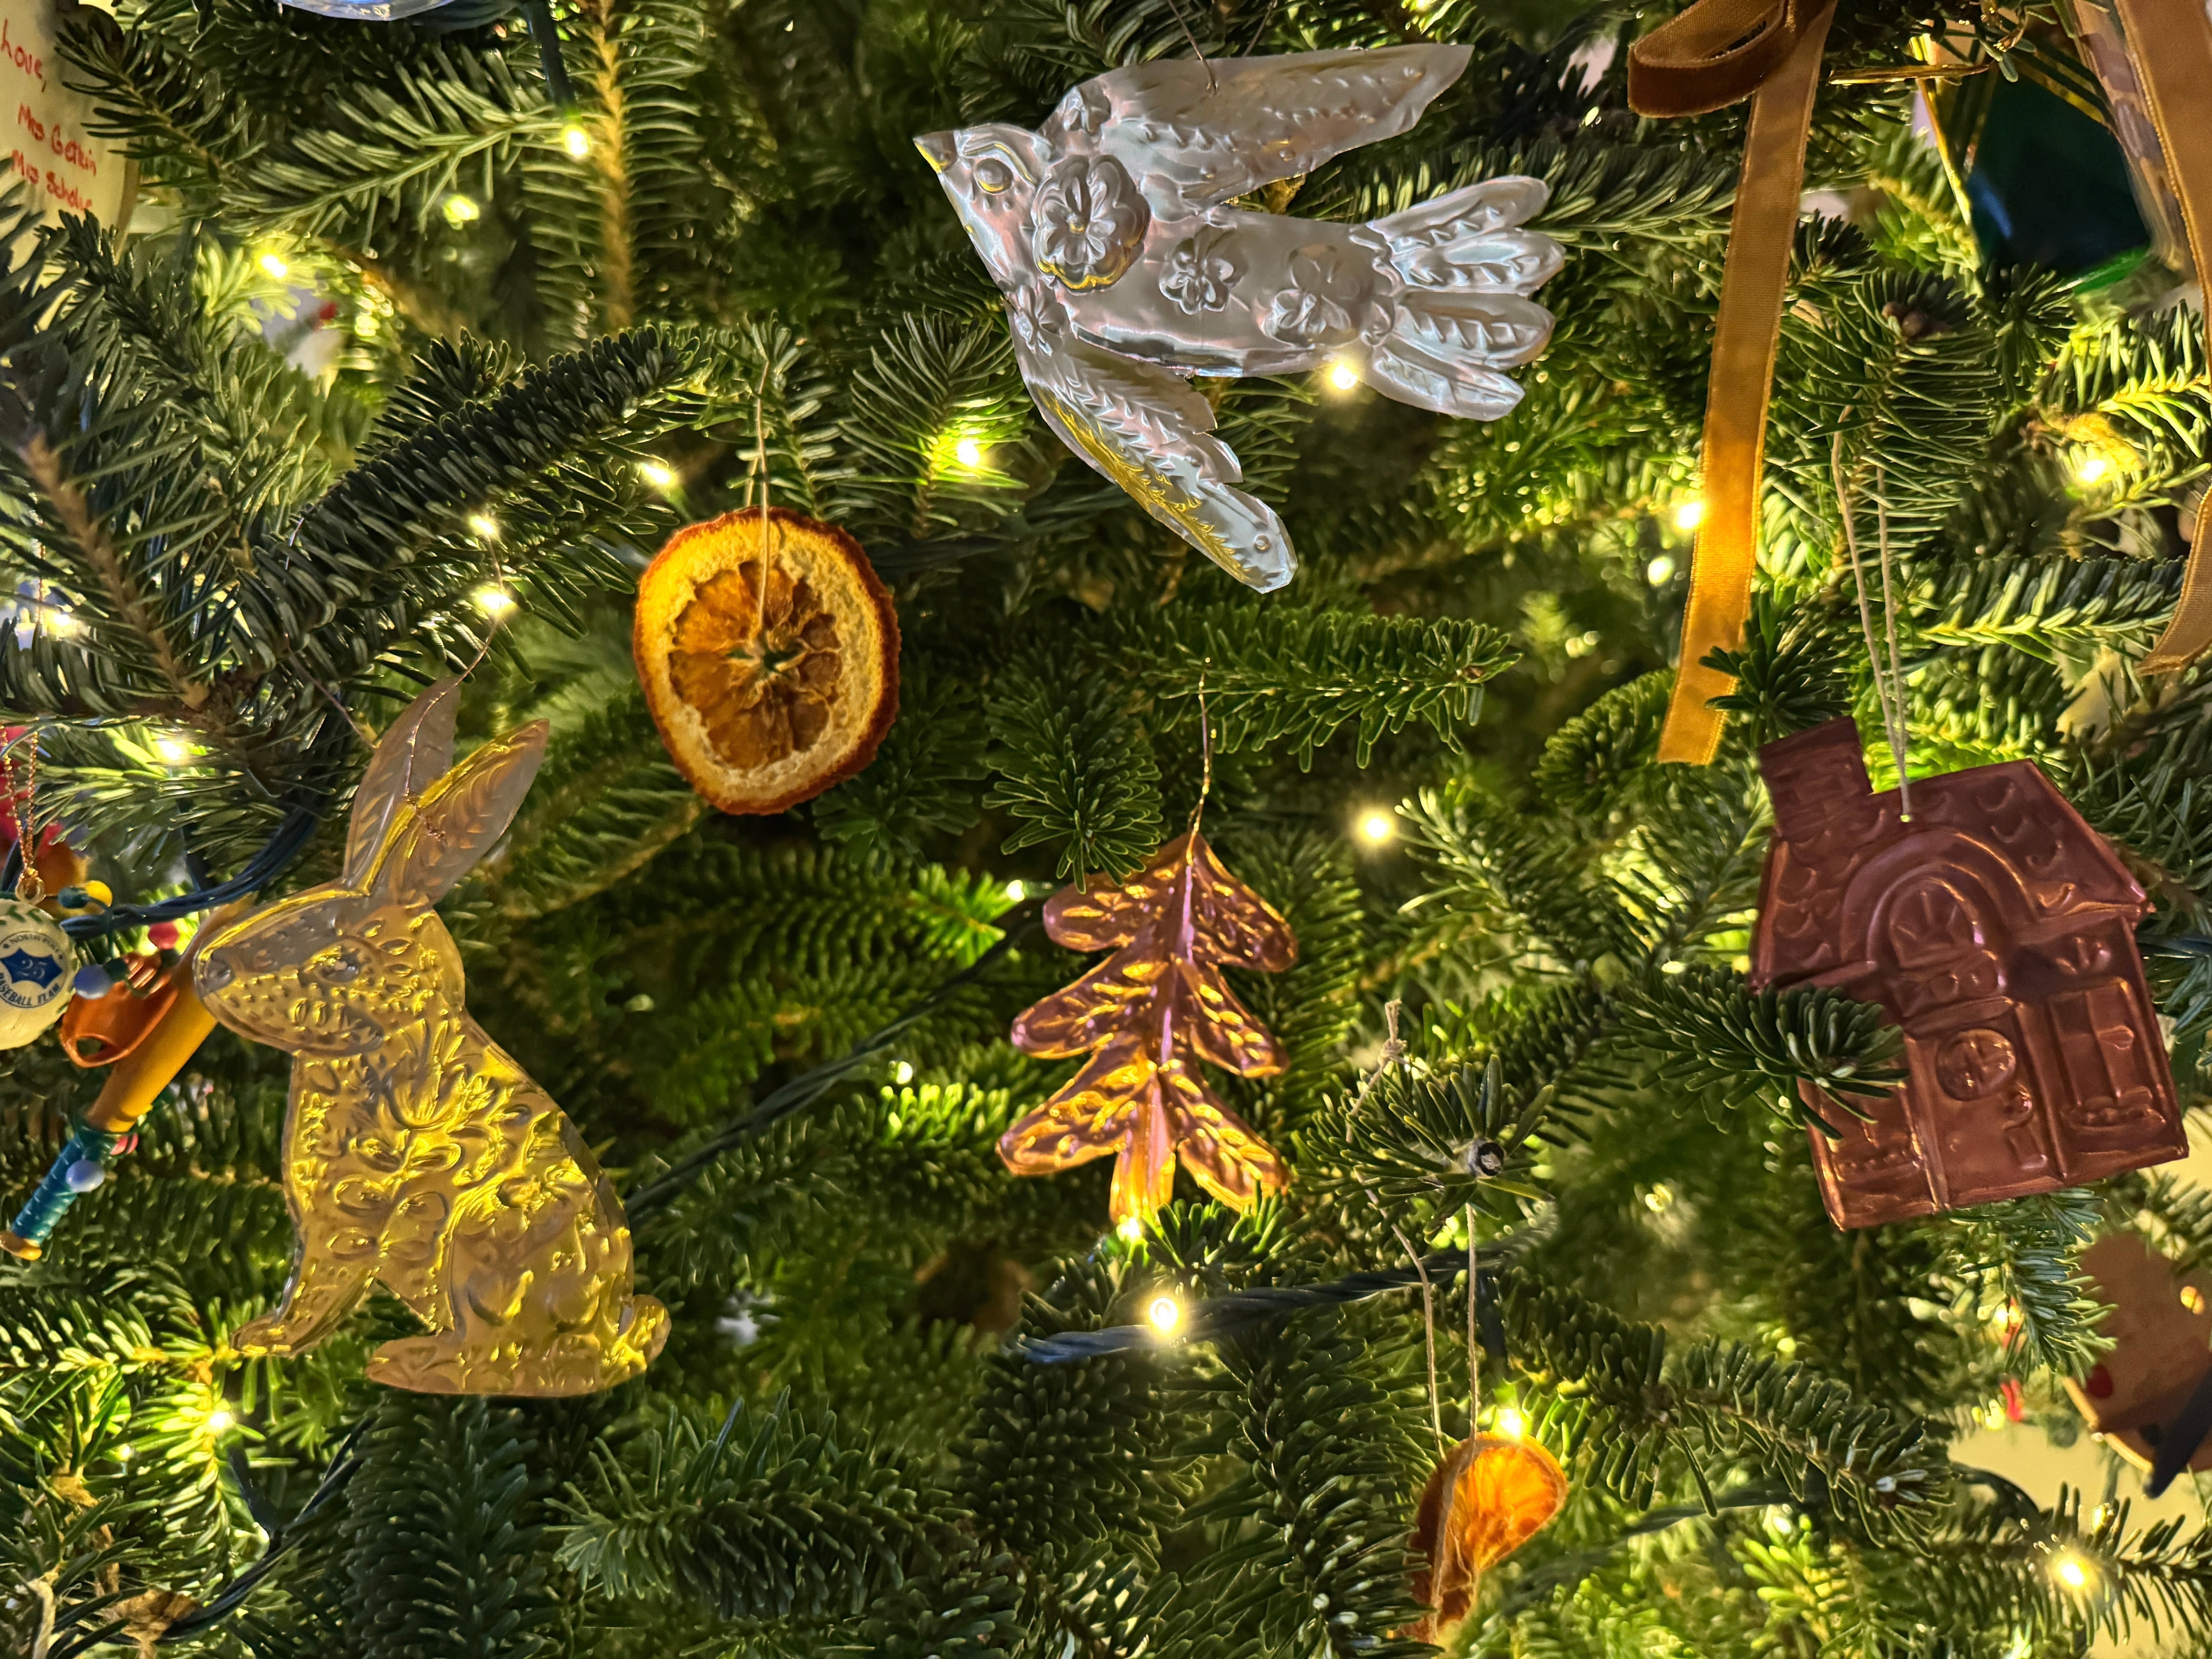
Learn how to make beautiful embossed foil fall decorations with just a few simple supplies! This easy DIY craft is perfect for autumn get-togethers, book clubs, or family nights, and creates shimmering leaves, acorns, and mushrooms to brighten your seasonal décor.
Learn more10 Exciting Art Lessons to Try for Dot Day!
Looking for creative ideas to celebrate International Dot Day in your art room or classroom? This post is packed with Dot Day art lessons for elementary students that are easy to prep, engaging, and full of color. From collaborative school-wide displays and concentric circle paintings to pointillism inspired by Georges Seurat, these projects help students explore color theory, creativity, and community-building. Perfect for art teachers, classroom teachers, and teaching artists, these Dot Day activities connect seamlessly to The Dot by Peter H. Reynolds and give kids the chance to “make their mark” in meaningful ways. Whether you need quick, mess-free projects or larger collaborative murals, these Dot Day lesson plans will inspire your students and brighten your school!
Learn more5 Things I WIsh I Knew My First Year Teaching Art
Starting your first year teaching art can feel exciting, overwhelming, and a little intimidating. In this blog, I share 6 lessons I wish I knew back in 2008—from building relationships before diving into content, to mastering classroom management, using positive reinforcement, and meeting students where they are. You’ll also learn why it’s okay to take things slow, start simple with supplies, and stop comparing your classroom to Pinterest-perfect setups. Whether you’re a brand new art teacher or just looking for a reset, these tips will help you create a warm, supportive art room where students feel valued and inspired. Keywords: first year art teacher tips, art classroom management, positive reinforcement in the art room, new art teacher advice, elementary art teaching strategies
Learn moreThe Absolute PERFECT Must-Have Apron for Art Teachers + Artists
Let’s be real—teaching art is messy. Between clay days, paint spills, and everything in between, we art teachers need gear that works as hard as we do. That’s exactly why we created the Quell Artist Apron—a durable, thoughtfully-designed apron made by an art teacher, for art teachers. This isn’t your average apron. It’s the one I wish I had during my first 10+ years in the classroom. After constantly getting paint on my clothes, misplacing my phone, or stuffing my pockets (and hair) full of pencils, and don't even get me started on the sensory issues I suffered when teaching clay. I knew there had to be a better way... So- my husband and I made one. 😱😱😱😱😱 ✨ Designed with Purpose, Built to Last Every feature of the Quell Artist Apron was designed with function, comfort, and daily classroom life in mind: Durable, High-Quality Fabric This apron is built to withstand the chaos of the art room. Made from thick, high-quality canvas, it holds up to everything from clay dust to watercolor splashes. It’s easy to wipe clean, and it’s soft enough to move with you—not against you. So whether your frantically prepping paint before your next class, or working on your next mural, this apron has got you covered (literally!) Adjustable Neck Strap Say goodbye to neck strain. Our adjustable neck strap ensures a perfect, comfortable fit—no matter your height or frame. Teaching all day? This apron has your back (literally). Extra-Long Waist Ties Whether you prefer to tie in the front or the back, we’ve got you covered. Our extra-long ties make it easy to adjust for the fit and style you like best. One size fits most—with comfort and flexibility to spare. (Hillary Green and Keisha Casiano rocking their aprons two different ways!) Three Large Front Pockets Need a place for scissors, sharpies, or sticky notes? We’ve got three roomy pockets up front, perfect for carrying all the essentials you reach for throughout the day. Secret Phone Pocket YES, there’s a hidden phone pocket. This pocket is placed up high to keep your phone protected and accessible when you need it. Pencil Holders No more digging through bins for your favorite pencil. The Quell Apron has designated pencil slots built right in so you can grab and go with ease. 💍 The Feature That Started It All: The Jewelry Pocket This is my favorite part—and the reason this apron exists. Showing this ladies of Talk Pittsburgh the secret jewelry pocket- they had the best reaction! For years, every time I taught clay, I had to take off my wedding band. I didn’t want it to get ruined, and clay under your rings? The worst. But every time I tucked it in my desk drawer or a random cubby, I had that sinking feeling: What if I lose it? What if I forget it? That’s why the Quell Apron includes a zippered jewelry pocket right near your chest—small, safe, secure, and always within reach. Now, I slip off my ring, zip it into the pocket, and get back to teaching without a second thought. It’s a simple addition—but one that felt, dare I say, life changing?! Thanks Nylah for sharing your Quell Apron with us! 🖌️ Built for the Realities of the Art Room The Quell Artist Apron is more than just stylish and functional—it’s a classroom companion that makes your day easier. Whether you’re on your feet for hours, prepping paint, loading the kiln, or leading a messy masterpiece, this apron has space for everything you need—and keeps you comfortable while doing it. It’s the apron I wish someone had handed me my first year teaching—and now, it’s one I can’t teach without. BUT... It's Not Just for Art Teachers… While the Quell Apron was designed with art educators in mind, it’s become a favorite for creators of all kinds. Whether you’re a hair stylist, chef, potter, florist, or just diving into the delicious world of sourdough baking, this apron has you covered—literally. The durable fabric, thoughtful pocket layout, and adjustable fit make it perfect for anyone who wants to create without the mess (and look good doing it). It’s the apron I wish someone had handed me my first year teaching—and now, it’s one I can’t work without. 🎁 Bonus: It Also Makes the Perfect Gift Know an art teacher who deserves a little extra love (maybe it's you!)? The Quell Artist Apron makes a thoughtful, practical gift for: New art teachers Teacher appreciation week Holiday gifts Or... just because 🎨💛 Ready to upgrade your apron game for the school year? Click here to shop the Quell Artist Apron Because you deserve an apron that works as hard as you do. hugs, Kaitlyn
Learn moreMy New Favorite Paint Pens (and Marker Sets You Have to Try)
Looking for vibrant, versatile art markers that won’t break the bank? Whether you’re an art teacher, parent, or sketchbook lover, this Ohuhu marker review breaks down my favorite sets—from acrylic paint pens to alcohol markers—and how I use them in both the classroom and at home. These budget-friendly art supplies are perfect for mixed media sketchbook work, classroom signage, and creative projects with kids. If you’re curious about Ohuhu markers, this guide has everything you need to know (plus how to save 10%!).
Learn moreSimple, Low-Cost Classroom Management Ideas That Actually Work (and Your Students Will Love!)
Looking for easy and effective classroom management strategies for your art room? In this post, I’m sharing two of my favorite positive reinforcement techniques that are simple, low-cost, and actually work—especially in elementary art classrooms. From choosing a daily “Art Star” to rewarding students with face painting days, these classroom management ideas help build a positive classroom culture without breaking the bank. Perfect for new and veteran art teachers alike!
Learn moreMy First Art Retreat to the South of France! Full Recap!
Discover what it's like to host an art retreat in the South of France in this behind-the-scenes recap of my creative journey through Nice and Aix-en-Provence. From sketchbook workshops and plein air painting to wine tasting and exploring charming French villages, this art-focused travel experience brought together 20 women for a week of creativity, connection, and inspiration. If you're an artist, educator, or dreamer curious about creative retreats, travel journaling, or art workshops abroad, this post is full of tips, memories, and must-see moments.
Learn moreMy Must-Have Travel Art Supplies ✈️🎨
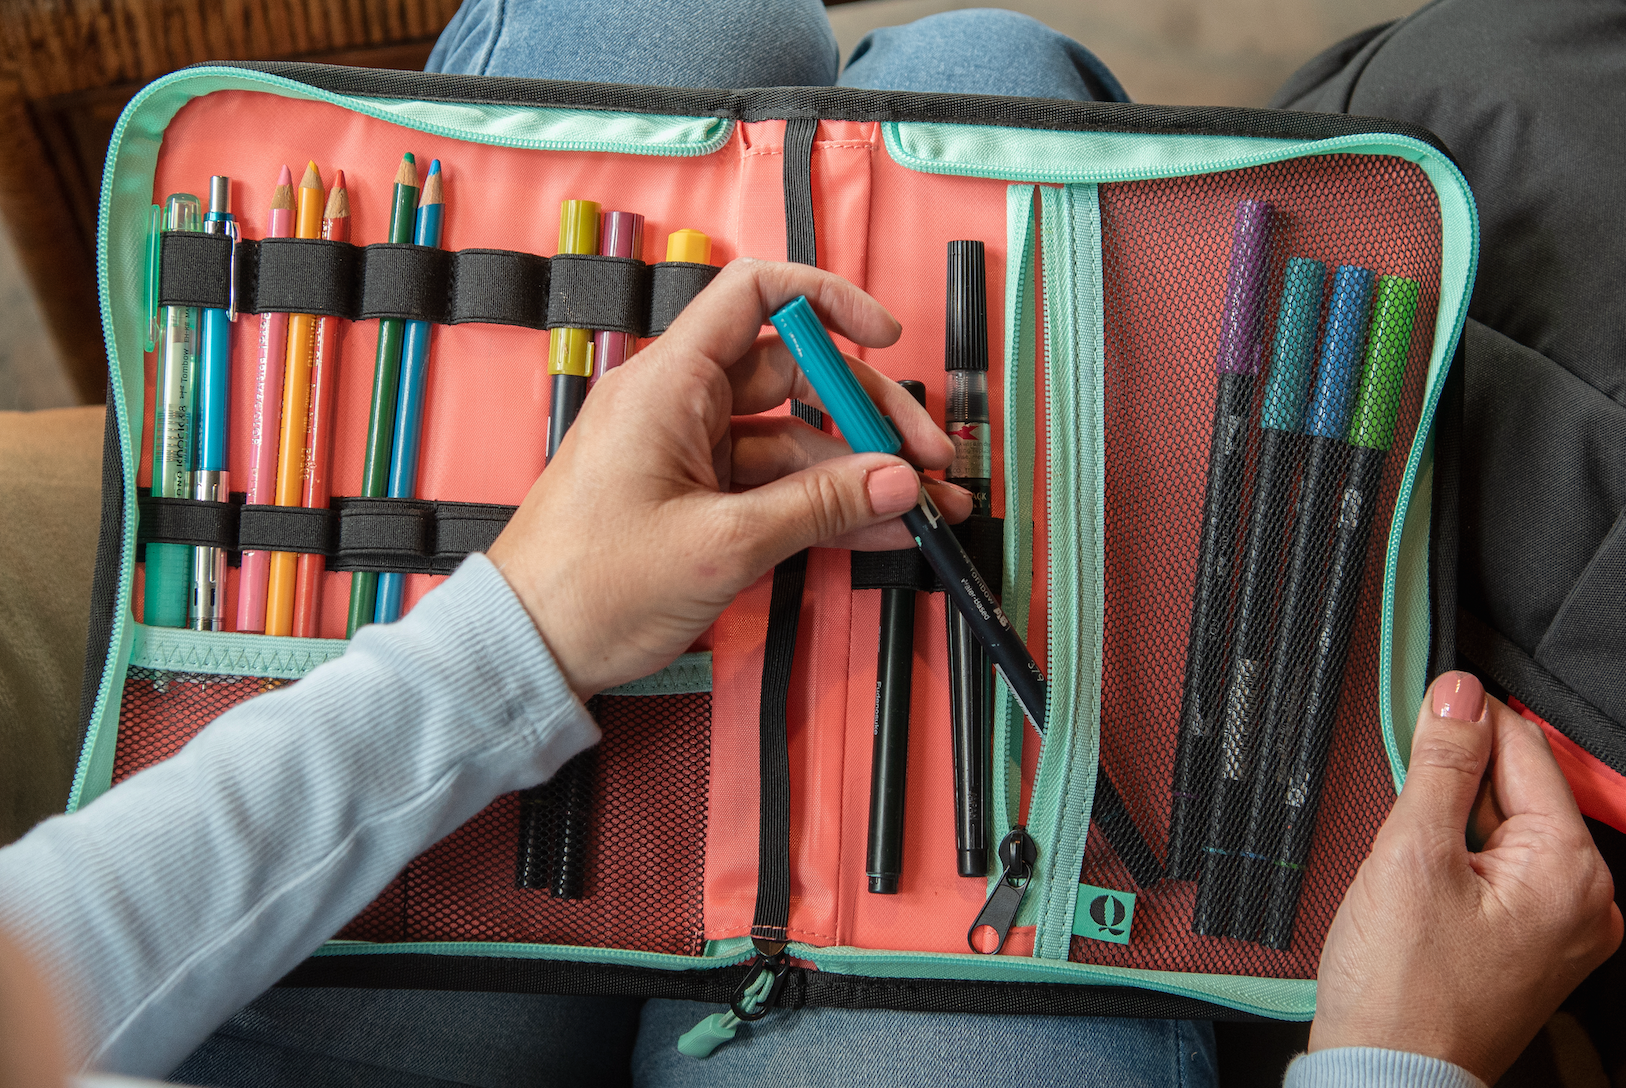
Looking for the best travel art supplies for sketching on the go? Whether you're heading on a big trip or just sketching in the park, this guide shares my favorite portable art supplies for painting, drawing, and creating anywhere. From compact watercolor sets to waterproof pens and the perfect travel sketchbook, discover the must-have tools every artist should pack.
Learn moreMy Favorite Watercolor Sets (and What I Actually Use!)
Discover my favorite watercolor sets for artists of all levels—including pros and cons of tubes vs. pans, liquid watercolors, and portable kits perfect for art teachers, hobbyists, and creatives on the go.
Learn moreMy First Mini Course is Here: Botanical Silhouettes 🌱
Two years ago, I painted a silhouette of my daughter filled with blooming botanicals—and had no idea how much that single painting would change the course of my creative journey. At the time, it was simply a personal piece, created with love as I watched my daughter start to grow into the little lady she was starting to become. I decided to share this painting on my Instagram and was blown away by the reaction! Something about this painting seem to resonate with my followers: fellow moms, teachers, art admirers and soon after, I found myself sharing the process with others through my first ever adult art workshops. These workshops then morphed into online workshops and before I knew it, I had taught this lesson to hundreds of people—from fellow teachers to complete beginners—each one creating beautiful, heartfelt works of art inspired by someone (or some pet) they love. Teaching this lesson to other adults who have maybe always bee interested in art by rarely made the time for it lit a spark in me: I loved teaching adults. I loved teaching busy moms. I loved that I could create a special time for each of my attendees to look inward, focus on their own joy, practice and experience. I was also surprise to learn that after 15 years of teaching kids under the age of 12, that I could experience all of the same feelings of price and joy that filled my cup when teaching kids- but on a peer to peer scale. After teaching my Growth Mindset workshop over 10 times both in person and online, I am now thrilled to share that my first ever mini course is officially here! Introducing: 🌿Botanical Silhouettes: A Growth Mindset Mini Course 🌿 This self-paced course invites you to create a meaningful silhouette painting of a loved one using gouache, layered with plants and symbols of growth. It’s inspired by the idea that, like nature, we are constantly growing—especially when we allow ourselves to slow down, get creative, and make space for learning. What’s Included: ✔️ A detailed supply list (perfect for beginners)✔️ Pre-recorded video tutorials you can pause and rewatch anytime✔️ A Plant Painting Guide to build your confidence with gouache✔️ A step-by-step presentation that breaks down the whole process Whether you’re a seasoned artist or just starting out, this project is a beautiful reminder that creativity and growth go hand in hand. I hope it brings you the same sense of peace, joy, and connection that it brought me when I painted that first silhouette of my daughter. One thing I know is that when you finally say yes to your creative side, so much more than your art will start to grow. If you're interested in creating your own gouache masterpiece, click here to begin! 🌿 Happy making!
Learn more