You don't need the luck of the Irish to do fun and easy art projects with your little ones! Today I wanted to share a process based art project that my students have loved no matter their age- it's called foil marker prints and it requires minimal supplies to give a maximum "Wow" factor! Not to mention, anytime you can do an art project with art supplies you already have around the house it's a huge bonus! Ok, let's get started!
Here are the supplies you will need:
- 90lb white drawing paper (or any paper thats a bit more "heavy duty")
- Washable markers (we love Mr. Sketch for this)
- Aluminum foil
- Spray bottle
- Sharpie Marker
Step 1:
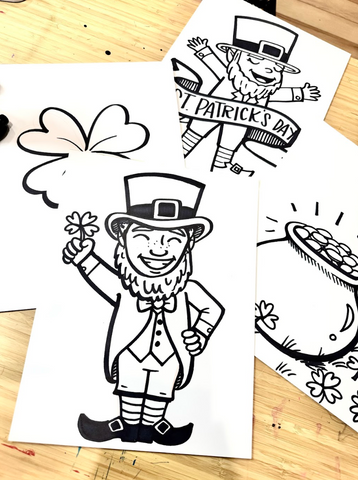
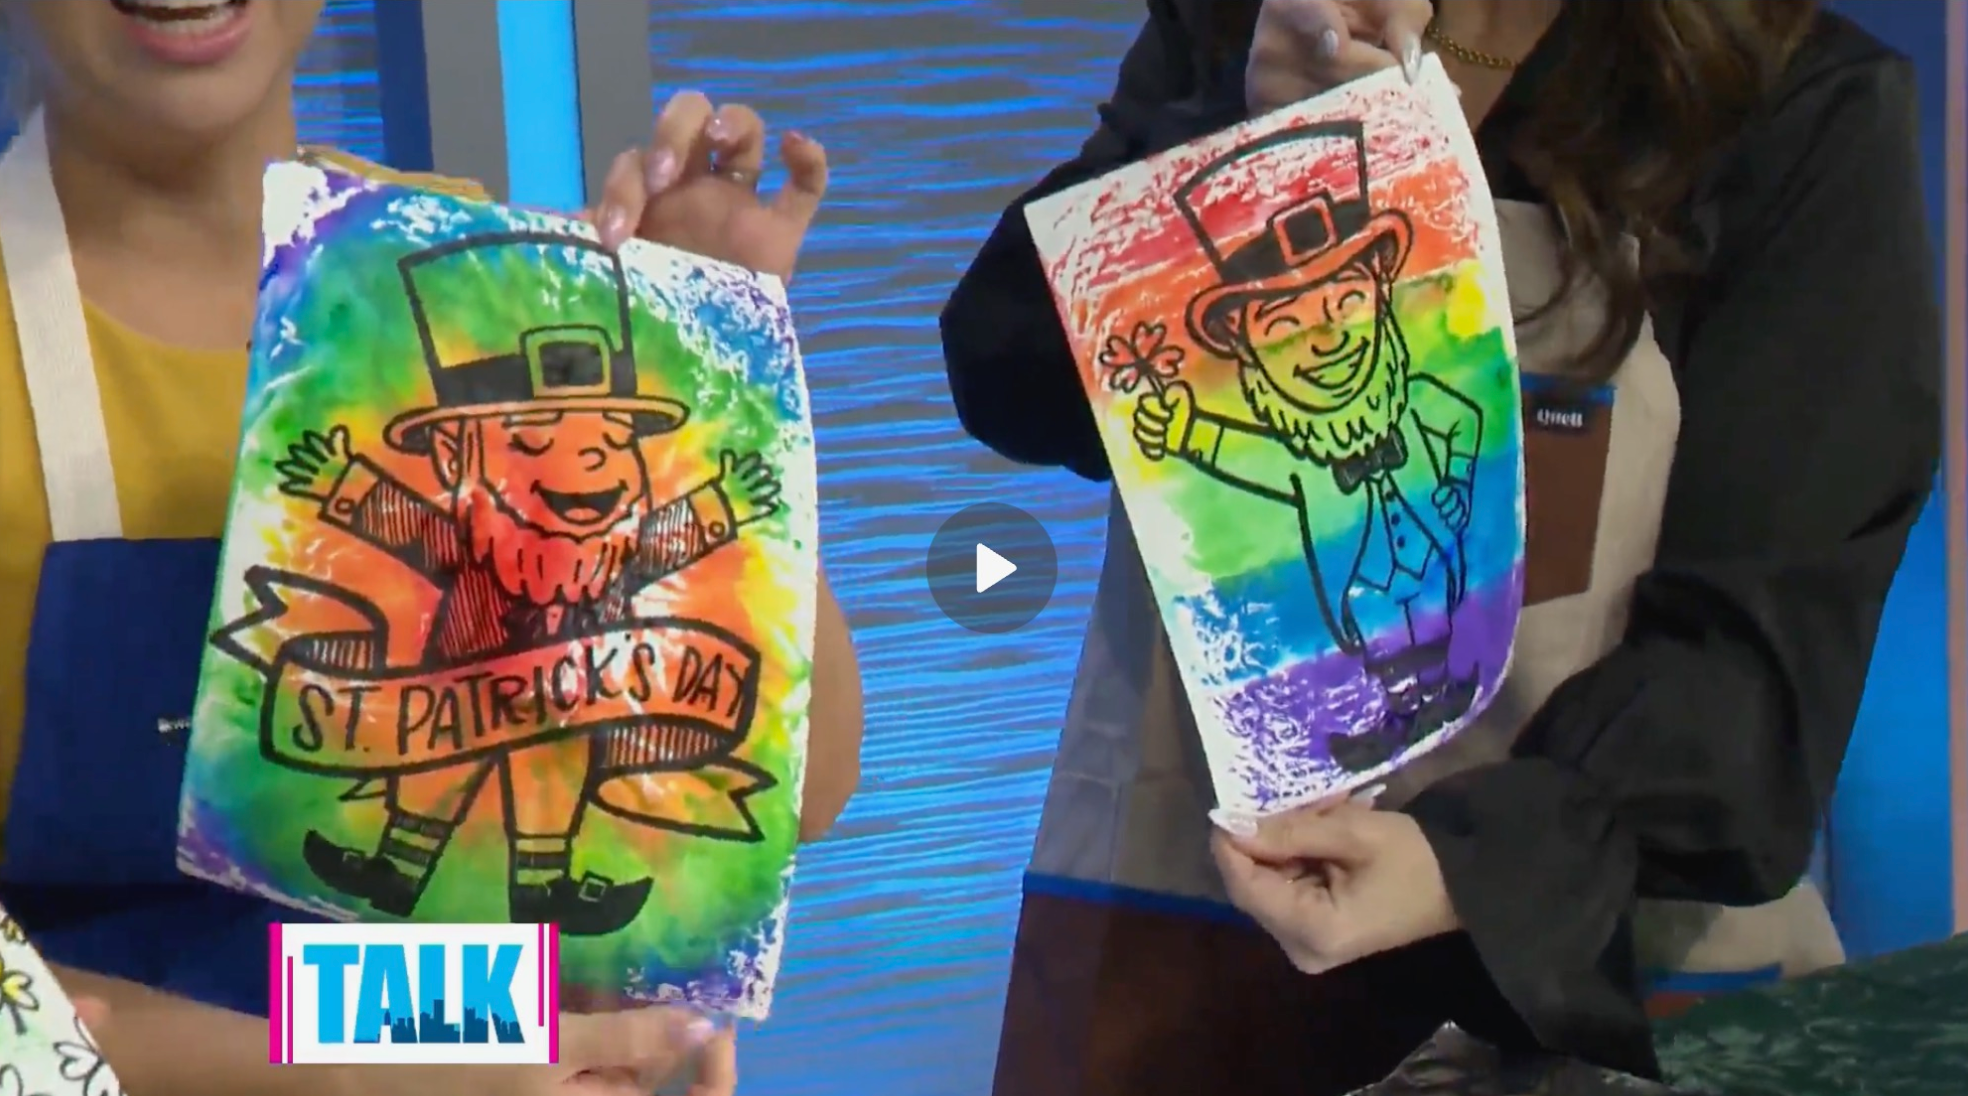
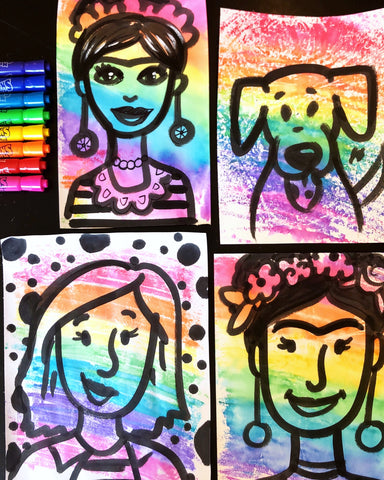
Select a St. Patrick's Day images to draw on your white paper. Head over to the St. Patrick's Drawing Guide to download a FREE St. Patrick's Day drawing guide of a few different images. Draw the character of your choice on the white paper with a sharpie marker (or draw in pencil and then trace over the pencil in sharpie).
Step 2:
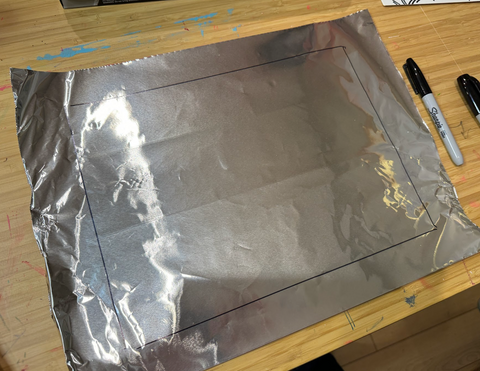
Pull a piece of foil that is at least as large as your 9 x 12 white paper. Lay the paper on top of the foil, and use a Sharpie marker to outline the paper size. This will help you to know where to color.
Step 3:
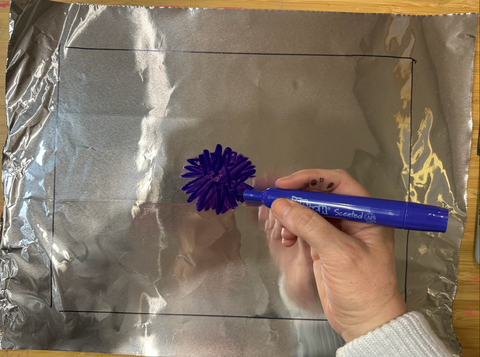
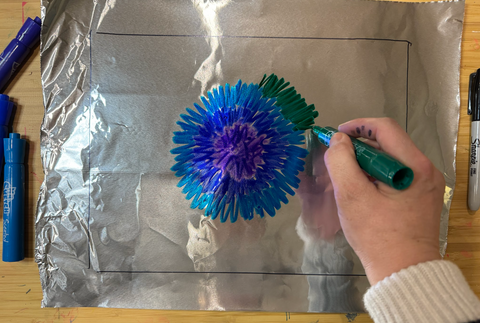
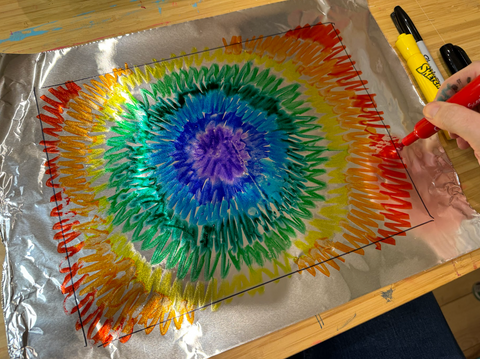
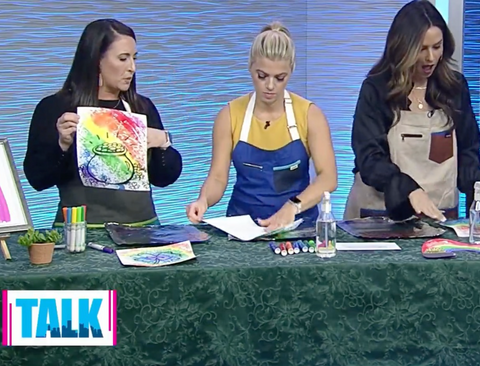
Using washable markers, color the foil in a rainbow pattern. You can color it going horizontally, diagonally, and vertically so that the entire rectangle is colored in a rainbow order. You can also color in a "starburst" pattern (pictured above), starting with red in the center of the foil, going outward from orange ---> violet. Be careful not to rest your hand in the marker, as it comes up very easily.
Step 4:
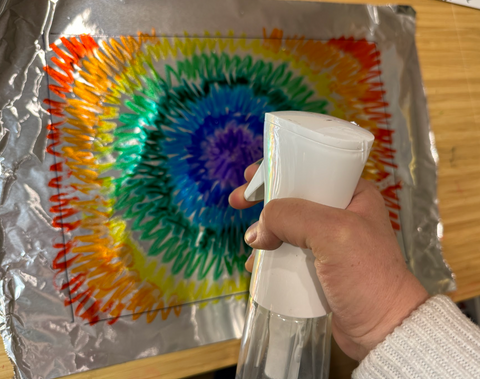
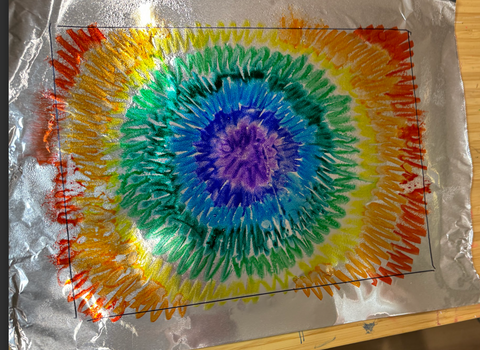
Grab a spray bottle and gentle mist the marker that is colored on the foil with the "spray" setting on the spray bottle. You can to try to make sure all of the marker gets wet, but not spray too much water, as the marker will start to run and blend into one another.
Step 5:
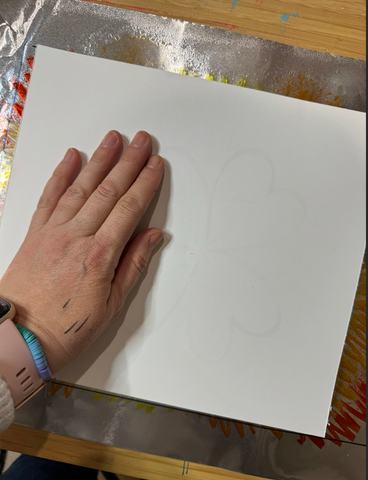
After spraying your foil with water, immediately grab your sharpie drawing and place it face down on top of wet marker. Use your hands to gentle rub the back of the paper all over- this is what will help with the transfer.
Step 6:
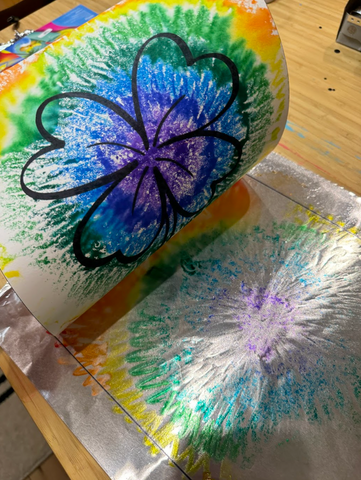
Gently pull the white paper up by the corner to reveal a marker transfer from the foil to your white paper! Wa-la!
This is such a fun and easy project with maximum wow factor that I know you and your little ones will love! This project is great for St. Patty's Day (because of the rainbow aspect) but really it can be used for so many different types of projects- like self portraits, animals, or even portraits for National Women's Day- also coming up!
Sidenote:
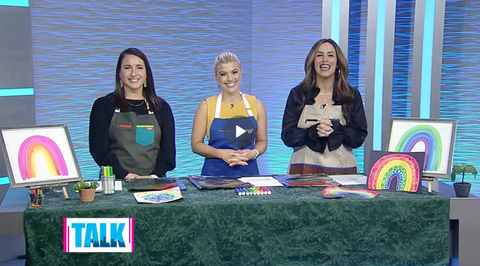
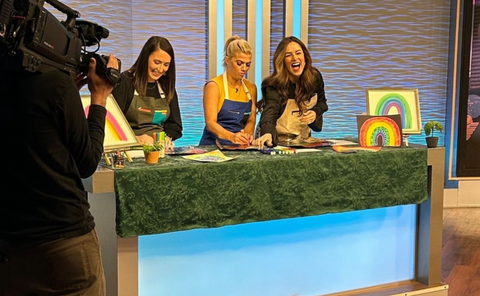
I wanted to give a special shout out to Talk Pittsburgh for inviting me to their show for a monthly art segment to share with our local community! This marker print project was one that I was thrilled to be able to share on the local news for families to try at home!
To watch the full segment (with video tutorial of the project) Just click the video below!