There’s just something about the holiday season that makes me want to gather with friends, sip something warm, and make something creative together. If you’re looking for an activity that’s equal parts cozy and beautiful, embossed foil decorations are it!
These little gems look elegant and shiny, but here’s the best part- they’re so simple to make. No fancy tools or artistic background required, just a little bit of craft foil, a pencil, and some imagination! Not to mention, they're incredibly addicting to make :)
What is Foil Embossing?

Embossing is the process of pressing designs into a surface so they stand out in relief. With craft foil, you can trace or draw a design, and the lines stay permanently raised. Unlike kitchen foil, these sheets are thicker and sturdier, so they won’t rip or crinkle back. Think of them as the “sweet spot”, thin enough to cut with scissors, but strong enough to hold beautiful details.
That shiny finish catches the light just right, making your leaves, acorns, and mushrooms shimmer like little treasures.
Supplies You’ll Need
(Note: This post contains a few affiliate links—if you choose to shop through them, I may earn a tiny commission at no extra cost to you. It helps support me in creating more projects to share with you, so thank you!)

-
Copper Craft foil- .003" (look for foil made for embossing or “metal tooling foil”)
- Embossing tools or a dull pencil/ craft stick
- Scissors
- Crafting wire
- Foam pad or stack of paper to emboss on
- Folk Art Idea Sheet
- Optional: Ribbons for decorating or hanging
Step-by-Step Instructions
-
Draw your Folk Animal Design


-
Choose a simple animal shape: rabbit, bird, deer, fox, or other simple animal or object. Sketch the outline of the animal on a piece of paper that's the same size as your metal square ( 5" x 5" or so).
- If you want to skip the drawing of your own animal all together- you can actually just cut out one of the illustrations in my Idea Sheet to just trace!
2. Trace or Draw

Tape your drawing or image to the metal foil. Use a pencil or embossing tool to press lines and details into the foil. Don’t worry about perfection—the texture is what makes these special. Be sure to put a stack of papers, or even a dish cloth under the foil. This will allow the foil to "give" a bit when you press down.
3. Emboss the Foil on front and back.


Remove the paper and use your embossing tools to really push the lines in both on the front, and on the back. Embossing is when your design pops up and stands out. Debossing is when it sinks in, almost like a carved impression. You can really have fun using larger embossing tools to push large areas out and then use smaller tools to draw small lines and patterns.
4. Cut It Out

Once you’re happy with the design, carefully cut around the shape with scissors.
5. Add Finishing Touches (Optional)

Poke a small hole at the top with a push pin or hole punch and string copper wire or ribbon through to turn your foil pieces into seasonal garland.

Ideas for Using Your Foil Decorations
-
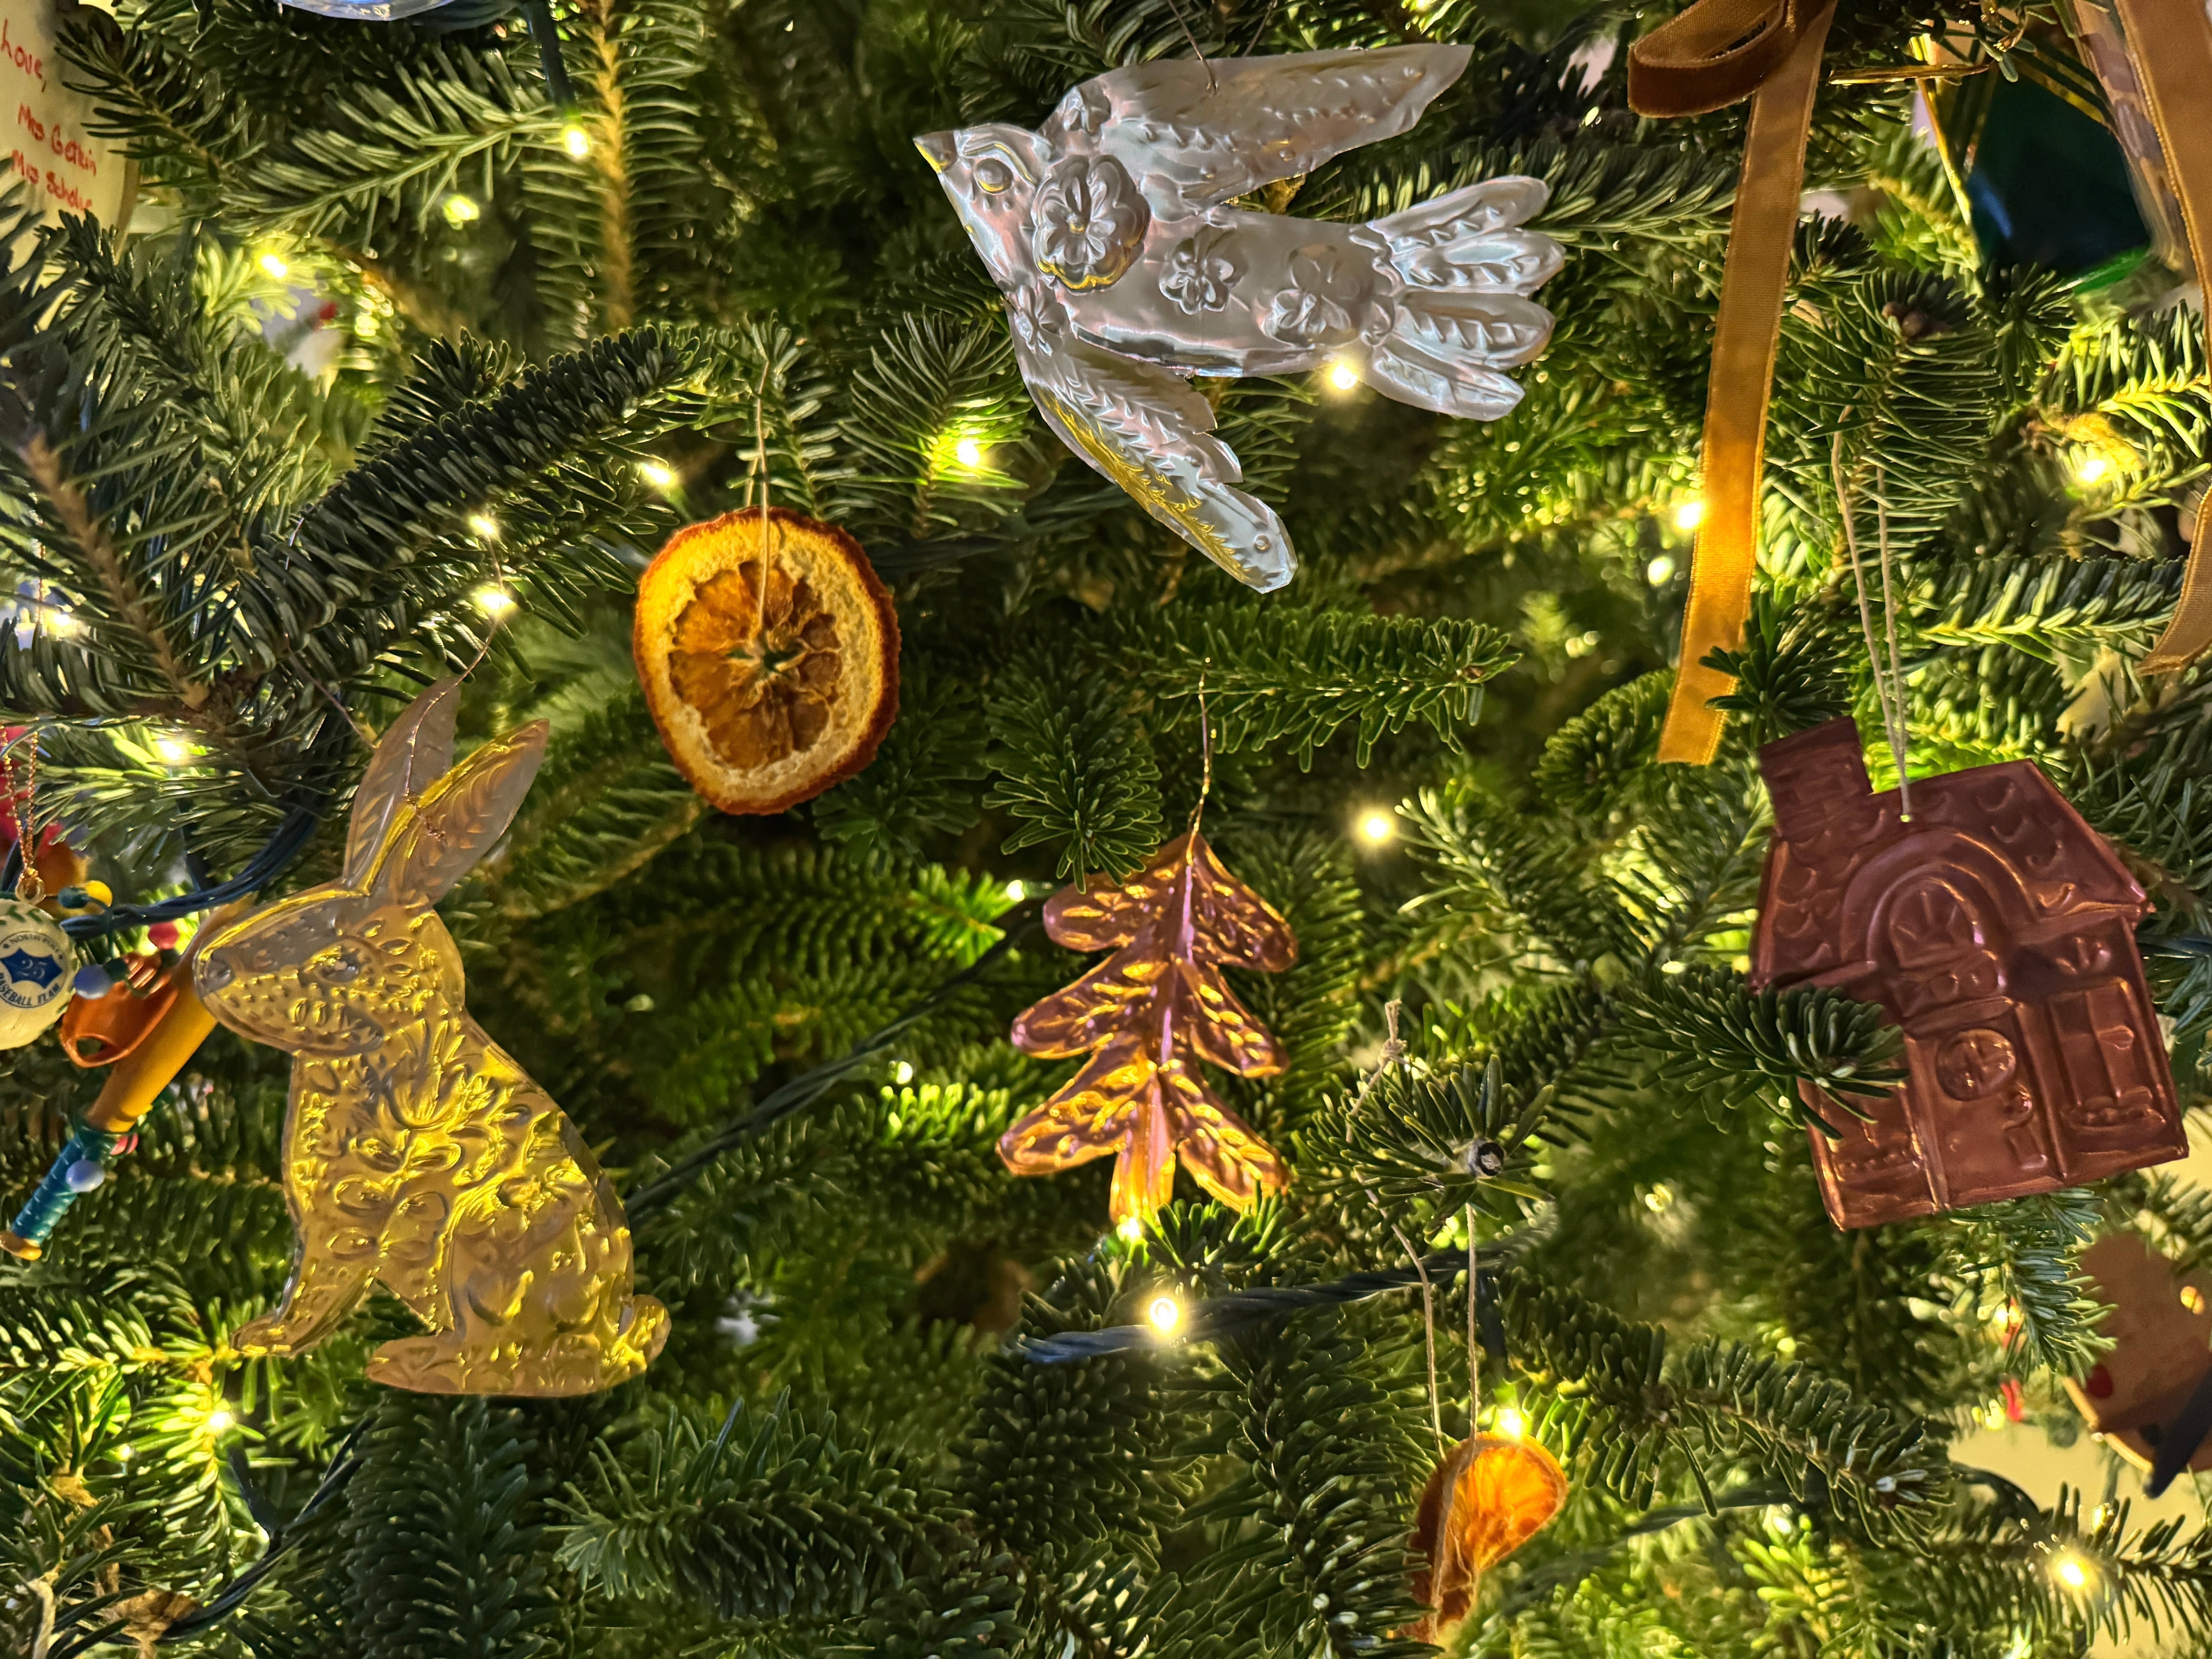
Create ornaments for your Christmas tree
-
Use as gift tags to add a handmade touch.
-
String several together to make a garland for your mantel.
-
Add to cards, collages, or even frame them as mini artwork.
Crafting is ALWAYS Better Together :)

One of my favorite parts about this project is that it’s so social. Because the process is relaxing and repetitive, it’s perfect for doing while chatting. Set a pile of foil sheets on the table at your next book club, pour some cider, and watch the creativity unfold. Everyone goes home with a handful of shiny fall keepsakes—and a memory of the time you spent together.

Embossed foil fall decorations are the perfect mix of simple, affordable, and stunning. Whether you’re crafting with friends, your kids, or just enjoying some solo creative time, they’ll bring a touch of shimmer to your season.
If you'd like to check out my tutorial on Talk Pittsburgh, just click the video link below!
Looking for more Winter themed art lessons and ideas?? Check out my blog all about how to make an easy Winter Village with your students, or how to paint your windows for the season! Or how about my most popular art lesson- the Northern Lights Lesson! So many fun possibilities this winter!
Have fun!


