Blog
Mouse Paint: The Perfect Color Mixing Art Project for Lower Elementary Students
Introduce your students to color mixing and art making with the classic story, Mouse Paint This elementary art lesson is perfect for K–2, this project combines storytelling, playful discovery, and hands-on artmaking to teach primary and secondary colors in a fun and engaging way. The perfect kindergarten color mixing project!
Learn moreMy New Favorite Paint Pens (and Marker Sets You Have to Try)
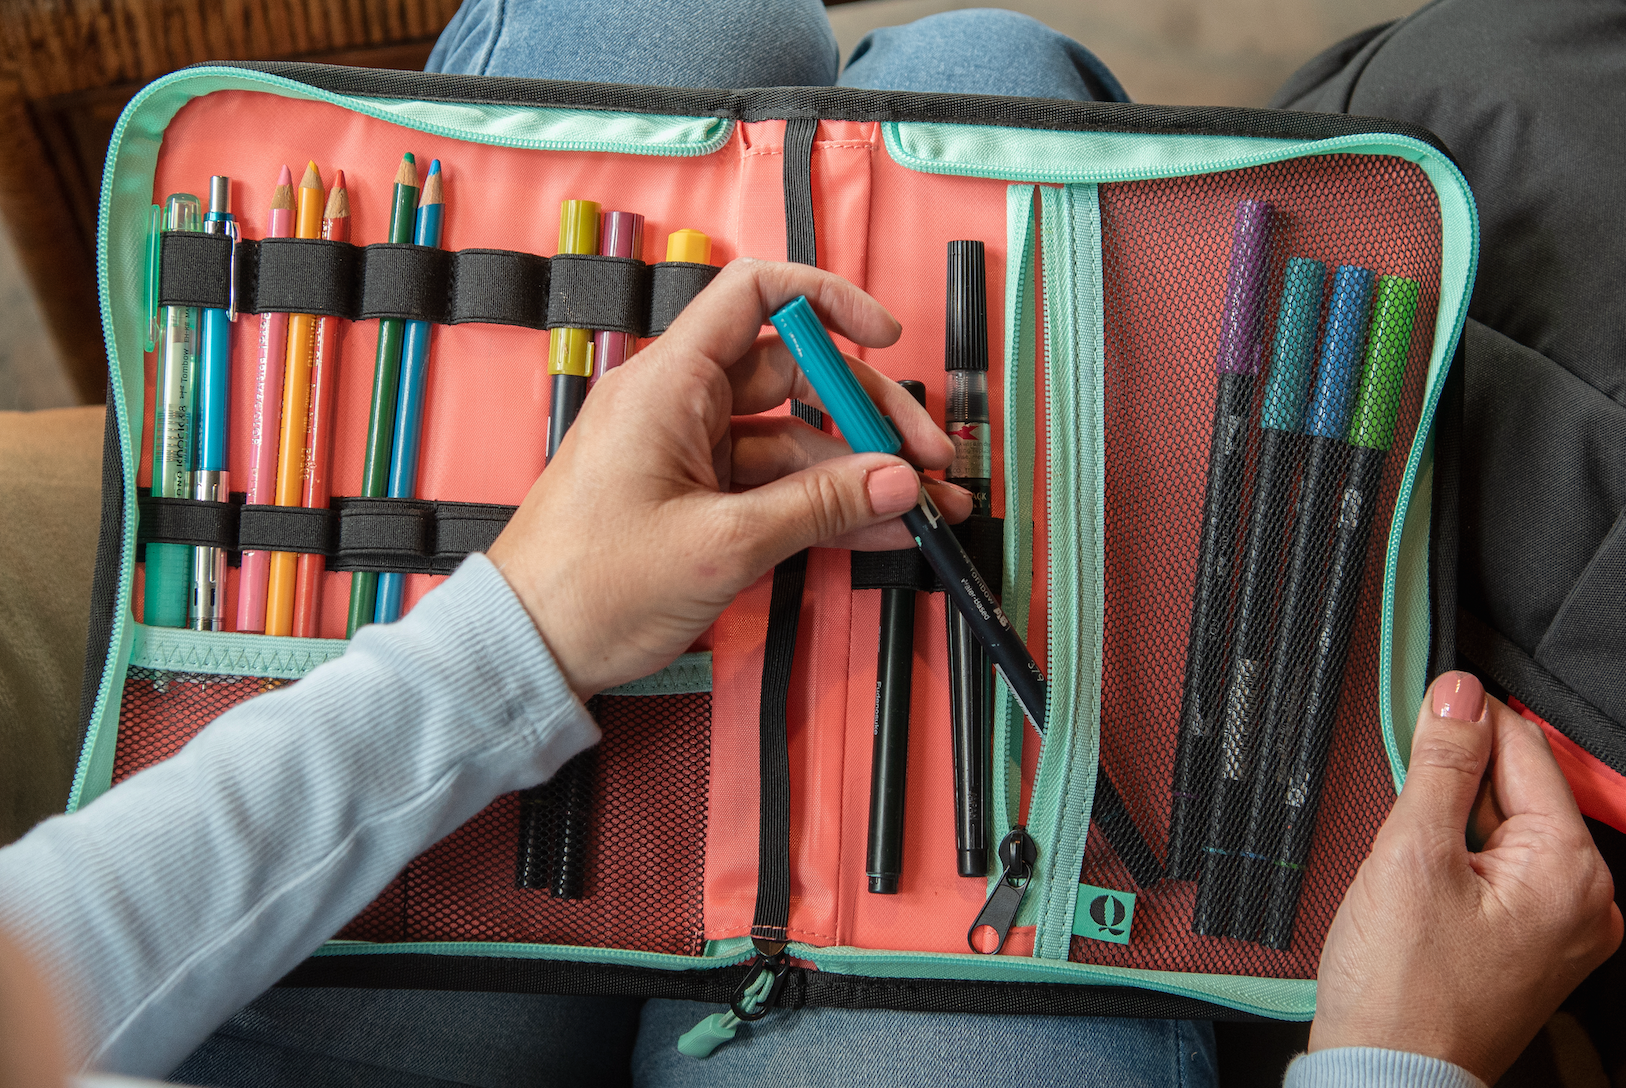
Looking for vibrant, versatile art markers that won’t break the bank? Whether you’re an art teacher, parent, or sketchbook lover, this Ohuhu marker review breaks down my favorite sets—from acrylic paint pens to alcohol markers—and how I use them in both the classroom and at home. These budget-friendly art supplies are perfect for mixed media sketchbook work, classroom signage, and creative projects with kids. If you’re curious about Ohuhu markers, this guide has everything you need to know (plus how to save 10%!).
Learn moreHow a Simple Sketchbook Practice Changed My Life (as a Teacher and a Mom)
Nine years ago, I was a new mom battling postpartum anxiety, trying to balance teaching full-time and caring for my baby. Everything changed when I picked up an old sketchbook and made a small promise to myself: 20 minutes of creative time a day. What started as a simple act of self-care turned into a daily sketchbook practice that transformed my mental health, reignited my passion for art, and eventually led to a thriving creative career. In this post, I’m sharing how my sketchbook became a lifeline—and how it might just do the same for you.
Learn moreIntroducing Our New Quell Sketchbook: Your Creative Companion Made with Heart
Discover the new Quell Sketchbook—an A5, hardbound artist-quality sketchbook with smooth 157gsm mixed media paper and a lay-flat design. Perfect for drawing, painting, journaling, and sketching on the go. Loved by artists and kids!
Learn moreDIY Sun Catcher: An Easy and Colorful Art Project For Kids of All Ages!
Looking for an easy and colorful art project for kids? This DIY Sun Catcher lesson is perfect for art teachers, classroom teachers, and parents! Using black glue and markers on transparency film, students can create beautiful stained-glass–inspired sun catchers that brighten any window. Fun, affordable, and simple to set up—perfect for spring art projects, classroom activities, or creative afternoons at home.
Learn moreThe Best Budget-Friendly Acrylic Markers for Artists and Creative Kids
Looking for affordable, high-quality acrylic markers that work for both kids and professional artists? In this review, I’m sharing why the Ohuhu Brush Tip Acrylic Markers have quickly become a favorite in our home. With vibrant colors, smooth brush tips, and a budget-friendly price, these markers are perfect for mixed media projects, classroom use, or sparking creativity in young artists.
Learn moreEasy Coffee Filter Flowers Craft for All Ages! 🌸
Looking for an easy and engaging spring art project for kids? These colorful coffee filter flowers are perfect for art teachers and parents alike! With simple supplies and a big visual payoff, this process-based craft explores color mixing, creativity, and sensory play—making it an ideal addition to your spring arts and crafts lineup.
Learn more8 Practical Tips For Making More Art as a Busy Adult and Parent
How to Make Time for Art—Even When Life Feels Too BusyFeeling too overwhelmed to be creative? Between work, parenting, and life’s never-ending to-do list, making time for art can feel impossible. But the truth is—you don’t need hours or a fully stocked studio to build a meaningful creative practice. In this post, I’m sharing 8 realistic tips for how to make art a part of your daily routine (even with kids!) using simple tools, habit stacking, and self-care strategies. Whether you’re picking up a sketchbook for the first time or reigniting an old creative spark, this guide will help you build a consistent, low-pressure art habit that actually fits your life.
Learn moreStamp Your Wild Side: DIY Printmaking Art Project Inspired by Charley Harper
If you love bold, graphic designs and exploring art with kids, you won’t want to miss the ‘I Am Wild’ exhibit at the Pittsburgh Children’s Museum. Inspired by the iconic work of Charley Harper, this exhibit celebrates his unique way of seeing the natural world—through vibrant colors, geometric shapes, and minimal, yet striking, compositions. To bring a piece of this artistic magic home, I’ve created a DIY stamping project inspired by Harper’s distinctive style. This simple and fun activity lets kids explore shapes, printmaking, and creativity while making their own animal prints—just like Harper’s iconic artwork. Plus, with Valentine’s Day around the corner, these homemade stamps can be used to make one-of-a-kind cards! About the ‘I Am Wild’ Exhibit at the Children’s Museum The ‘I Am Wild’ exhibit immerses visitors in the world of Charley Harper, whose artwork transforms animals into striking, shape-based designs. His approach, often called “minimal realism,” captures the essence of birds, insects, and wildlife through bold lines and geometric forms. At the exhibit, kids and families can explore interactive displays, create their own shape-inspired art, and learn about Harper’s deep love for nature and conservation. It’s a perfect way to introduce young artists to his unique vision while inspiring them to see the world through an artistic lens. DIY Charley Harper-Inspired Stamping Project This easy and engaging printmaking project allows kids to build their own animal stamps using simple geometric shapes. Whether they want to make birds, fish, or any other wild creature, this activity encourages creativity while reinforcing Harper’s style. Materials You’ll Need: Adhesive craft foam shapes or adhesive foam sheets Scissors Cardboard squares, or wooden blocks, bottle caps, anything hard to use for the stamp base Brayers (small ink rollers) Washable block printing ink or acrylic paint white or colored paper- I love this neon card stock from Astrobright Step-by-Step Instructions: Create Your Stamp Design Use pre cut foam shapes, or cut basic shapes (triangles, circles, rectangles) from adhesive craft foam. Arrange and stick them onto a cardboard square or wooden block to form an animal, just like Charley Harper’s geometric creatures. Use a pencil to draw lines as detail that will show up in your stamp. Ink Your Stamp Roll ink onto your foam stamp using a brayer for even coverage. If using acrylic paint, apply a thin, smooth layer. You can also use an ink pad or even markers if you do not have a brayer or paint to use for printing. 3. Press & Print Firmly press the stamp onto paper and lift to reveal your design. Experiment with stamping patterns, using different colors, layering shapes, and adding details with acrylic markers or puffy paint. 4. Optional: Add additional details to you print or a Valentine’s Day Twist! Turn your prints into handmade Valentine’s cards by using pink and red ink or cutting out heart shapes to add to your designs. Add extra fun and flair to your prints with puffy paint, paint pens, or any supply you'd like to make them more personalized! Other Printing Options: You can also choose to use your DIY stamps with an ink pad! This is a more mess free option. You can check out some stamp pads here Why This Project is Perfect for Kids Encourages creative thinking through shape-based design. Introduces basic printmaking techniques in an easy, approachable way. Ties into a real-world art exhibit, deepening kids’ appreciation for Harper’s work. Provides a hands-on way to make personalized gifts and cards for special occasions. Visit the Exhibit & Try This at Home! If you’re in the area, I highly recommend visiting the ‘I Am Wild’ exhibit at the Children’s Museum to see Charley Harper’s work up close and spark even more creative inspiration! Then, bring the fun home with this DIY stamping project and see what wild creations your kids come up with. Happy stamping!
Learn moreWinter Themed Sensory & STEAM Art Projects for Kids
(click the video above for the full tutorial of how to make a snow storm in a jar) Winter is the perfect season for cozy, creative fun that also teaches valuable concepts. These sensory and STEAM-inspired art projects are engaging for kids of all ages and provide hands-on learning opportunities. Perfect for a classroom activity or family bonding time, these projects are simple to set up and endlessly customizable. Let’s dive in! 1. Snowstorm in a Jar Bring the magic of a swirling snowstorm indoors with this mesmerizing project. Using common household items, you can create a mini snowstorm that’s as fun to watch as it is to make. Materials: Clear jar or glass Baby oil White paint (tempera or acrylic) Water Glitter (optional for sparkle) Alka-Seltzer tablets (optional) mini plastic animals or trees Instructions: 1. Fill the jar about three-quarters full with baby oil. 2. In a separate cup, mix a few tablespoons of white paint with about a 1/4 cup of water until it’s liquid but opaque. 3. Pour the paint mixture into the jar with the oil. Watch as the two layers separate due to their different densities. 4. Sprinkle in glitter for extra shimmer. 5. Break an Alka-Seltzer tablet into small pieces and drop one in. Watch the snowstorm come to life as bubbles rise and carry the paint through the oil. For added fun, you can hot glue mini plastic animals or trees into the bottom of the jar before starting so that your snow storm resembles a snow globe! I found these woodland animals and trees at Michaels, or you can check out these woodland animals, or check out this set of mini polar animals here. All I did was use a pair of long craft tweezers and a dot of hot glue to stick them to the bottom. STEAM Learning: This activity demonstrates density (oil and water don’t mix) and chemical reactions (Alka-Seltzer produces carbon dioxide gas that moves the paint). It’s a great way to connect art with science! 2. Snow Dough This moldable, fluffy sensory material mimics real snow and offers endless opportunities for creative play. Kids can shape it into snowballs, snowmen, or even sculpted art pieces. Materials: 2 cups of corn starch ½ cup of hair conditioner (white and unscented is best) Glitter (optional) Essential oils (optional for scent) Instructions: In a large bowl, mix corn starch and conditioner until it forms a soft, crumbly dough. Adjust the ratio if needed for your desired texture. Add glitter for sparkle or a few drops of essential oil for a calming aroma. Let kids use their hands to mold and shape the dough into wintery creations like snowmen or cookie cutters for winter themed shapes. You can also make enough to be the snow in a winter themed sensory bin and add cute little trees, glass vase beads and winter themed animals. STEAM Learning: This project introduces states of matter, showing how a solid (baking soda) and liquid (conditioner) combine to form a new texture. Why These Projects Are Great for Kids These winter-themed activities are not just fun and creative—they’re also excellent opportunities for hands-on learning. Through sensory play and STEAM concepts, kids can: Understand scientific principles like density, states of matter, and chemical reactions. Develop fine motor skills through squeezing, shaping, building, crafting and open ended play Build their creativity by personalizing each project. Whether you’re looking for a snowy day activity or an engaging classroom lesson with lots of sensory and science fun, these projects are sure to bring smiles and spark curiosity. Gather your supplies and let the winter creativity begin!
Learn moreMy Most POPULAR Art Project for Kids: Northern Lights Lesson
Bring the magic of the Northern Lights into your classroom with this beloved art lesson for kids. Teachers and students worldwide have embraced this creative and accessible project, making it a favorite for winter-themed art.
Learn moreDIY Eco-Friendly Holiday Décor: Cardboard Winter Villages and Giant Paper Bag Snowflakes
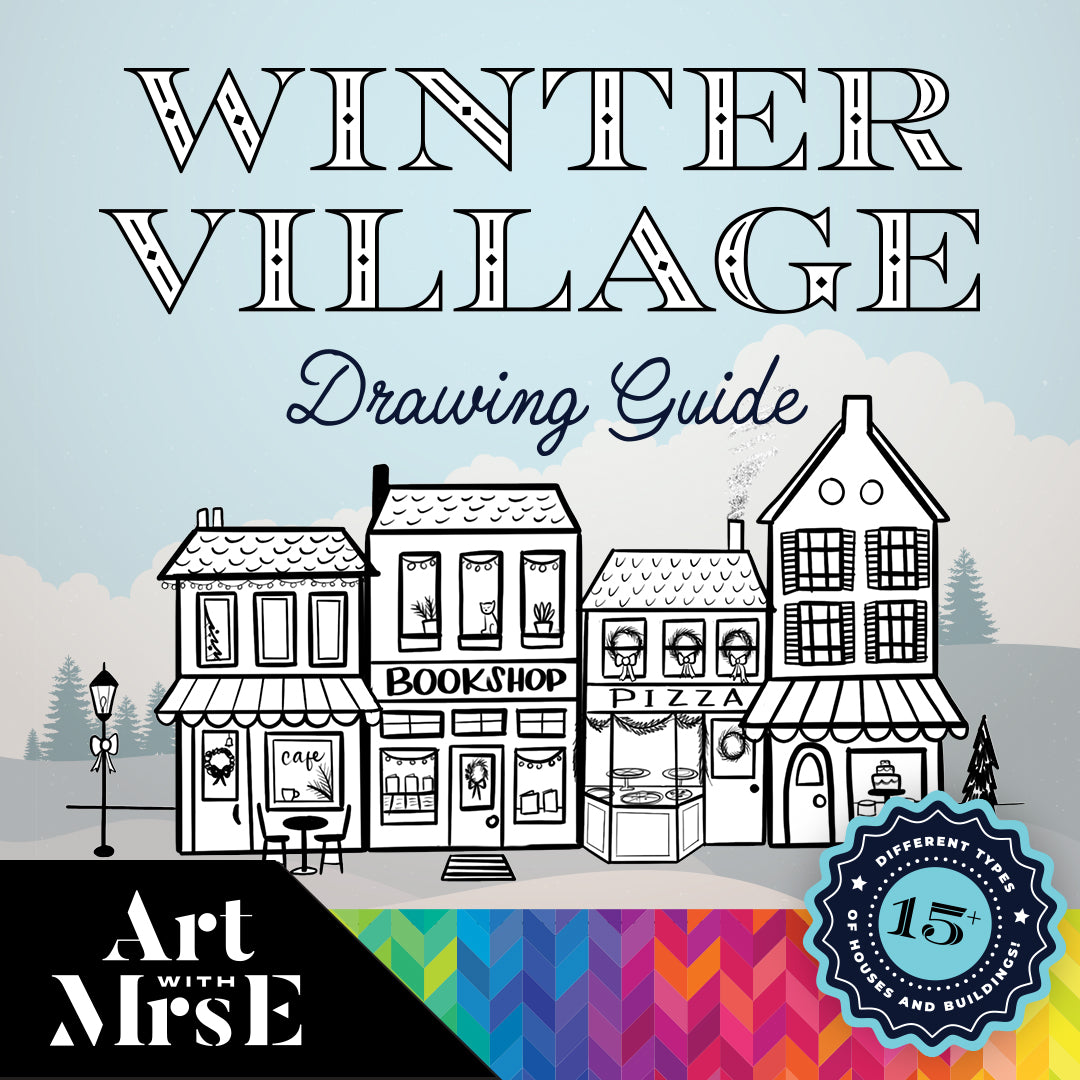
Looking for festive, budget-friendly holiday décor ideas? This season, skip the store-bought decorations and try making your own with materials you likely already have at home. These eco-friendly crafts are not only beautiful but also fun for the entire family to create together! In this blog, I’ll show you how to turn cardboard and brown paper bags into adorable winter villages and stunning giant snowflakes. Back story: Picture this, it's the year of 2020 and you are an art teacher attempting to teach art during a global pandemic to kids who are either: a. quarantined at home while the rest of their classmates are in school, or b. an entire class of children who are remote learning from home and having to use only supplies that are accessible to them at their house. Sounds kind of like a nightmare huh? Nope! Just another day as a teacher during the Covid 19 Pandemic. *shutters at the memories* All jokes aside, even though teaching through the pandemic was one of the most difficult times I've experienced throughout my career, it also was filled with many silver linings. One of them was forcing myself to think creatively about how I could still provide quality instruction to my students despite the circumstances. One of the fun routes I decided to go was to have a focus on using eco friendly materials and upcycling everyday materials to create art with. One of the supplies we used most often was cardboard! So around the holidays I decided to have my students create gingerbread homes out of cardboard and white paint or paint pens, and it was so much fun! I also forced myself to start making Youtube videos that my students could access at their leisure when making these projects from home. Anyways, it was a wild time but I came out of it with lots of fun lessons and ideas to continue to share! So let's get into them, shall we? 1. Cardboard Winter Village Transform everyday cardboard into a cozy holiday display with this upcycled winter village project. Whether you’re making a quaint snowy town or whimsical gingerbread houses, this craft is a perfect family activity. Materials Needed Cardboard (think cereal boxes, shipping boxes, or leftover packaging) Scissors Glue Markers or paint Optional embellishments: buttons, fabric scraps, cotton balls, glitter Step-by-Step Instructions Cut House Shapes: Use scissors to cut out house shapes from the cardboard. Vary the sizes for a charming village vibe—tall houses, cottages, or even a shop or church! Decorate: Let your creativity shine! Draw or paint doors, windows, and roof tiles. Add festive touches like wreaths or string lights using your markers or paints. You can use my Winter Village Drawing Guide for inspo! Embellish: For an extra cozy feel, glue on buttons for doorknobs, fabric scraps for curtains, and cotton balls for snow. Display: Arrange your village on a mantle, windowsill, or as a centerpiece for your holiday table. Tip: Encourage each family member to decorate their own house, adding their unique style to the village. Additionally, you can make these winter homes in all sizes! I loved making a giant house with my adapted art class, made from my paper storage cardboard! You can learn more about that full project on my blog 5 Amazing Winter Art Projects for Adapted Art. 2. Giant Paper Bag Snowflakes If you’re looking for a show-stopping decoration, giant paper bag snowflakes are the way to go. These are easy to make, eco-friendly, and bring a magical touch to any room. Materials Needed 7 paper lunch bags (brown or white) Glue bottle or hot glue (preferred) Scissors Ribbon/ String for hanging Step-by-Step Instructions Glue the Bags: Apply glue in an inverted “T” shape (across the bottom edge and up the middle) and stack the bags together. Repeat until all bags are glued. Cut Designs: Once the glue dries, cut patterns along the edges of the stack—triangles, semicircles, or zigzags work great. Fan the Stack: Carefully fan the stack open and glue the two ends together to form a snowflake shape. Hang and Display: Attach a string to your snowflake and hang it in a window, from the ceiling, or as part of a photo backdrop. These snowflakes look stunning in clusters of different sizes or colors and you can even paint them after the holiday season and turn them into flowers! You can find a video tutorial from me here! DIY Gingerbread House Gift Bags Turn ordinary brown paper bags into charming gingerbread house-themed gift bags. These personalized bags are perfect for wrapping small presents or treats and add a whimsical holiday touch to your gift-giving. Materials Needed Brown paper lunch bags White paint pen or white acrylic paint with a small brush Ribbon or twine Small gift tags (optional: cut from colorful cardstock) Scissors (optional for trimming) Treats, gifts, or holiday goodies to fill the bag Step-by-Step Instructions Prepare the Bag: Start with a flat brown paper bag. Fold down the top edge if you want a shorter bag. Draw the House Details: Use a white paint pen or white tempera paint and a thin paint brush to draw details like windows, doors, rooflines, and holiday elements (e.g., wreaths, snowflakes, or swirls). Get creative! Each bag can have its own design, from modern houses to cozy cottages. Add Embellishments (Optional): Punch a hole at the top of the bag and thread ribbon or twine through to secure it once the gift is inside. Attach a gift tag for a personalized touch, adding the recipient's name. Fill and Finish Add gifts into bag with small amount of paper filler, Fold in the sides, thread your yarn or ribbon through holes, and tie in the front.
Learn more