This is one of the number one questions I get: How do you make student sketchbooks??? Well my friends, it's beyond easy and I can't wait to share just HOW easy they are here!
But before I jump into the tutorial, if you haven't had a chance to read WHY I believe every student should have a sketchbook in the art room, be sure to check out my blog here. Ever since my very first year teaching, I have had my students create and keep a sketchbook- but not every type of sketchbook we created was a slam dunk. So today I want to share with you not only how to make sketchbooks with your students but why I make them the specific way I do. So are you ready? Let's go!

1. Prep All Your Paper
Listen, if there is one thing you need to know about me, it's I HATE prepping supplies. Like LOATHE. But unfortunately, it is a large part of teaching art- but I honestly try to find ways that I can multitask prep while the kids work (more on that later)
So yes, first- you will need to prep your paper. My favorite paper by far is Tru Ray Construction paper or Blick Construction paper.
I know you may already be thinking "Wait, what? You're just going to make them out of construction paper?? Really?" Yes. Really. I have, in the past, tried book binding using cardboard, etc. but when you have 600+ students in grades k-5 you need a method that EVERY child can do, or else you will be spending your precious personal time assembling sketchbooks (which is not the goal here!)
Next, determine what paper you will use for the inside of the the sketchbooks. Do not use your nice heavy weight 90 lb drawing paper. Instead, either use copy paper (some teachers get a certain allotment for copies, and since I never made copies, the reems I received from the school were perfect. I also have purchased Manila paper solely for the purpose of using it for sketchbooks. Manila paper is typically cheaper than regular paper and perfect for sketches. So assuming you have your inside paper selected, and that it is either 8.5 by 11 or 9 x 12, you are going to want to cut this paper down horizontally making each sheet 5.5 x 8.5 or 6 x 9. You are going to need to start cutting a tonnnnn of this paper. Stacks on Stacks. If you have an art room helper, or an aid who is available, this would be a great job to delegate!

2. Have Students Design Sketchbook Covers.
Now that the 12 x 18 construction paper has been cut vertically to be 6 x 18, students can get started designing their cover. Each grade is assigned a construction paper color. This is not only for organizational purposes, but because we make a sketchbook every year, my logic is that by the time they have graduated from elementary school, they will have a sketchbook that is each a color of the rainbow, thus helping them remember when that sketchbook and it's contents are from. Or you could honestly just have kids select their favorite color for their cover, but I will warn you: the problem with that is that many kids have the same favorite color. So you will end up with a massive pile of orange and yellow while all of your red and teal paper is gonezo!
Now: what do you have the kids draw? This is one I learned through trial and error!
My very first year of teaching, I just told my students "oh just decorate your sketchbook with whatever you want!"
Do you want to know what I got? I bet you can guess....
TINY, FLOATING, LITTLE MICRO DRAWINGS just randomly scattered around their cover. So many stylized hearts, smiley faces, and even this CLASSIC drawing from my own childhood:
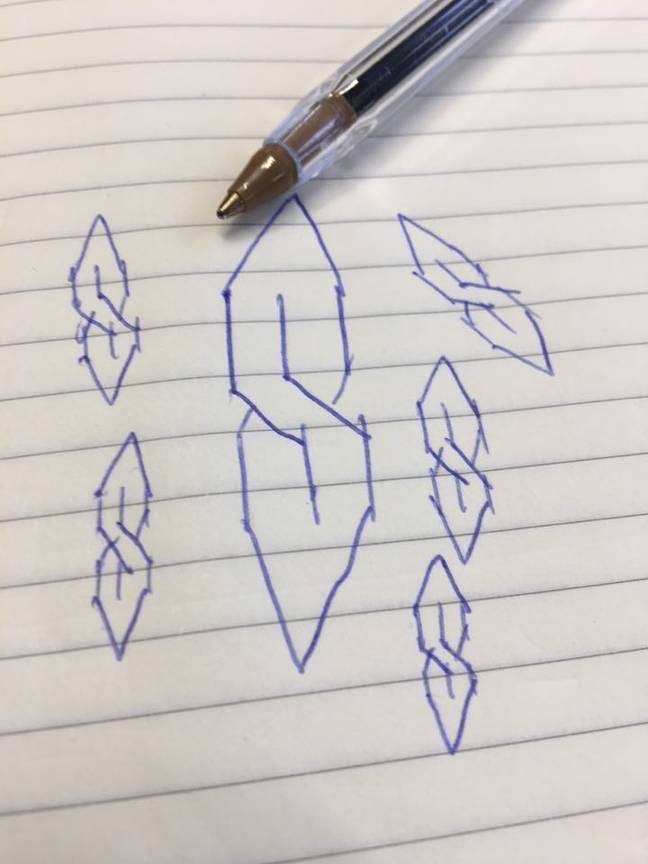
None of which equaled my students' best work, let's be honest.
When you give kids all the options in the world, it is so difficult for them to come up with something of value. More restraint = more creativity! So I learned: Give very specific criteria.
Also, I quickly learned that my students' random doodles taught me absolutely zero about them as an artist and just as a person in general. So I decided to use this project as the perfect way to get to know them, while creating something they feel ownership out of AND using it as an opportunity to teach basic classroom procedures like how to organize their art, put away their materials properly, talk about what quality craftsmanship looks like, etc.
So here is the sketchbook cover design criteria I required:
- Choose a Theme for your cover. Choose a theme that is focused around one of your interests. Everything on your cover will relate to that one theme.
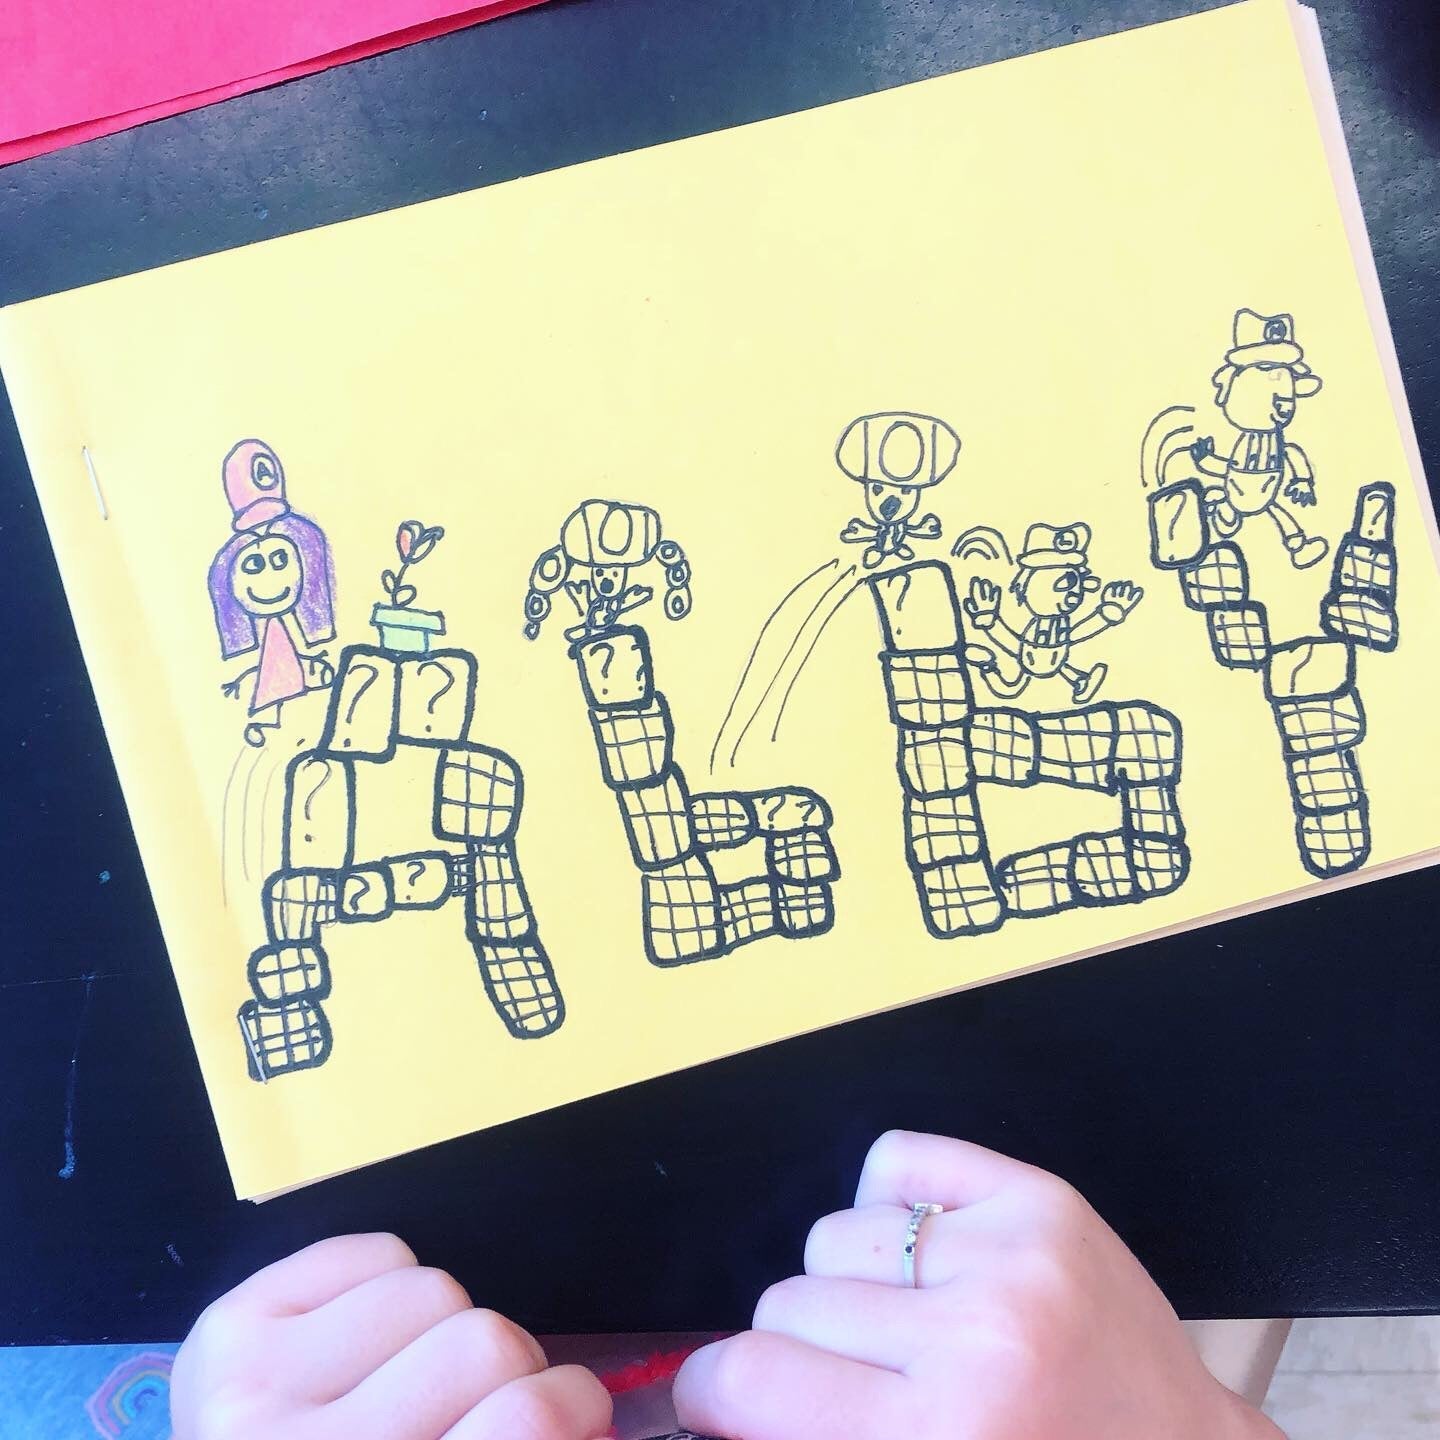
- Creatively Incorporate your Name in the cover design. This is both a bit of a challenge and also fun. Just another added element to get your students thinking creatively.
- Fill The Space. This is to prevent kids from drawing teeny, tiny, baby ant drawings along the bottom of their paper. It forces them to think about composition and drawing large even on a paper that is half size. This is a good one to demonstrate how their theme can and should fill up their cover.
Sometimes students are immediately stumped over what their "theme" should be. So I ask the class as a whole, "If you just met someone new for the first time, what are three things about you, or three things that you like that you would share with them. It can be anything from your favorite animal, to a sport you play, to a hobby you have, to your favorite place to visit, to your favorite subject in school, favorite food, etc! It often helps to have them write down 3 ideas and then pick their favorite!
Once students have their theme idea, have them start drawing their cover design in pencil. They may not know how they will include their name in the design at first, but that is one of those things that usually happens as they work. I remind them often while they work "don't forget to be thinking about how you can include your name!"
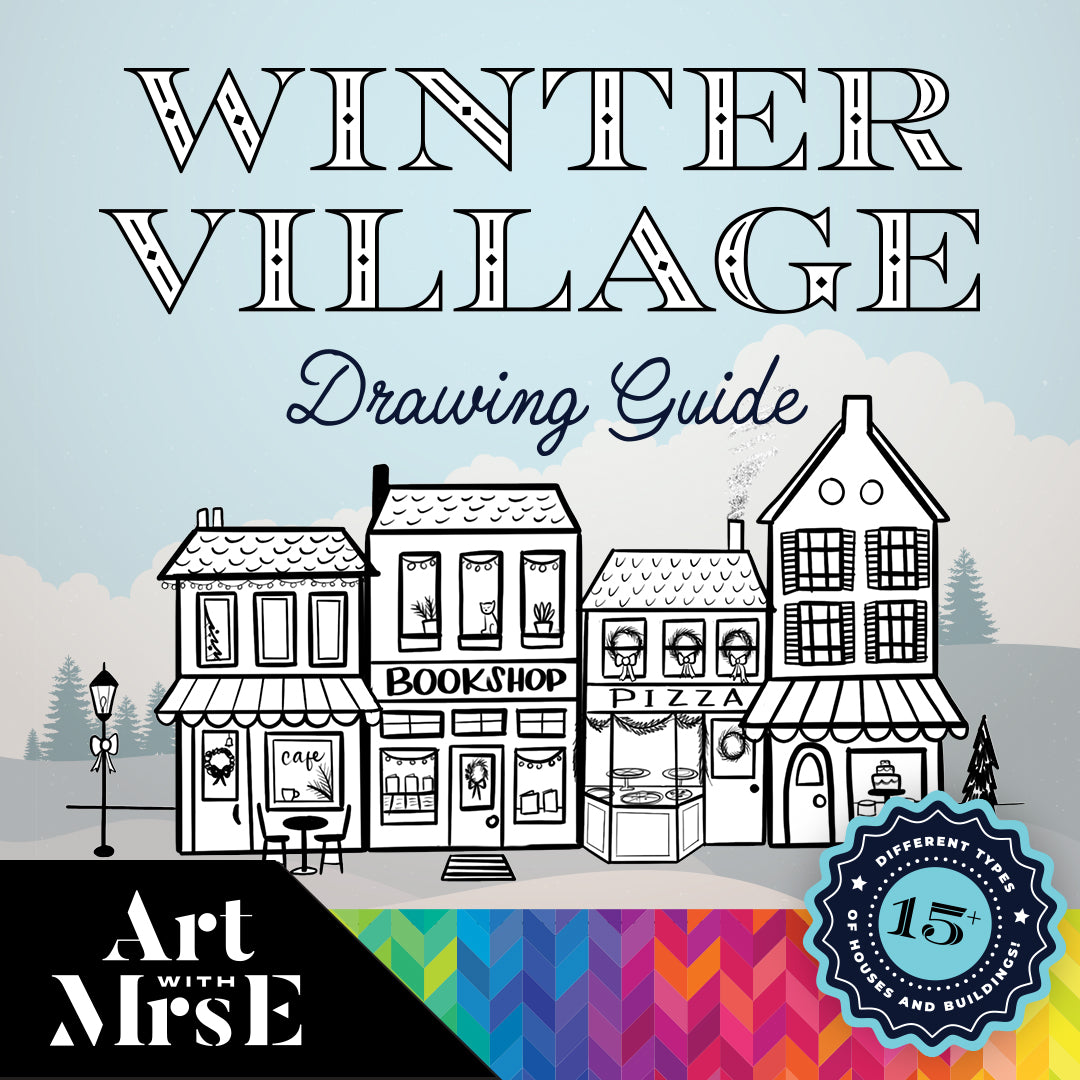
Sometimes students are confident in their idea, but struggle with the execution of actually drawing what is in their head. This can sometimes be frustrating to kids, and may even cause them to shut down. But constantly be reminding them that this sketchbook is for them, and them only! Remind them that all artists have different styles and that it's ok if their drawing looks unique and different. I sometimes allow students to use my drawing guides if they just need a boost in the right direction and this will help build their confidence that they can do it. You can also allow them to reference pictures on an ipad if you have access to one, or a few.
3. Have Students Trace and Erase
In addition to writing on the board what the criteria of the sketchbook cover is, I also write down the order of steps/ materials students need to follow while working on this covers. This is a great visual check list and prevents kids from just rushing through their work.

So once students have drawn our their whole cover design, I then have them trace all the pencil lines in a sharpie marker. I teach them how to use both fine sharpies and ultra fine sharpies and how to use both to create visual interest.
I explain to my students that if they can fit 3 fingers inside of a drawing, then they should use a find point sharpie to trace the pencil line. This makes a bolder line, drawing your eye into the shape/ object. However, for smaller details, like the eyes or whiskers on a dog, if you can't fit 3 fingers inside, then you need to use an ultra fine point sharpie. This tip of using their fingers really is helpful and this is a skill they use all year long to create line variety in their work. Once students have traced their pencil lines, I teach them how to properly erase their pencil lines underneath so that only the marker is visible. This already is teaching so much about craftsmanship and how your drawing looks if you just go straight from pencil to crayon. You loose all of the little details you spent all this time drawing. This way, your lines and details are preserved.
4. Color, Color, Color!
Meet my favorite, most underrated art supply: The Construction Paper Crayon. These little beauties see way more fun and excitement in the art room than regular crayons! I use this step to really teach proper technique when coloring, especially for grades 1-3. I show them how to trace around the shape with hard pressure first, then using lighter pressure, and just the movement of their wrist, to color in their drawings, one section at a time, coloring in one direction and in the lines. I have always called this type of coloring "THICK AND THIRSTY" and of course say it in a very deep, crazy sounding voice that the kids just love and love to repeat back to me. I also have a visual displaying what "thick and thirsty" coloring looks like, vs. the opposite "thin and whimpy" which also gets its own funny voice that is high pitched and really sad sounding. I always demonstrate what thick and thirsty looks like, and also what thin and whimpy looks like (coloring with my full arm, a bunch of different directions, different pressures, leaving gaps of paper showing through that we call "Peak-a-boos". Kiddos then use their new knowledge of coloring and the construction paper crayons to color in their whole sketchbook cover.
Now, at the 4 + 5 grade levels, I also demonstrate proper coloring, and allow them to use the construction paper crayons if they wish, but I also teach them how to blend colors together with crayon, how to color in a gradient, as well as give them the option to use colored pencils instead.
Listen- two things: 1st, not all colored pencils are created equal, and only use high quality colored pencils on construction paper if you have them. I was lucky enough to inherit an art room that had a class pack of Prismacolor Pencils (the Rolls Royce of colored pencils as my students called them) but I am fully aware of how expensive these colored pencils are, especially when being purchased for an elementary art room. If you do not have access to colored pencils if this quality, you can 1000% just have all students use crayon. They won't know any difference! I just like to use this as an opportunity to have my upper elementary students learn some colored pencil techniques at the start of the year, because to be honest I really hate using colored pencils on normal projects (but that's a discussion for another day!)


5. Assemble Sketchbooks
Now you may be thinking, "Ok Kaitlyn, I get how you had the students design their covers, but when the heck did you find the time to actually assemble all of these sketchbooks?!"
Well I'm so glad you asked! Because for my next party trick, I would like to tell you that assembling these sketchbooks literally required zero amount of my time outside of class. How? Because as the students work mindfully and diligently on their covers, I say "As you work on on your covers, I will be coming around the the tables that are modeling excellent studio behavior (aka quietly and focused on their art) to have their sketchbooks stapled first." I simply am using stapling their sketchbooks as incentive for students to model while working on their art.

I just travel around to the tables that are demonstrating the preferred behaviors and start sliding in about 1/2 an inch of white paper or manilla paper into their sketchbook covers then use a heavy duty stapler (here is the one I use) to staple the spine twice while the kids are working. I usually don't come around and start stapling sketchbooks until students have moved passed the Sharpie phase, as the marker sometimes bleeds through the cover. But the great thing is the kids can just be coloring their sketchbooks while I come around and staple them all during class. This also gives me an opportunity to quietly chat with my students while they work and ask them questions about their cover to learn more about them.
And Wa-La! That's it!!
Now that your students have their own DIY sketchbooks, be sure to check out my blog sharing 40 FREE sketchbook prompts for your students to use in class (BEST early finisher activity ever!) Have fun!




3 comments
In your experience, does this work with 2nd grade?
How do you store the sketchbooks for each class? Do you have an image you could share as well? Is the manila paper you talked about for the inside of the sketchbooks like copy paper or more like thin construction paper? Can you share where you have gotten it before?
How do you store the sketchbooks for each class? Do you have an image you could share as well?