
My students have been on a BIG winter homes kick per our last Winter Village lesson. So I decided to encourage them to take their imaginations a step further and give them the opportunity to create the interior of a winter home all decorated for the holidays.
Now, in full disclosure, I actually came up with this lesson as a sub-plan because of some unexpected child care issues that popped up for us (eh hem- gotta love those 10 day exposure quarantines). ANYWAY- I created this lesson while I was prepping to be out, and the students did such an amazing job that I decided to keep going on when I returned to school! The lesson is super easy and incredibly engaging for students of all ages! Let me share with you how we made these adorable, cozy and interactive homes!
Before starting the actual project, I recommend reading a book talking about different and diverse family traditions. I love this blog by Brightly sharing tons of different book recommendations. I also would recommend the book Windows by Julia Denos or Home by Carson Ellis. Ask your students about what holidays they celebrate in their home and what kind of traditions they have surrounding those holidays.
Materials:
-
Construction paper (11 x 17 if you’d like a bigger house or 9 x 12 for a smaller version). I used Astrobrite paper for my example shown, but my students used Tru Ray construction paper
-
A pencil and washable markers to draw with. (Washable is important here because you do not want your marker to bleed through the paper). I used Posca paint pens to draw my example while home
-
Construction paper crayons or high quality colored pencils (Prismacolor shows up amazing on darker paper)
-
Winter Village Drawing Guide and Interior Spaces Reference sheet. Both are available on my website or TPT store.

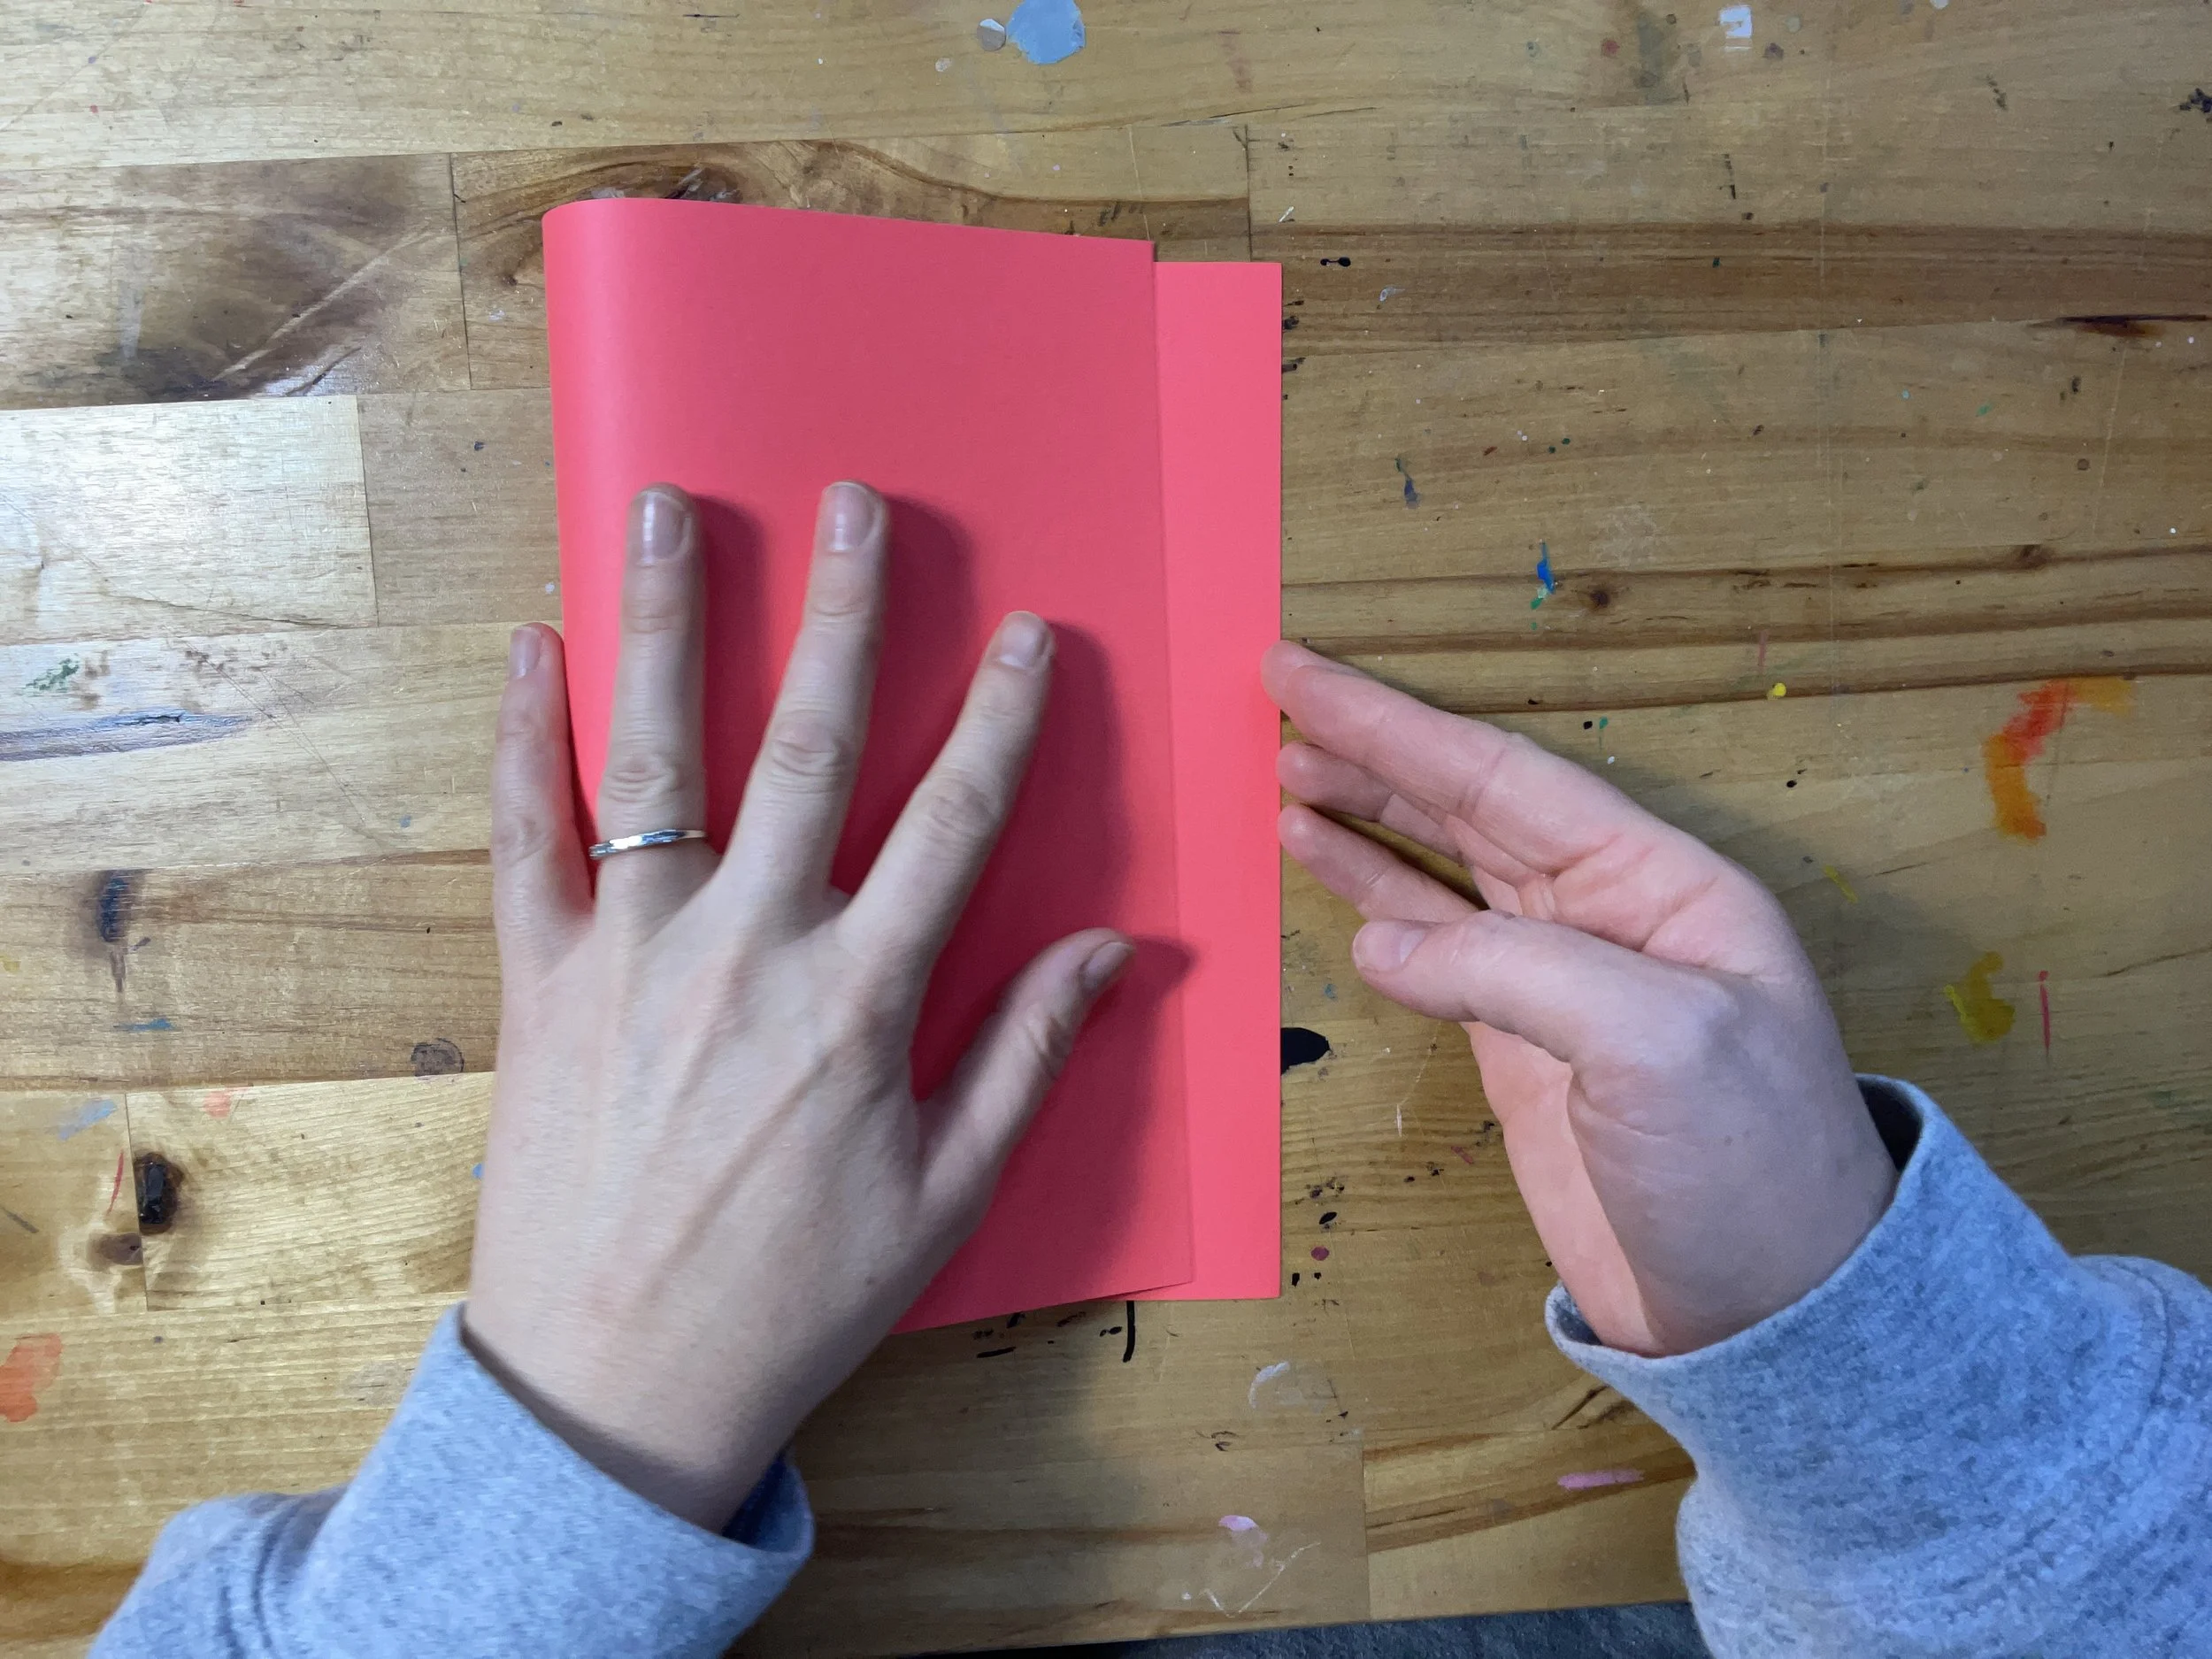
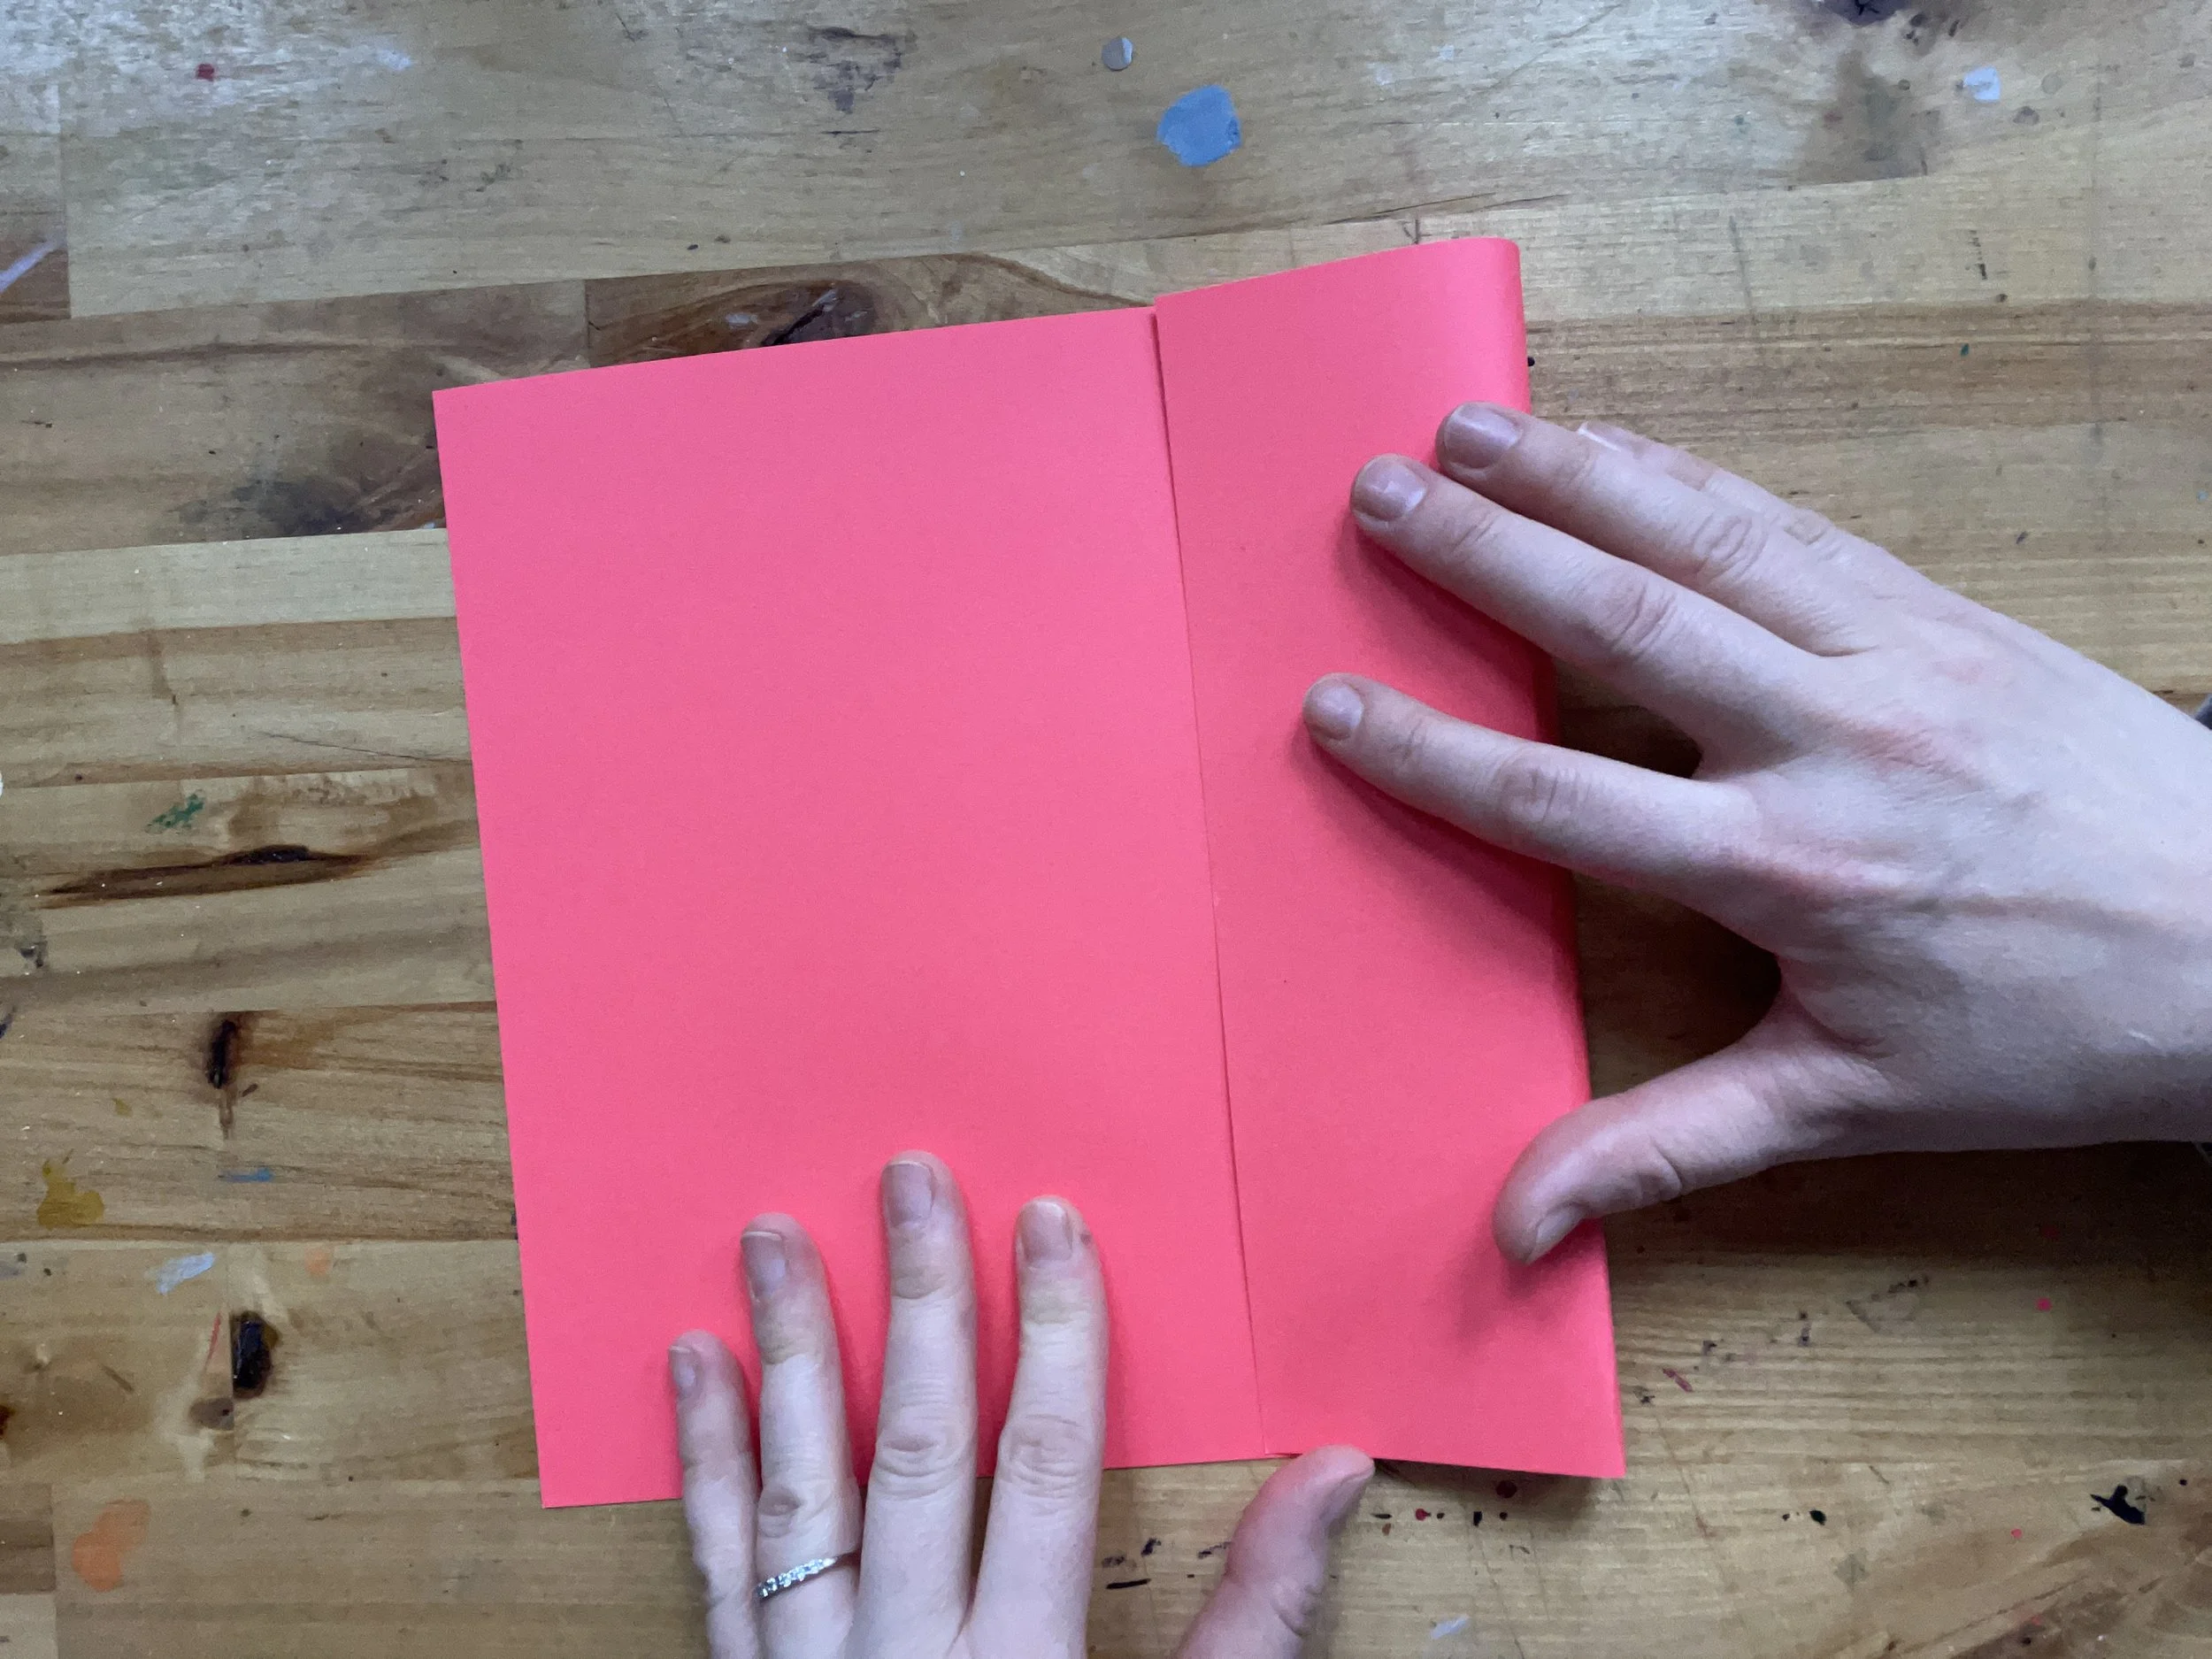
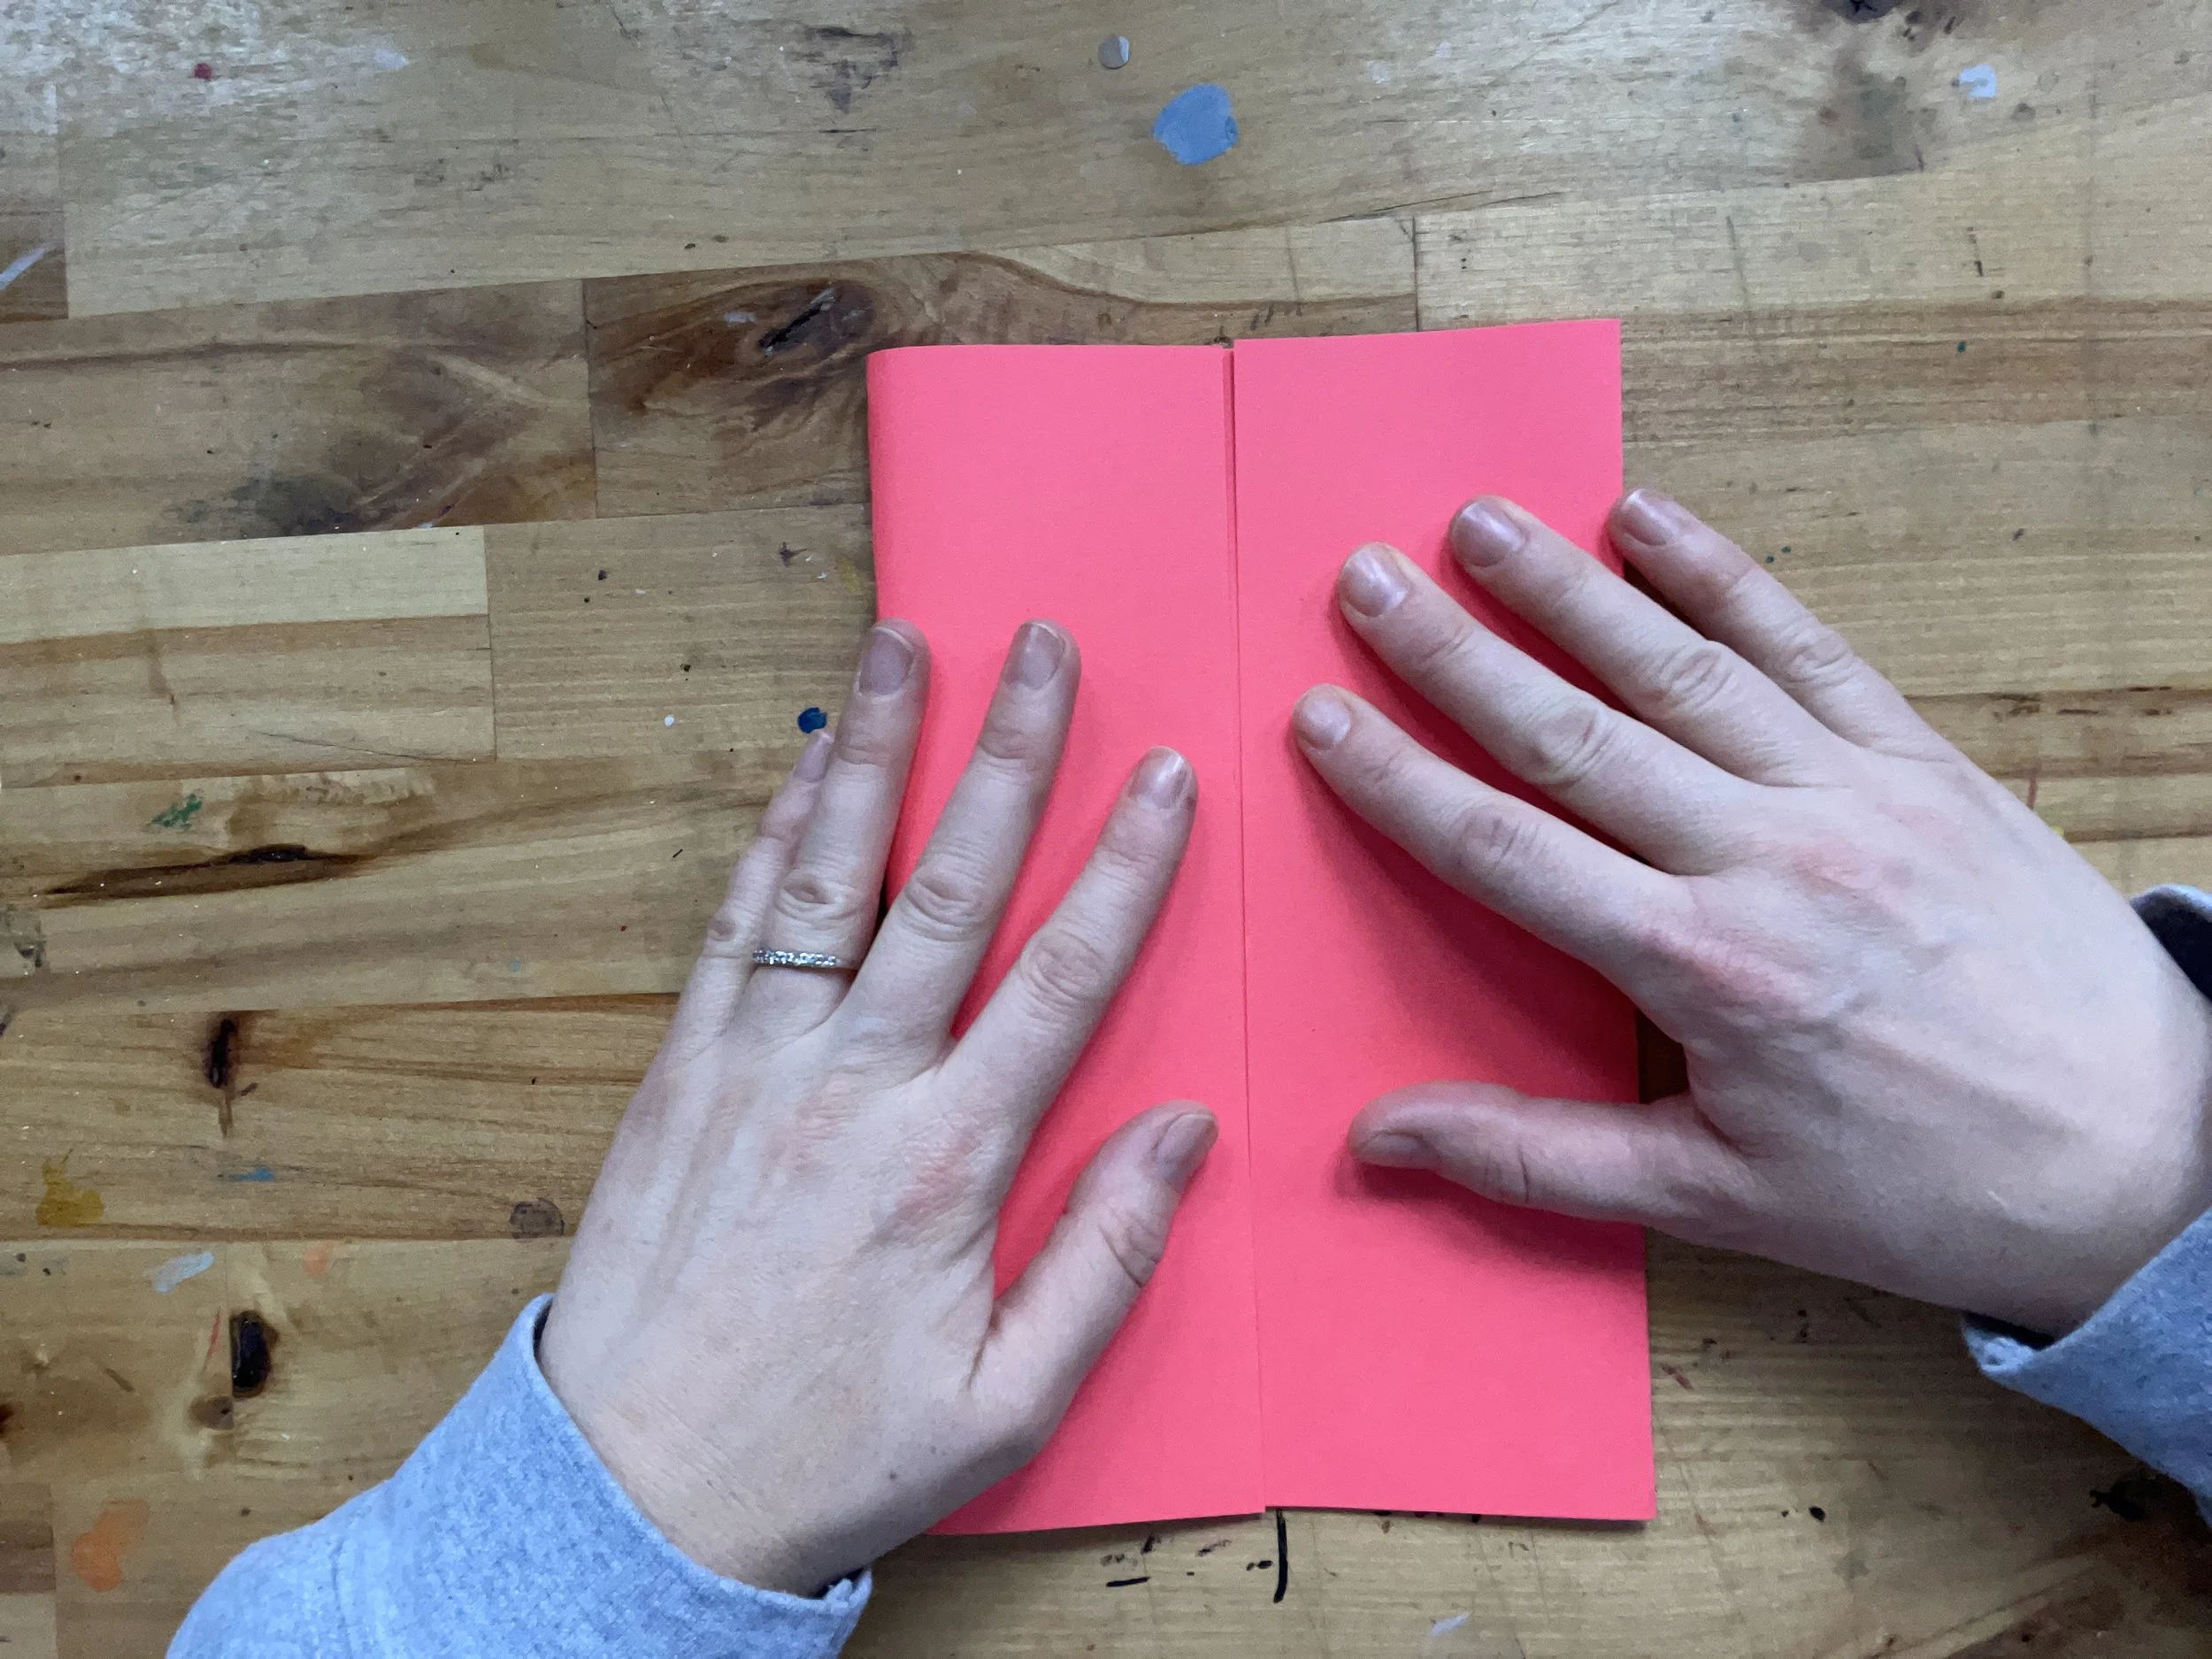
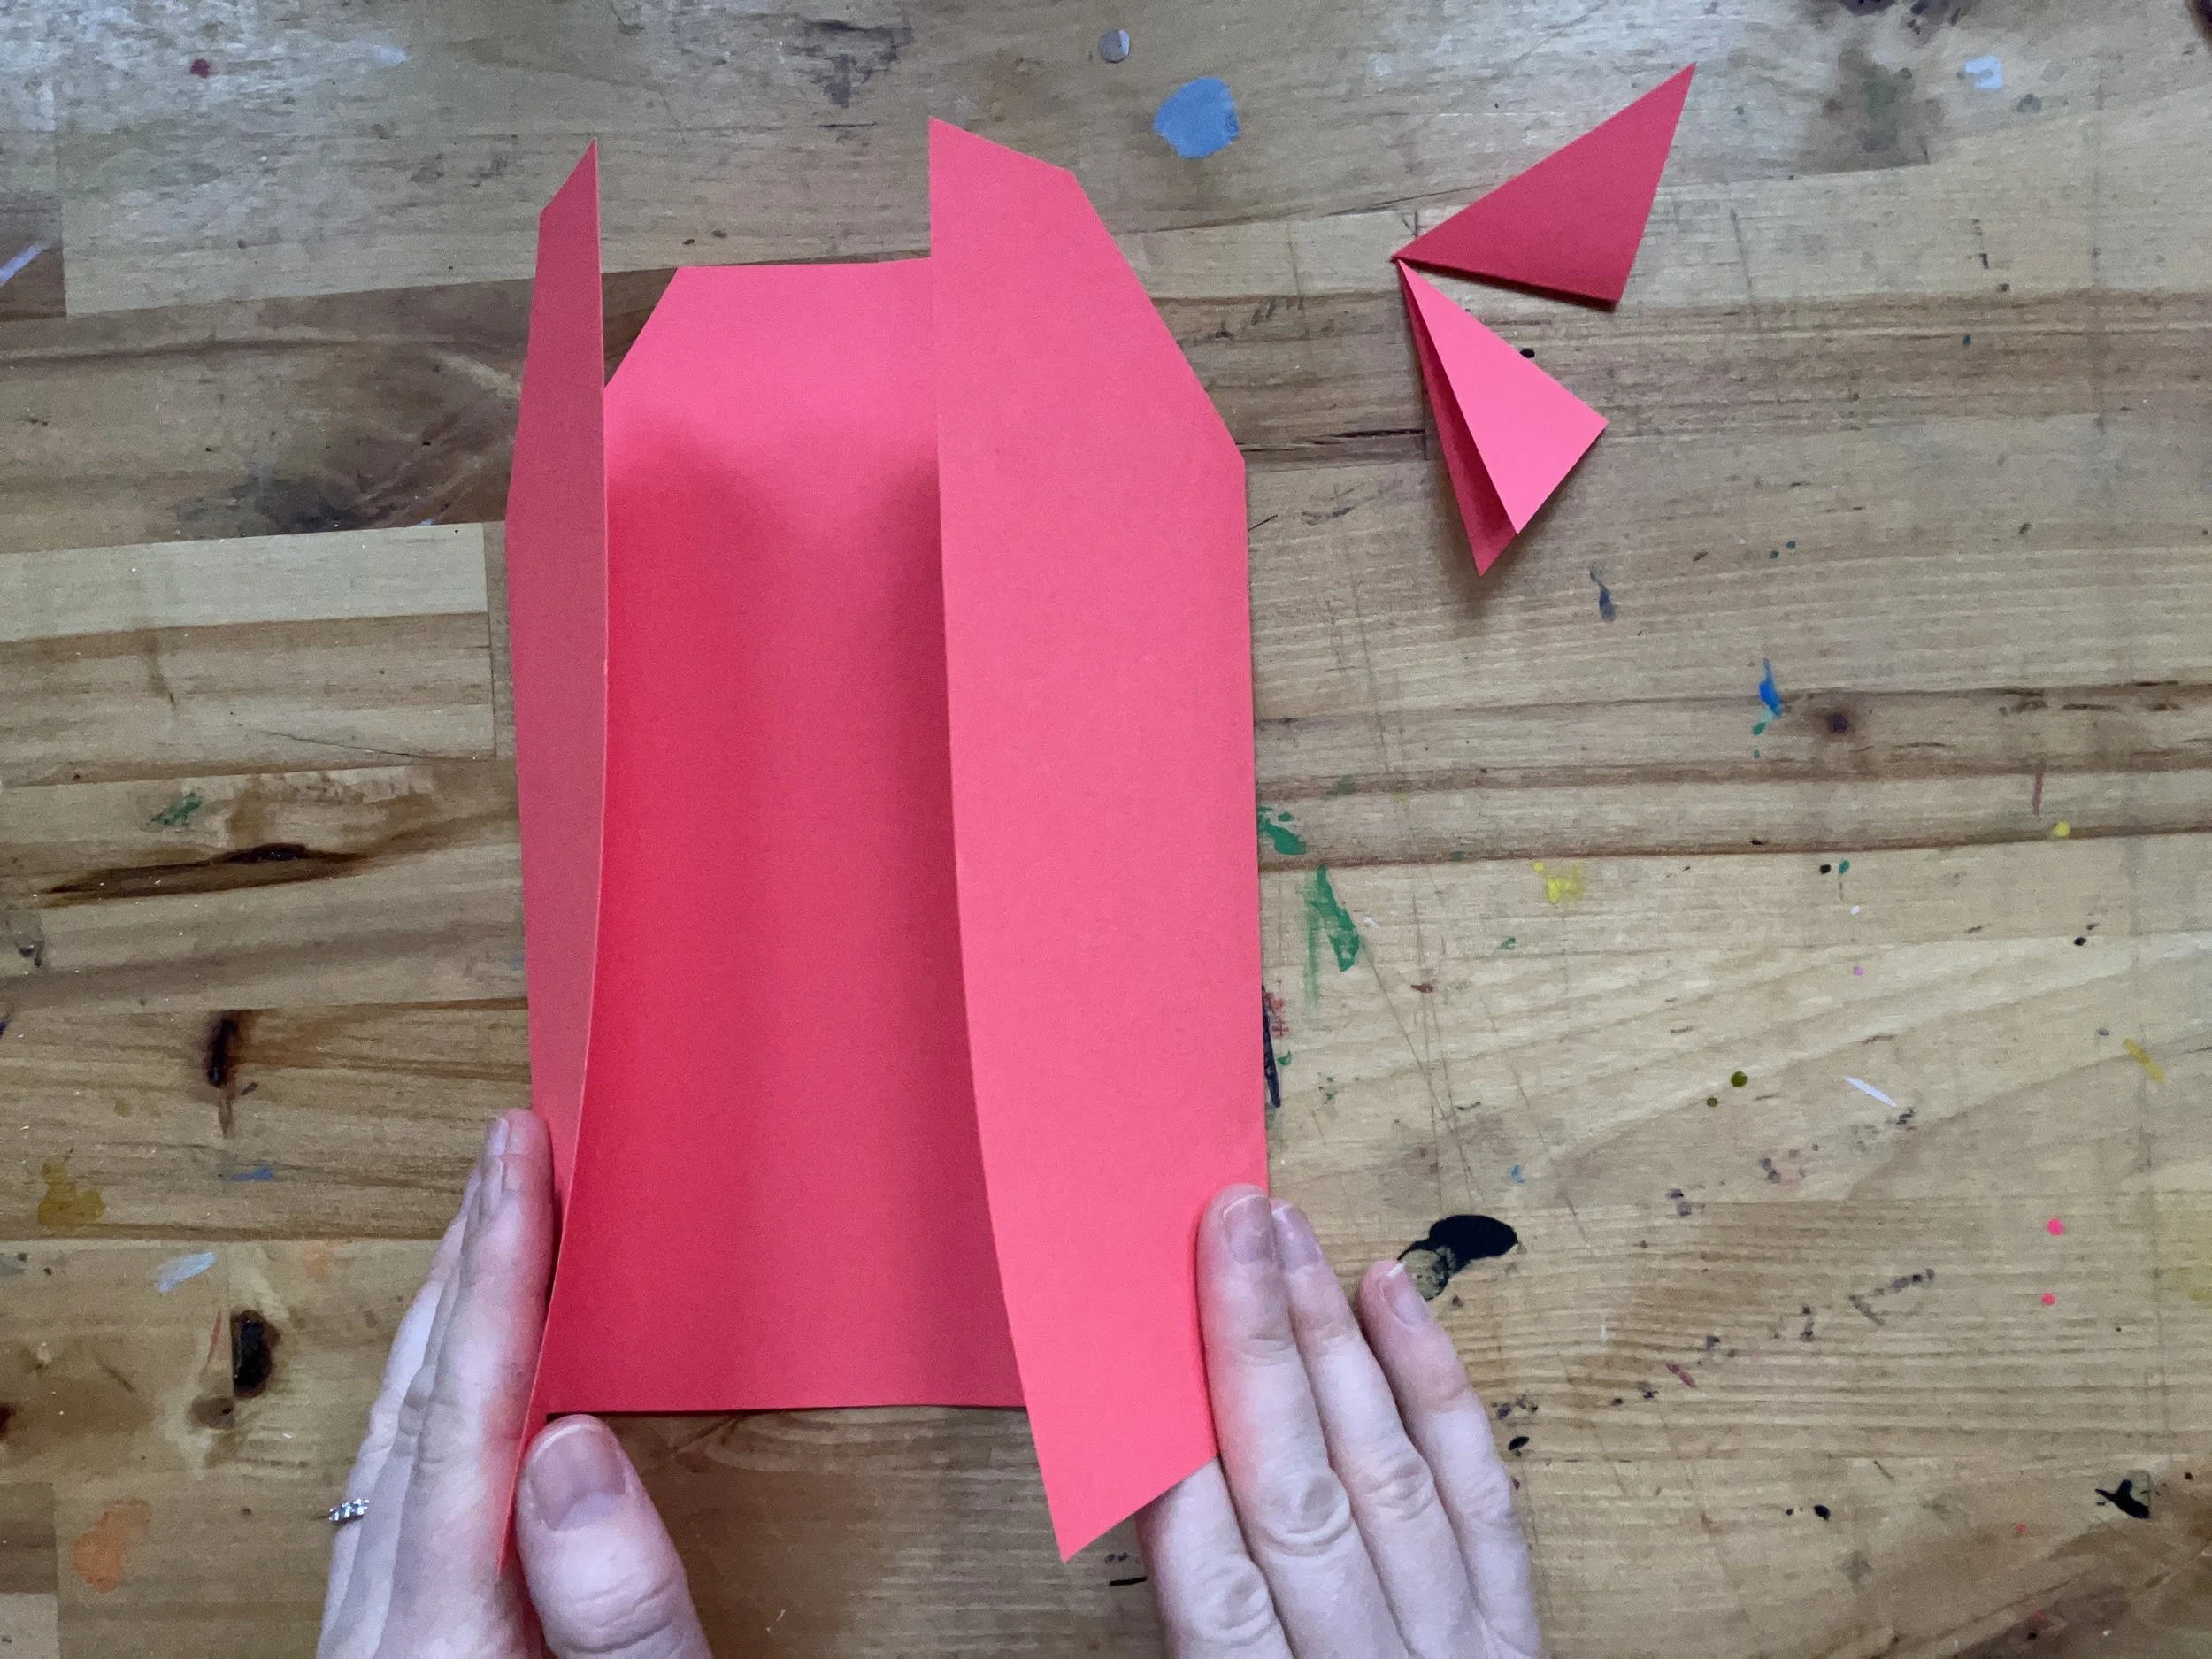
Step 1: paper in half horizontally. This helps to find the middle of the paper. Then fold each side into the centerline.
Step 2: Cut off the corners of the folds for the roof.

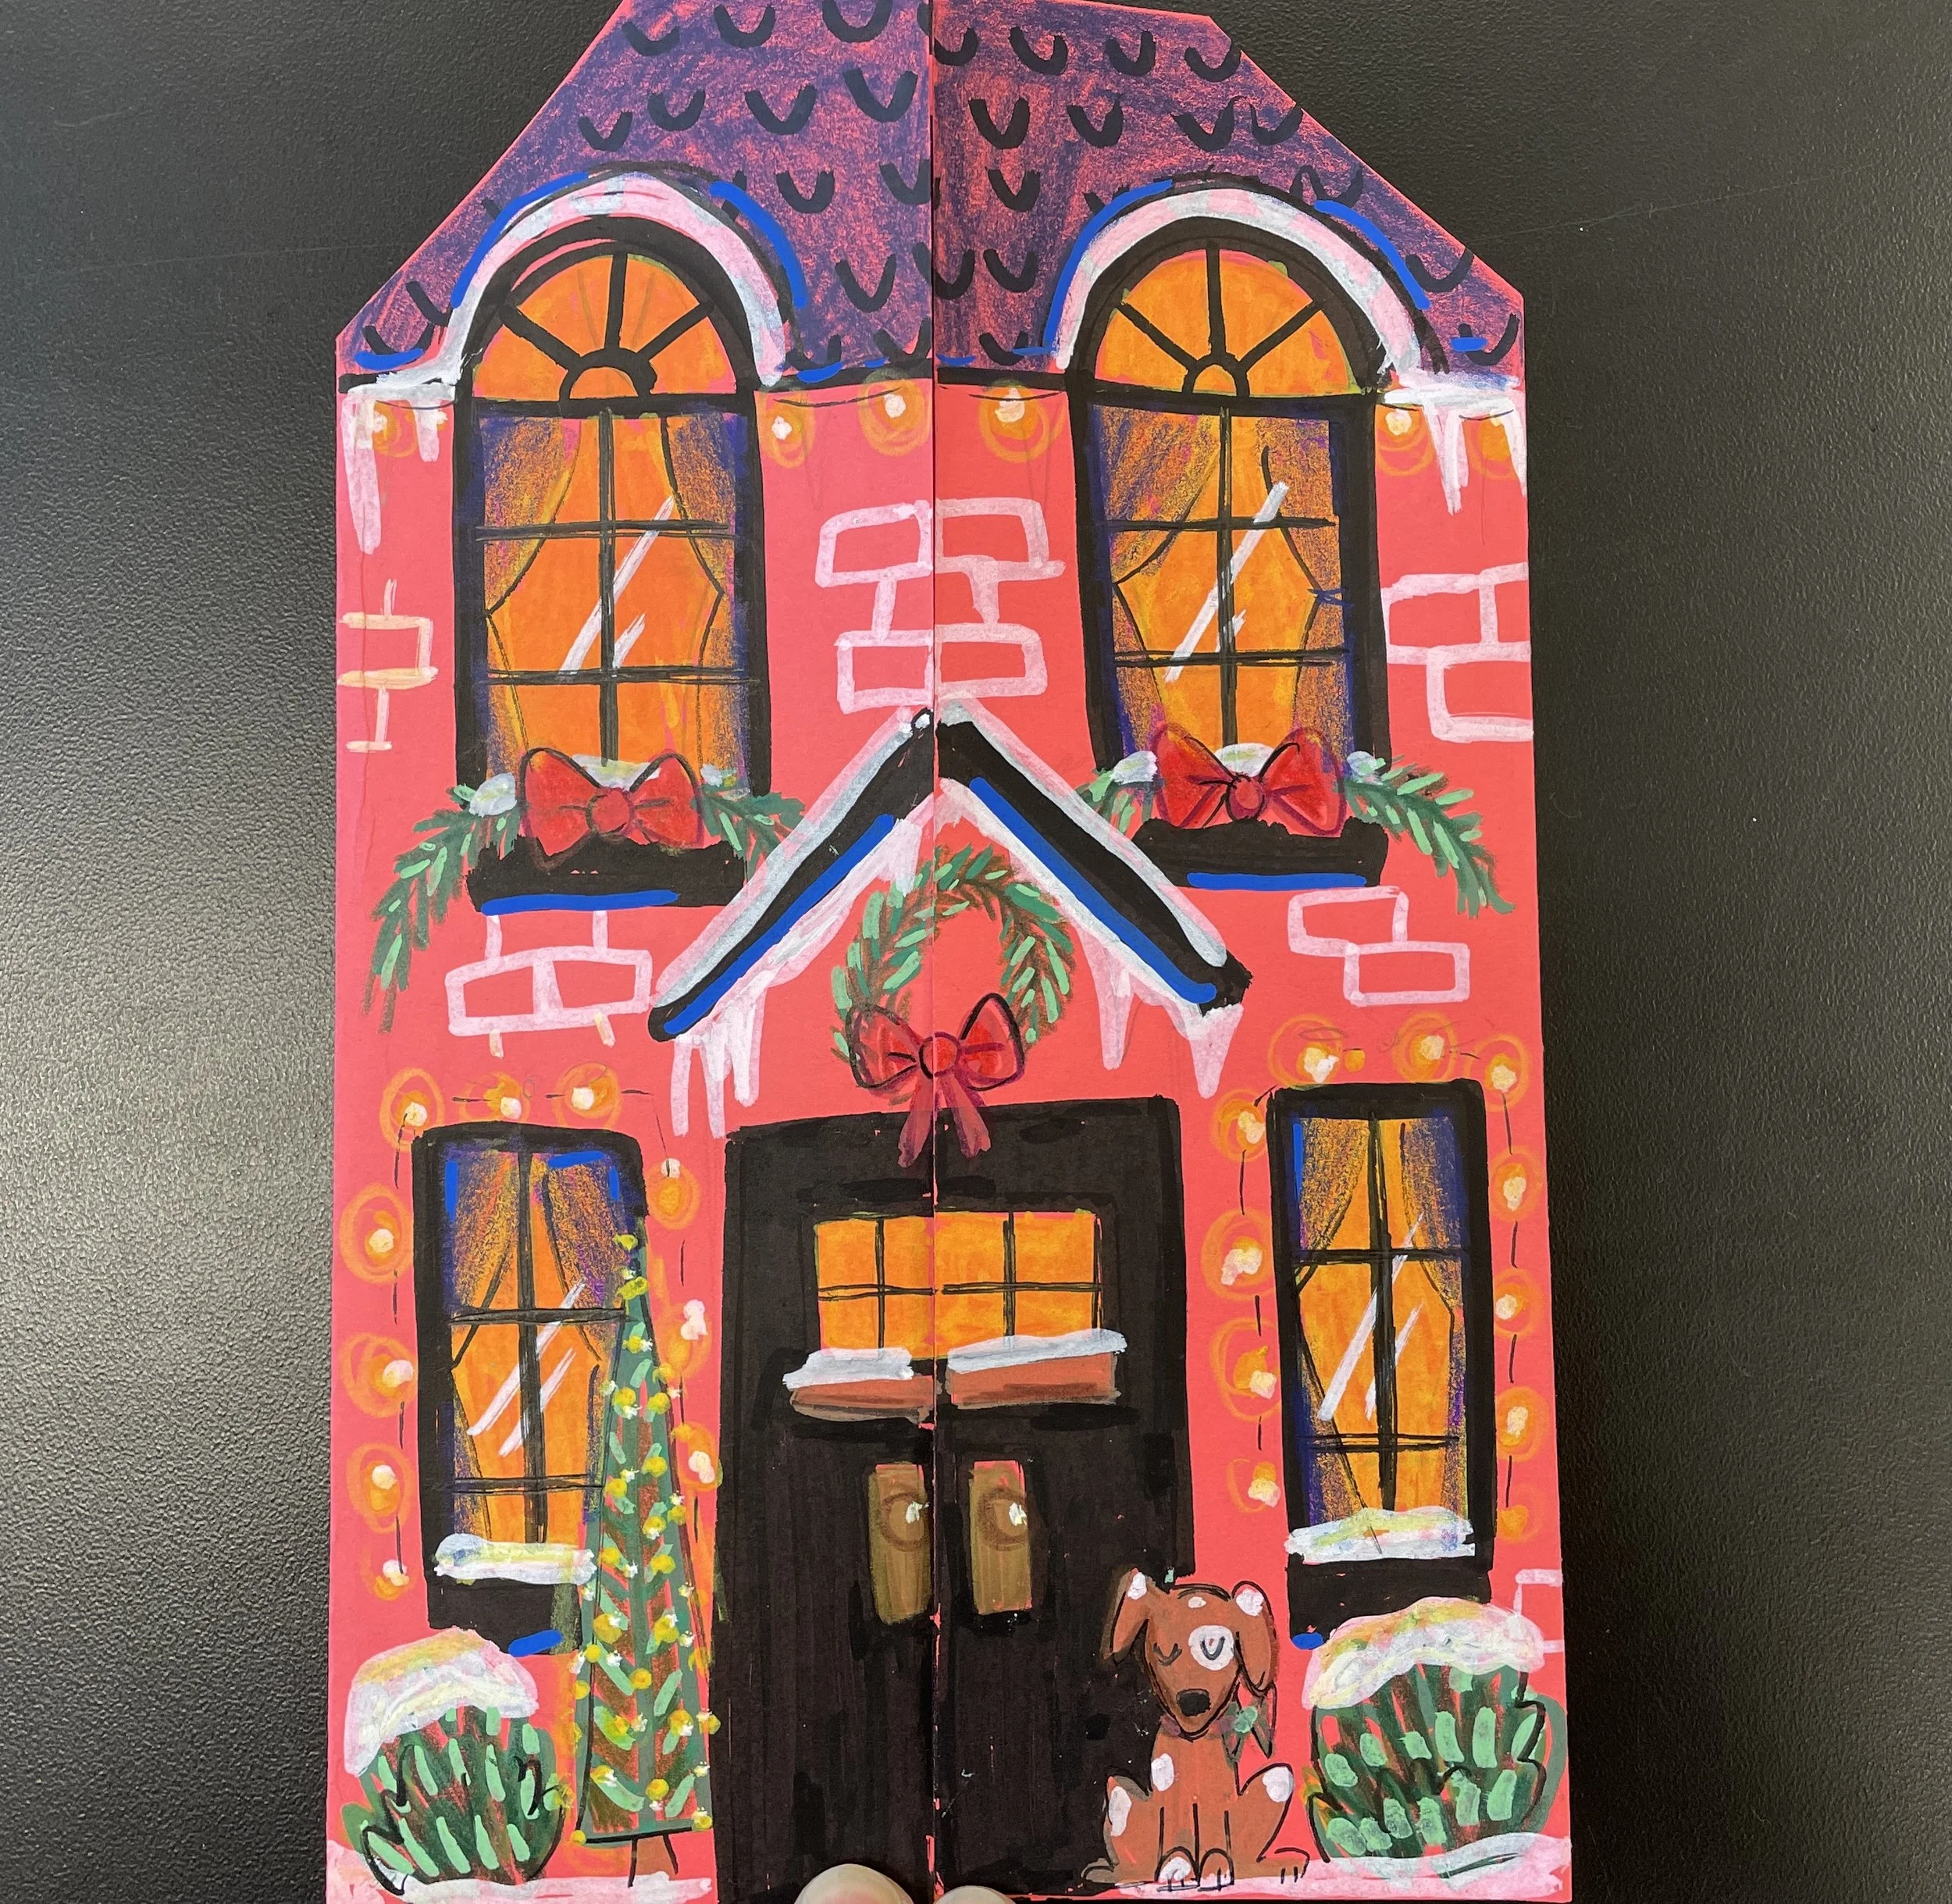
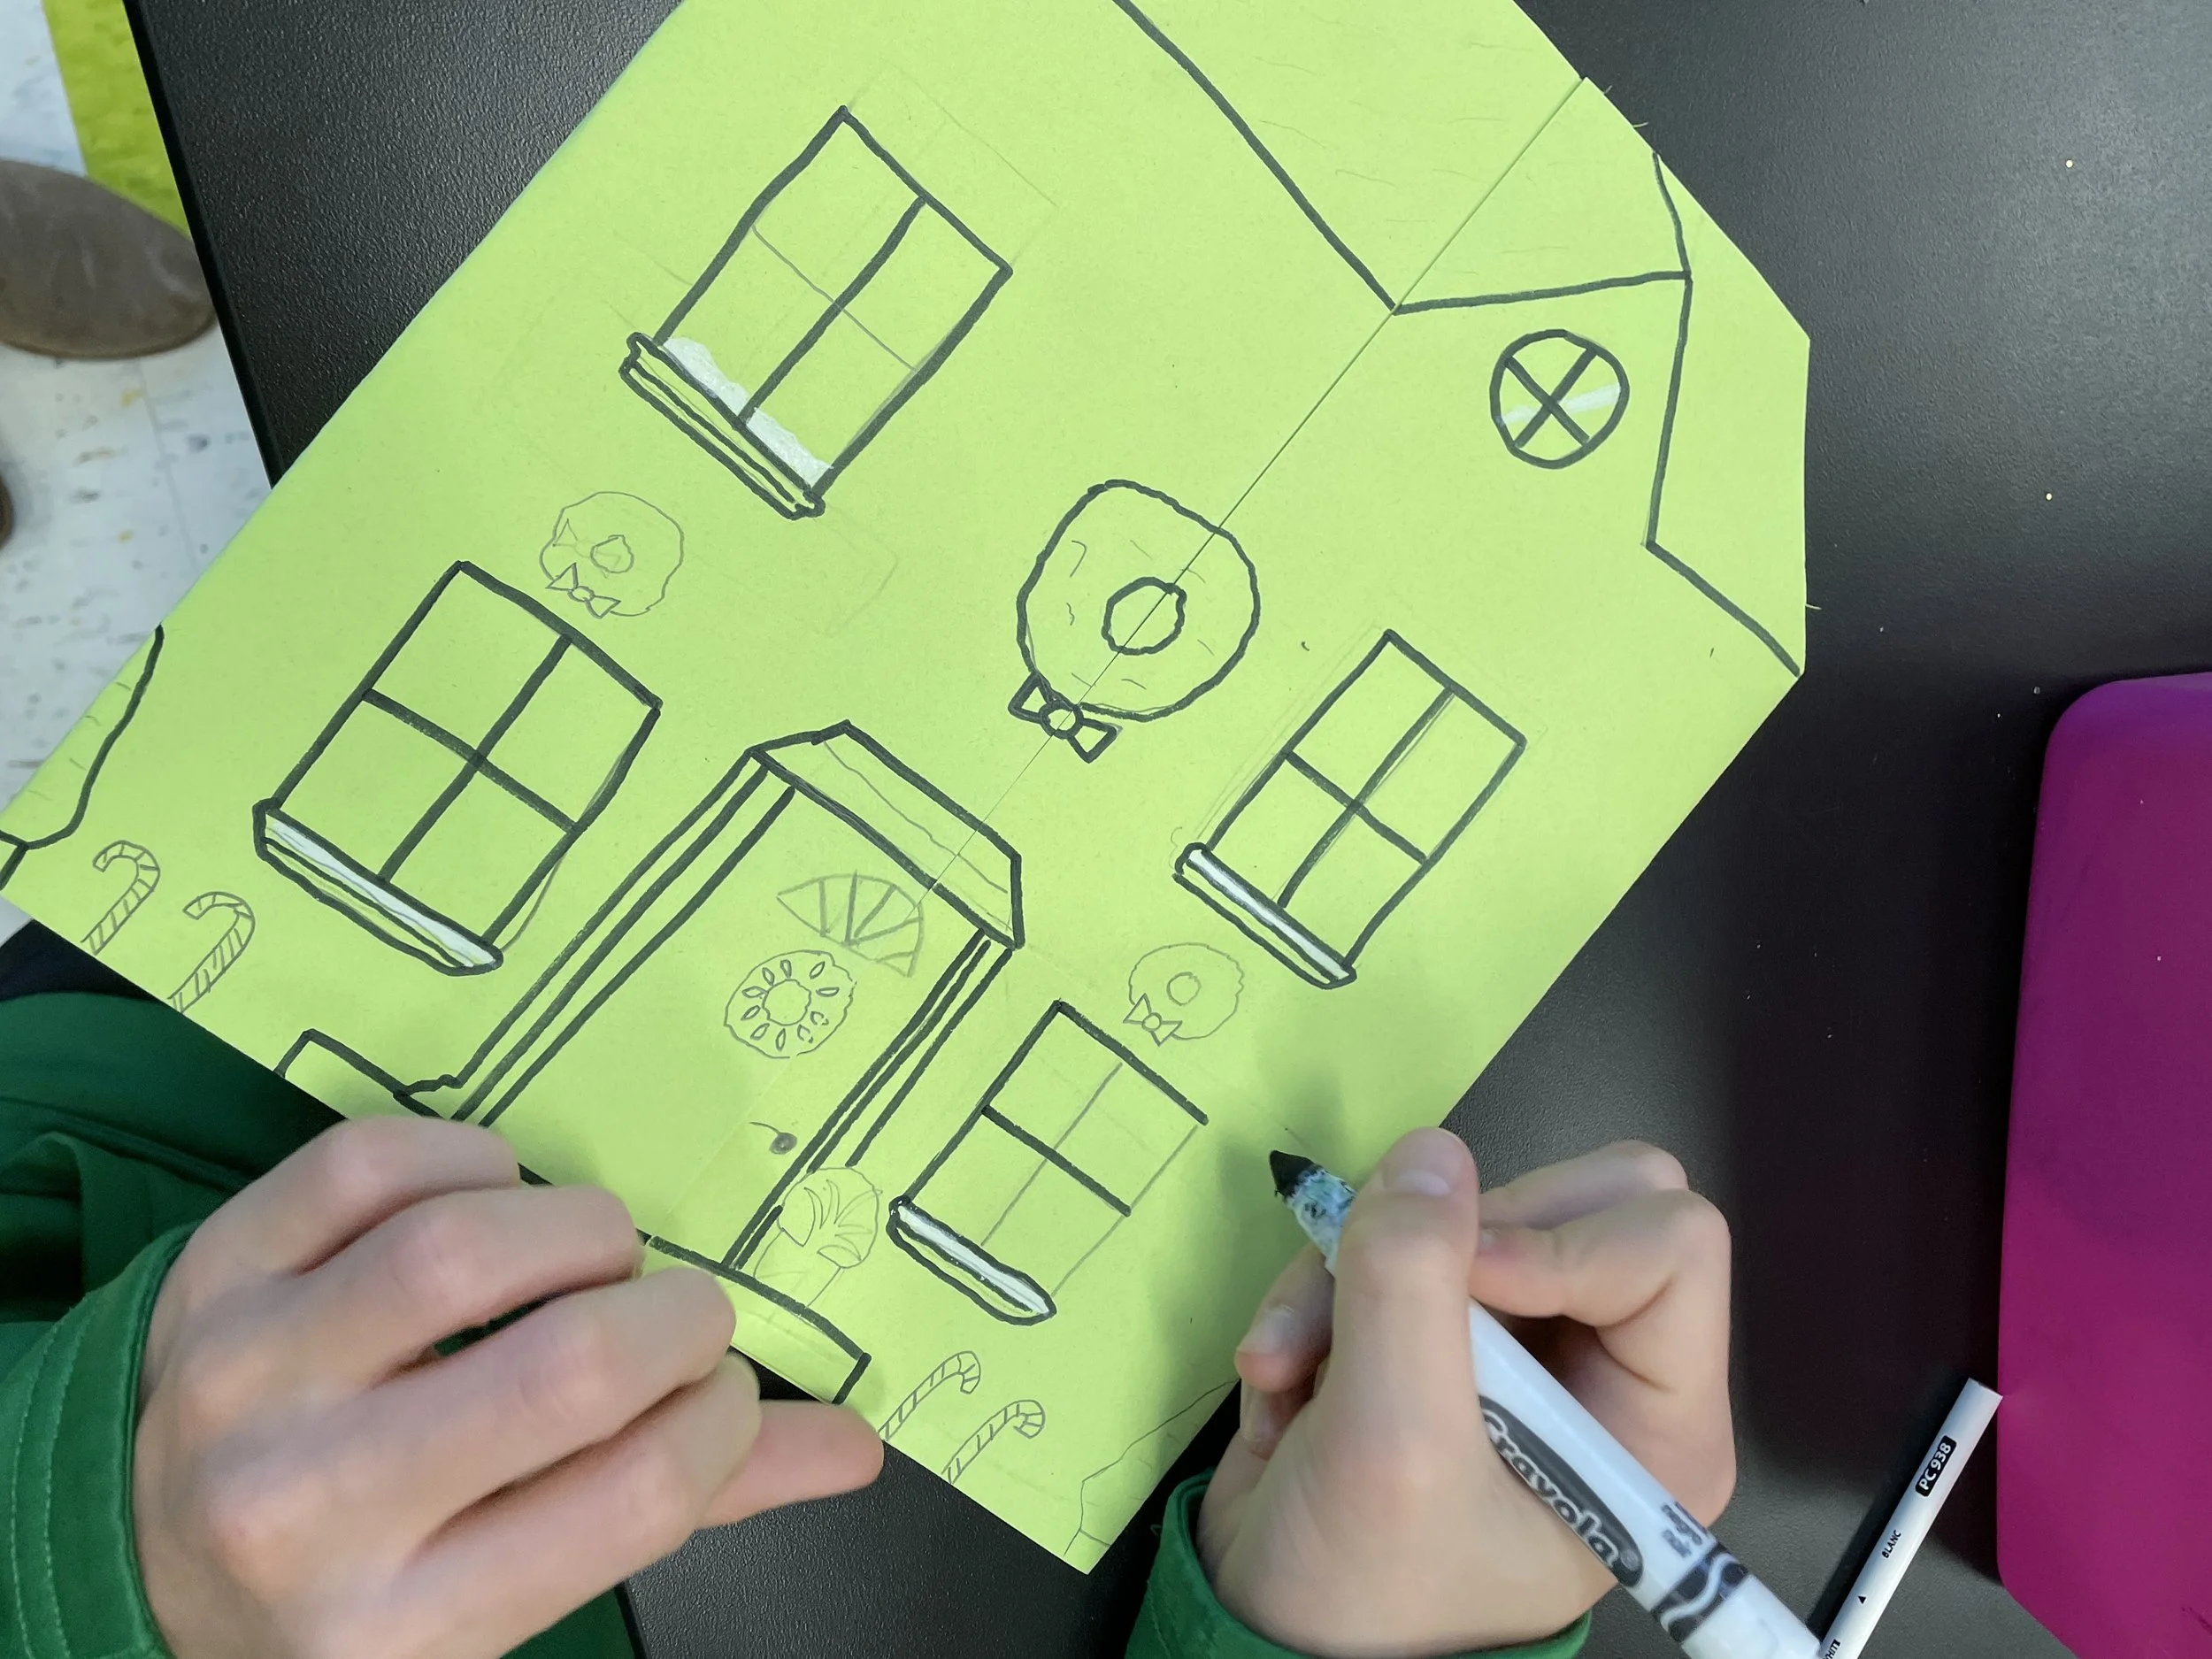
Step 3: Draw the outside of the house using a washable black marker. For ideas and inspiration, provide students with Winter Village Drawing Guide.

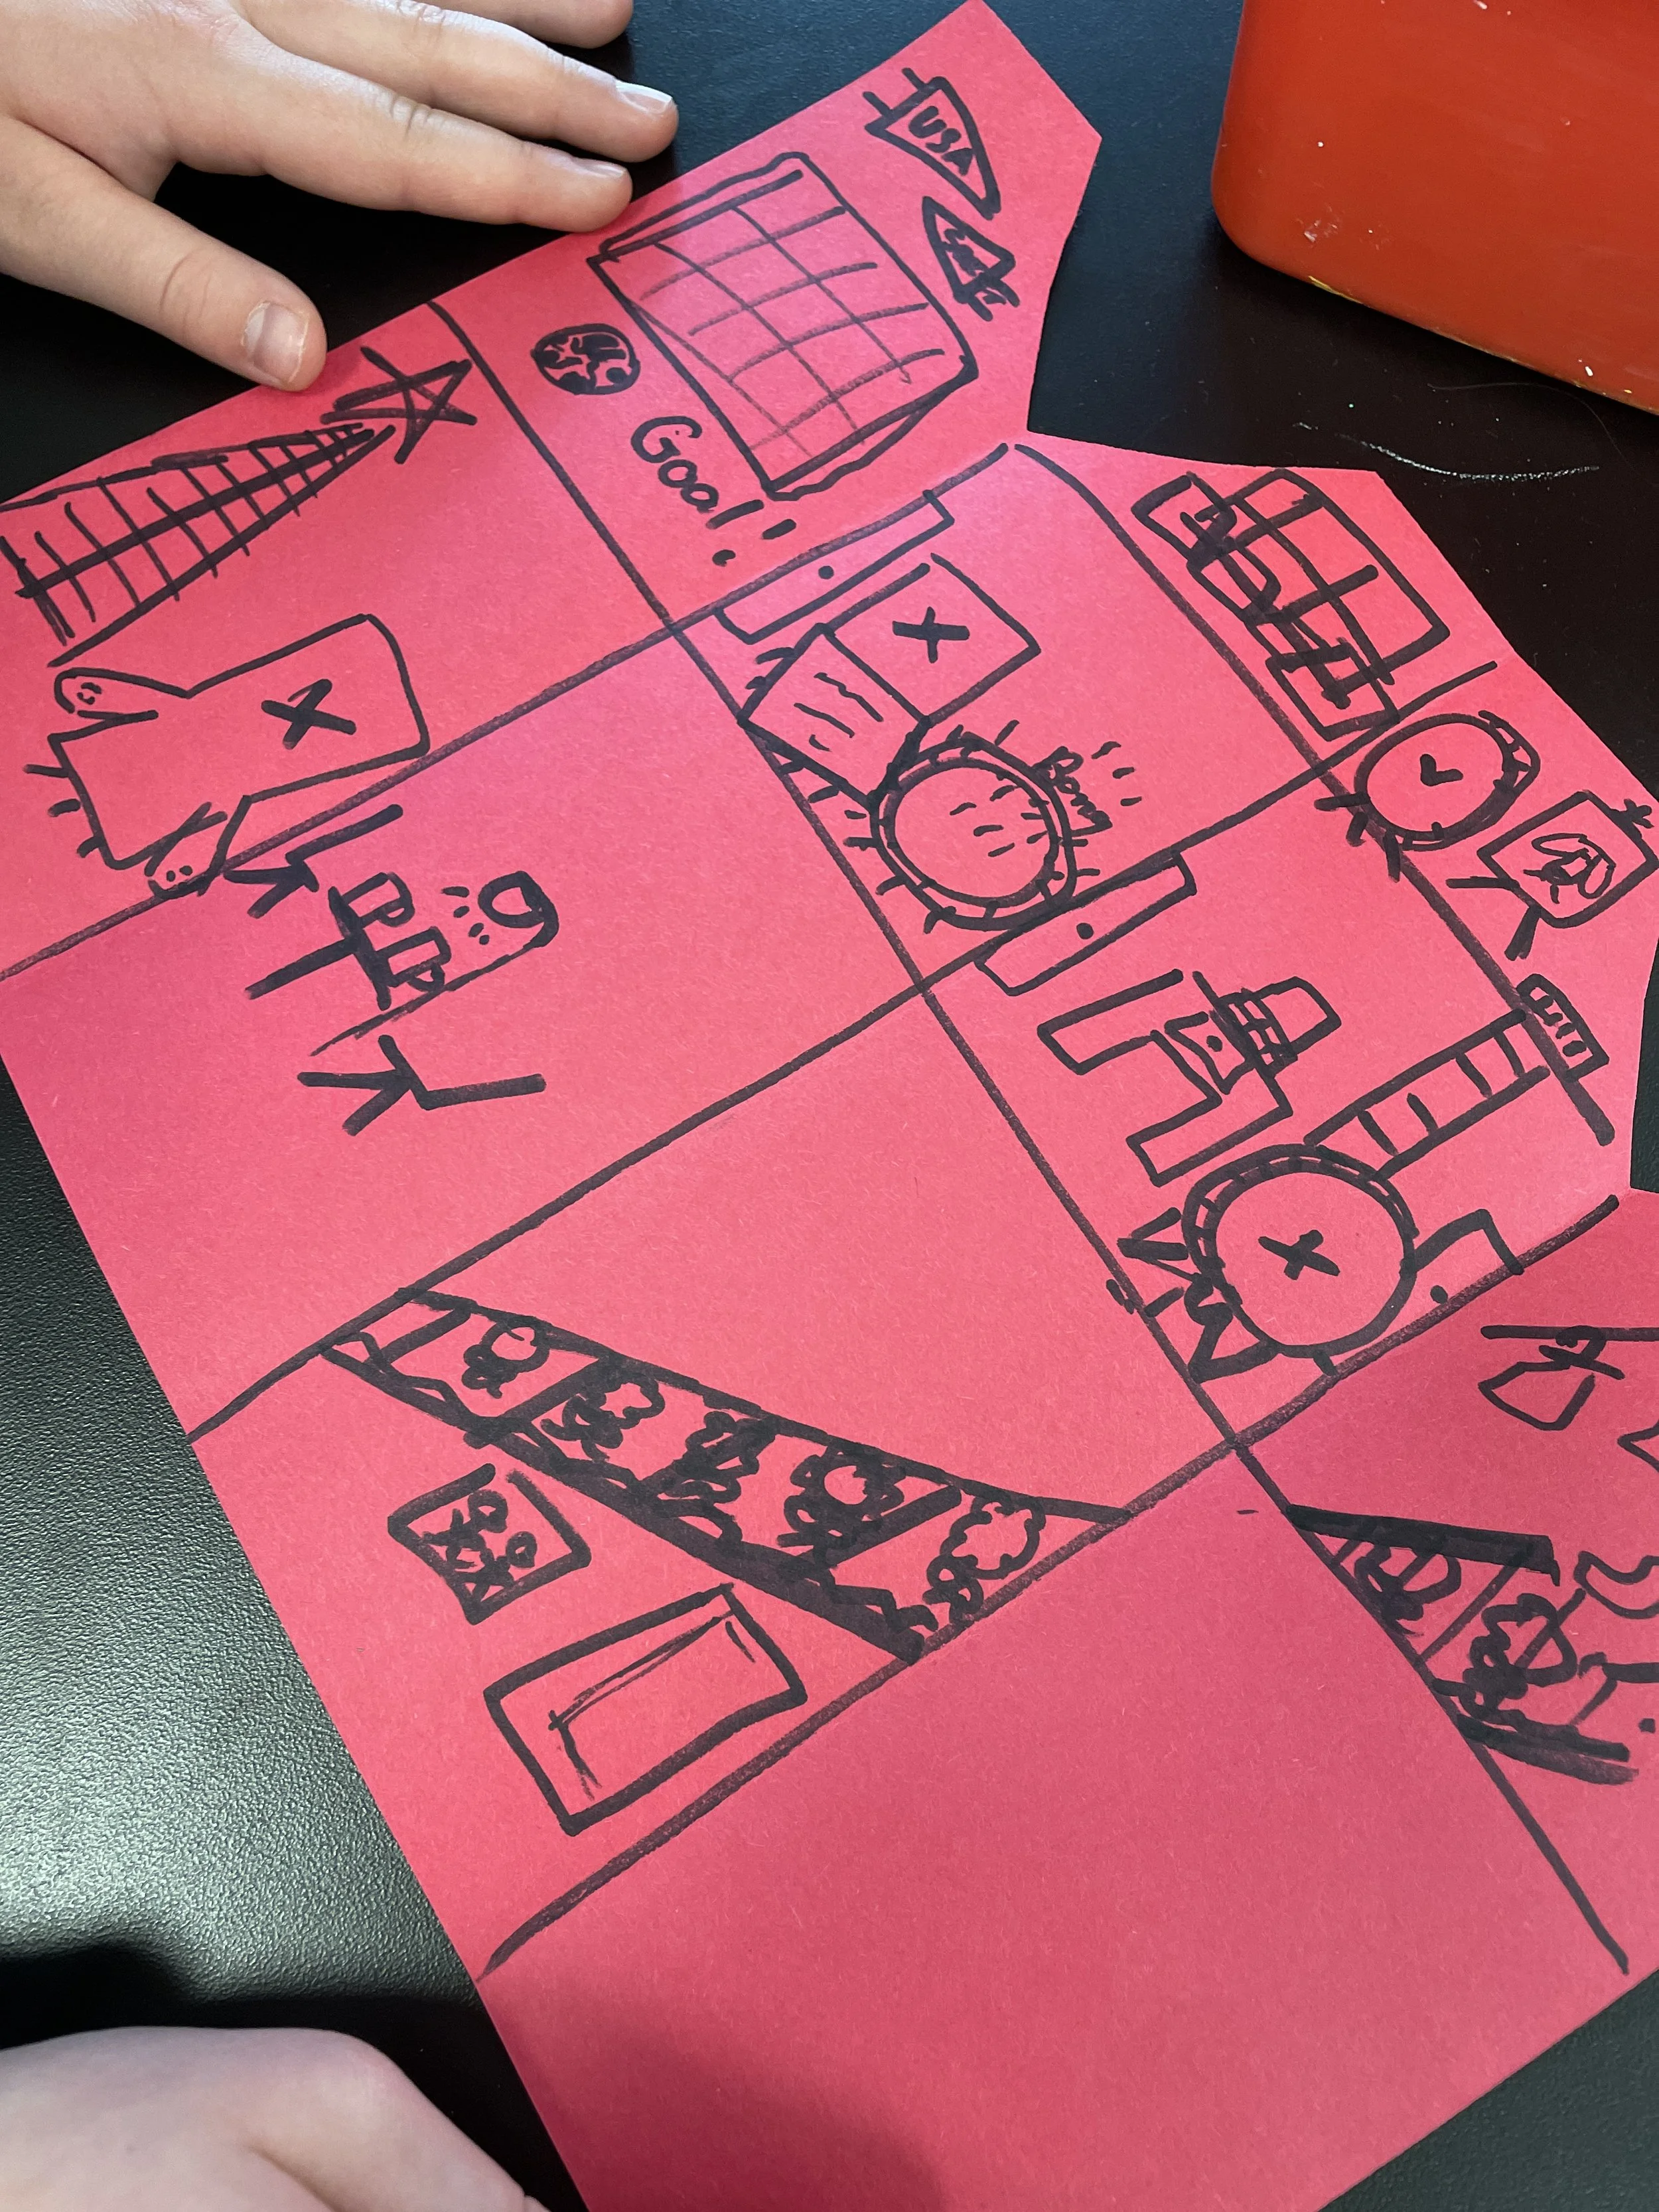
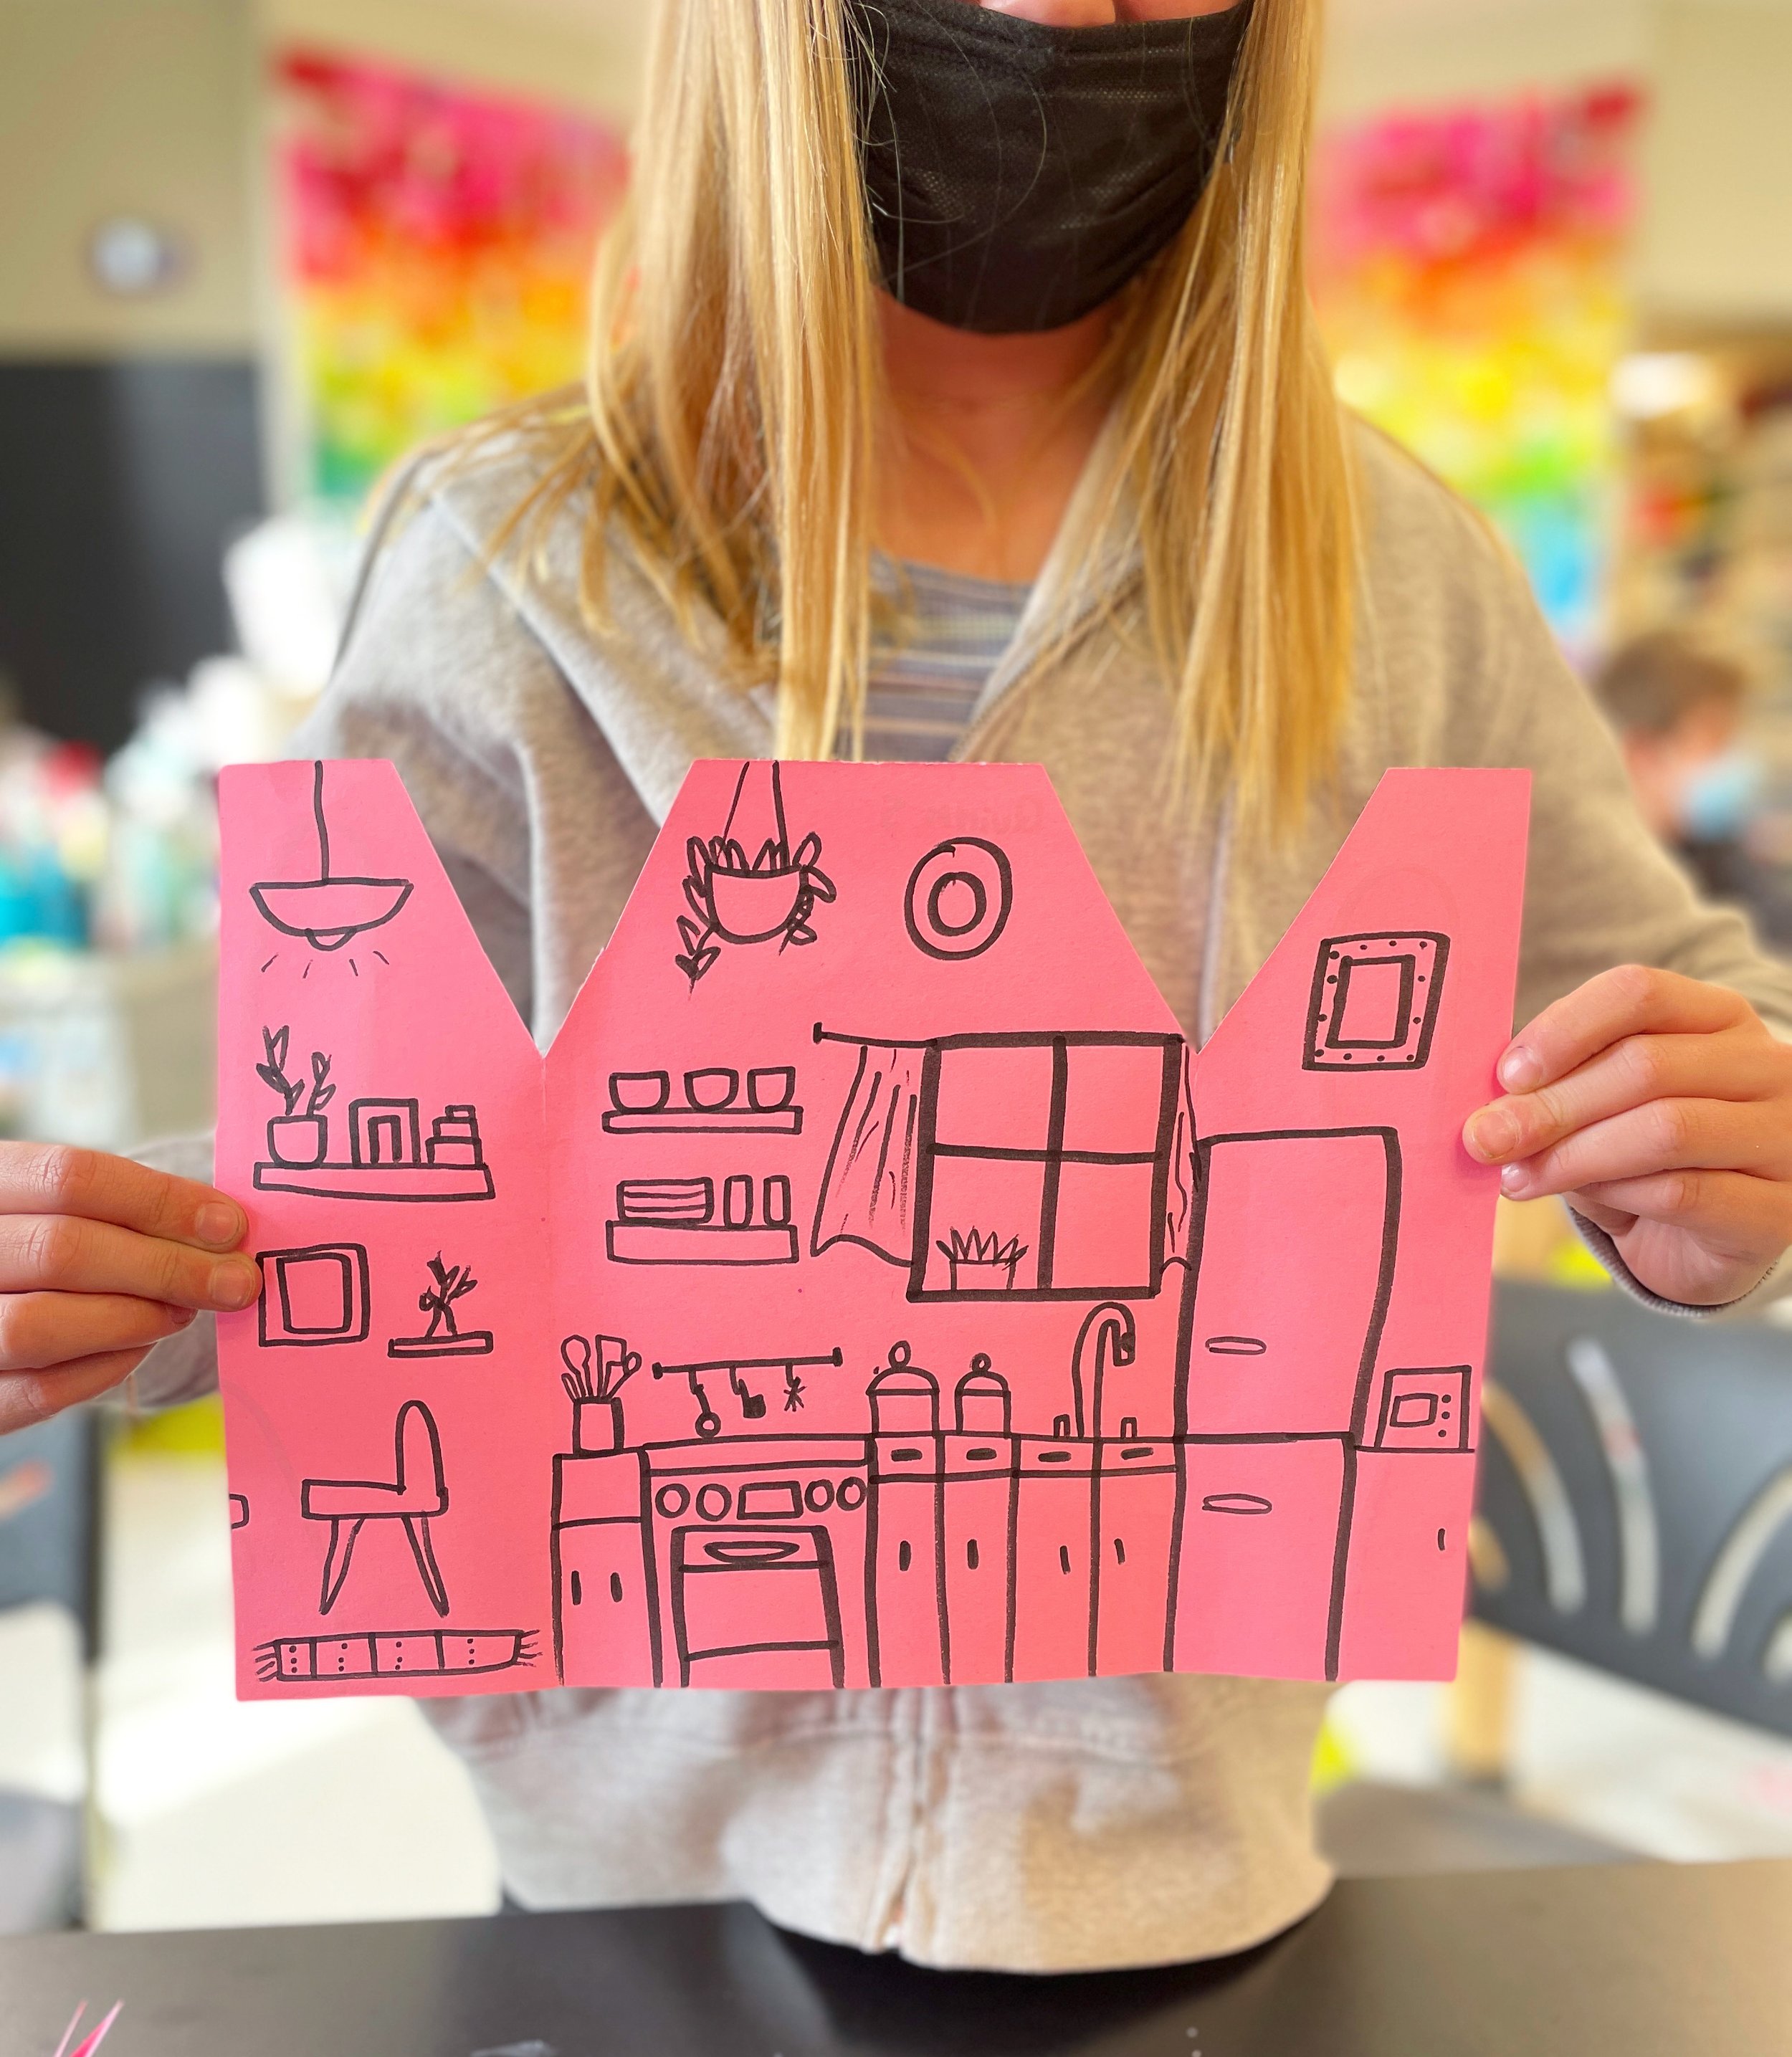
Step 4: Open “doors” of the house and begin drawing the inside of the house! Students can choose to draw the inside of their home as one large room or they can divide it up into multiple rooms. Students can draw elements of their real home or create a new space of their own… their DREAM house! If this lesson is being done around the holidays encourage students to add a bit of their holiday celebrations and traditions to their homes as well.

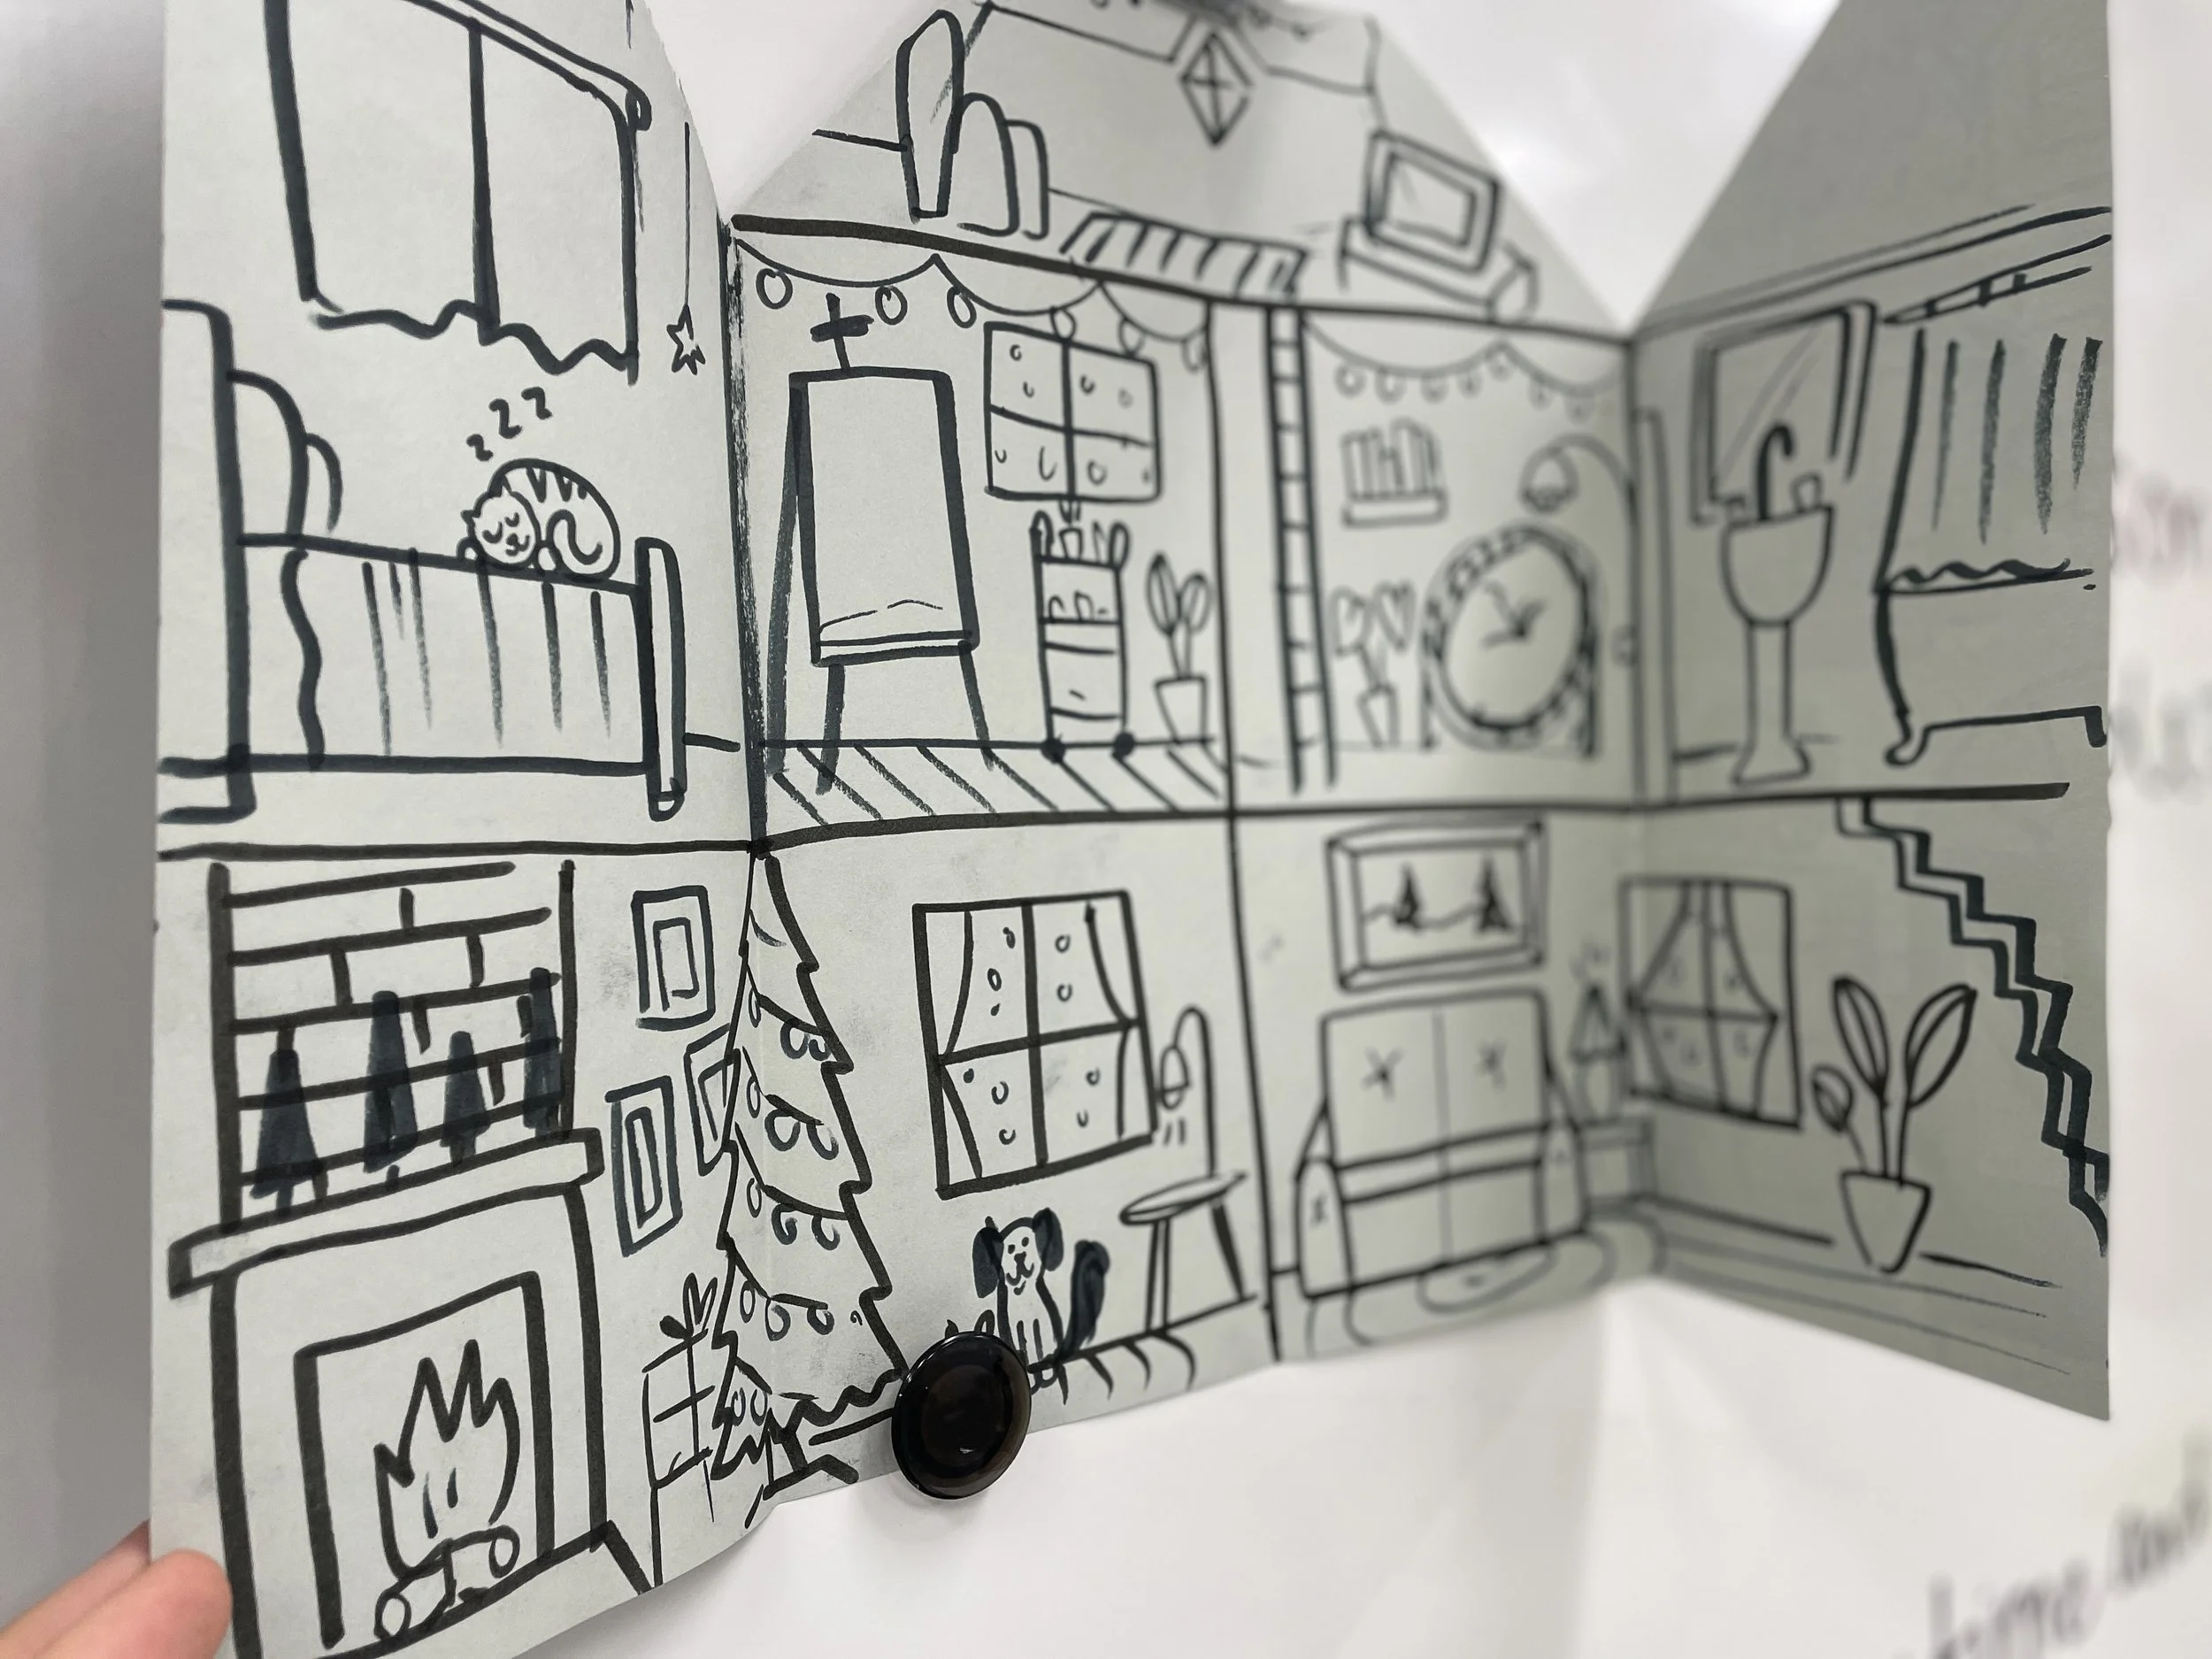
This was one of my examples in which I left for my students. This example showed what a house could look like if you chose to divide it up until many rooms.
Step 5: Color in construction paper crayons or Prismacolor pencils. Higher quality colored pencils like Prismacolor show up incredibly opaque and bright on construction paper- but they are a bit pricey. So I highly recommend construction paper crayons as a cheaper alternative!

This lesson is so fun and easy and the perfect project to get us through the last few days til winter break! I hope you and your students enjoy! Have fun!


2 comments
Cool I love it!
Thanks so much l love this and can’t wait to share it with my class