First of all, if you’re not following the fabulous Laura Lohman over at Painted Paper Art (@paintedpaperart) then stop what you are doing and follow her on all social media outlets. Laura is a fabulous veteran teacher who so many lessons, resources and much more available on her blog. Through the magic of Instagram, one of the thing I learned from Laura was how to make painted paper. I never thought I was one much for collage but creating beautiful unique painted papers has become a game changer and my students just adore them! You can check out Laura’s blog post here about how she orchestrates her painted paper set up and organization. Laura has taught me a ton about painted paper but I thought I would go ahead and share with you how I go about making them with my students.
PAPER
In years past I have made painted paper with 80 lb drawing paper but this year I decided to try it out with cheap newsprint (to save my good paper for drawing projects). After watching a video about Eric Carle making his papers on tissue paper I decided to give thinner paper a whirl- And guess what! The newsprint was awesome! I just had to remind my students that the paper was thin so they couldn’t “over paint” or “over scrape” in one area of the paper or it might rip through.
PAINT
I only use Crayola Premier tempera. Fluorescent paint too (it’s a must for me!) I tell my students that as a class we are going to all work together to make a huge assortment of painted paper to all share. Using lidded ice cube trays (thanks @kelsiquicksall for that genius hack!) I supply each table with two analogous colors (colors that are next to each other on the color wheel) plus a little white. The reason for only analogous colors is that no matter how much of little they colors are mixed they will still look lovely no matter what! When you add too many color options you can go ahead and assume the kids will mix them all and leave them with brown or gray painted paper.
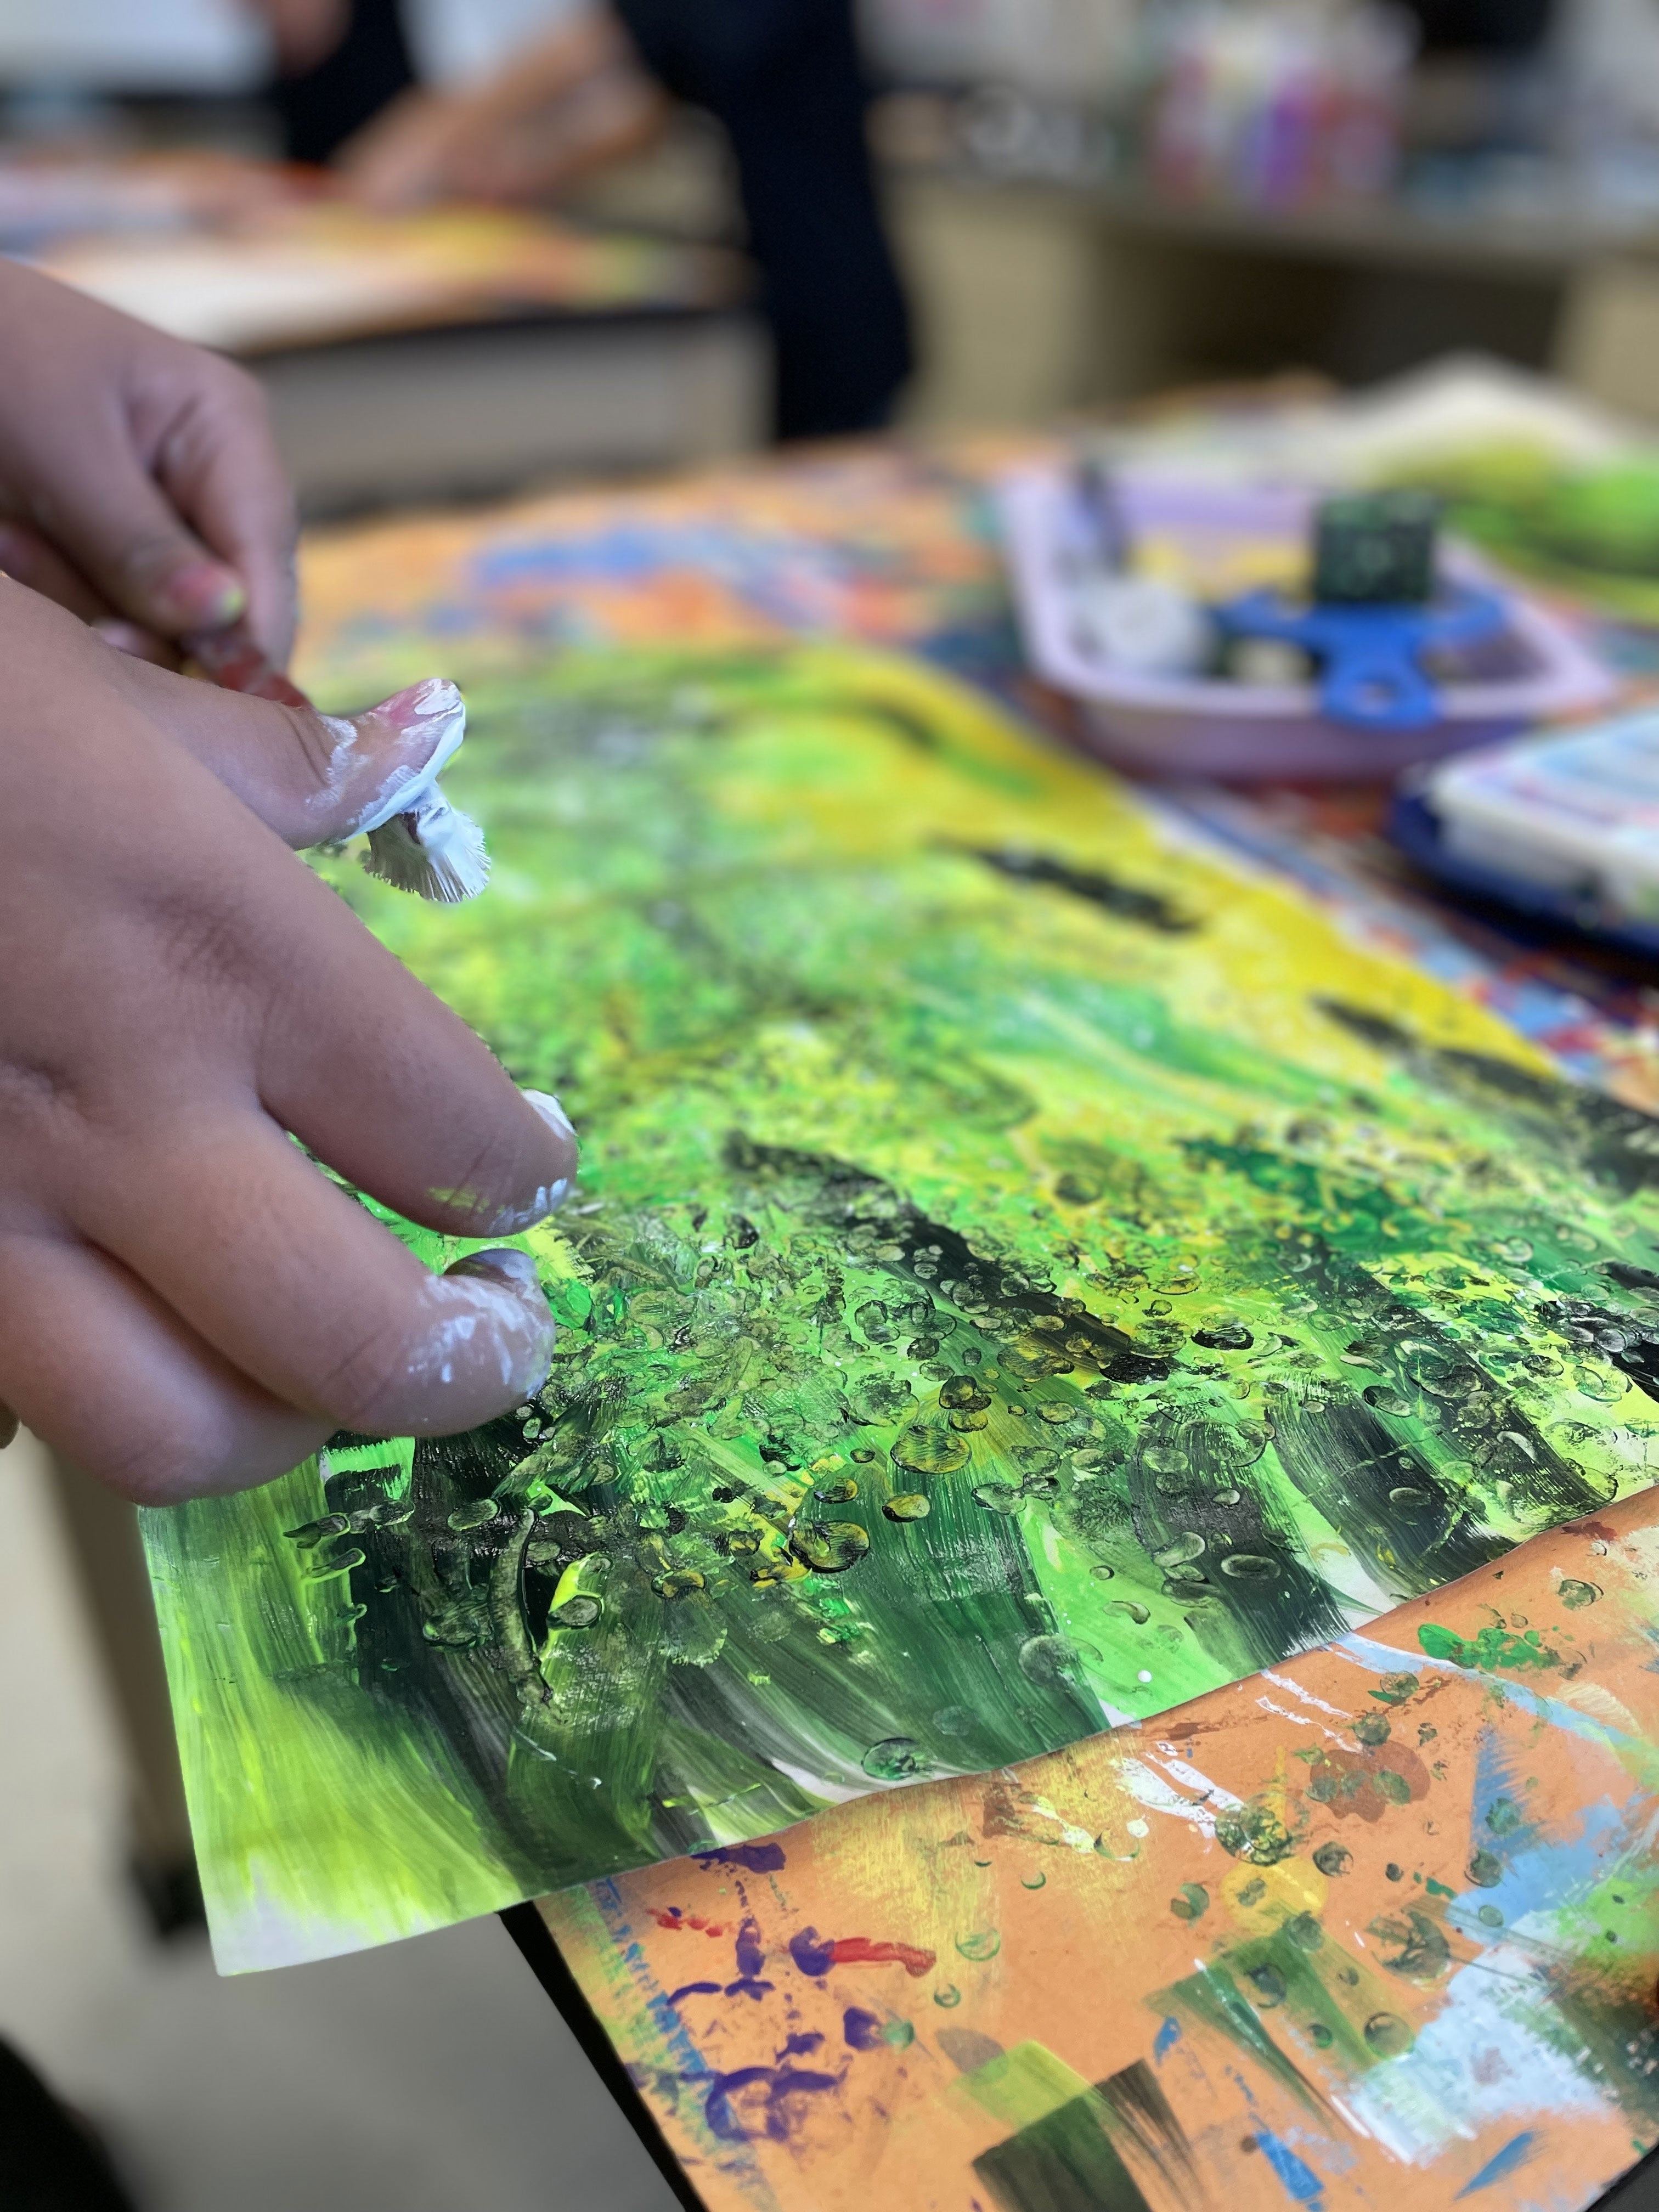
After providing paint, i encourage students to add any lighter paints first and then layer darker colors. That way when they go to add texture the dark paint scraps away revealing a beautiful bright texture underneath.
TOOLS
I provide each table with a variety of texture tools. Textured scrapers, texture rollers, plastic forks & knives, bottle caps, sponges, toothbrushes, old hotel swipe cards, you name it! The key is reminding them paint about a quarter / half of their paper at a time and then adding texture while the paint is still wet! If they paint the whole paper, chances are by the time they go back to add texture not much will happen or they will rip the paper Bc the paint is no longer wet & smooth.
Allow the paper to dry then (if needed) press with large books to flatten (my go-to are those old art history books from college that I no longer need!)
Have fun making lots of painted paper and don’t forget to head to the queen of painted paper’s blog, Mrs. Laura Lohman aka Painted Paper Art.




1 comment
Beautiful. I make something a little similar by using bright acrylic paints dab it around on a piece of parchment paper cover with another piece of parchment paper and use a scraper to thin and smooth together Let dry peel from parchment and viola painted paper