Hi friends! Today I wanted to share with you part two of my giant Symmetrical Sugar Skulls lesson that I did with my adapted art class. This lesson was so fun and would be well loved by students of all ages and abilities! If you are looking for part one of this lesson, you can follow this link to learn how to make the big ole sugar skulls. For this lesson you need:
MATERIALS for Part 1:
-
Oversized white paper (I used 18 x 24 posterboard)
-
Black tempera paint
-
Large paint brushes
Part 2:
-
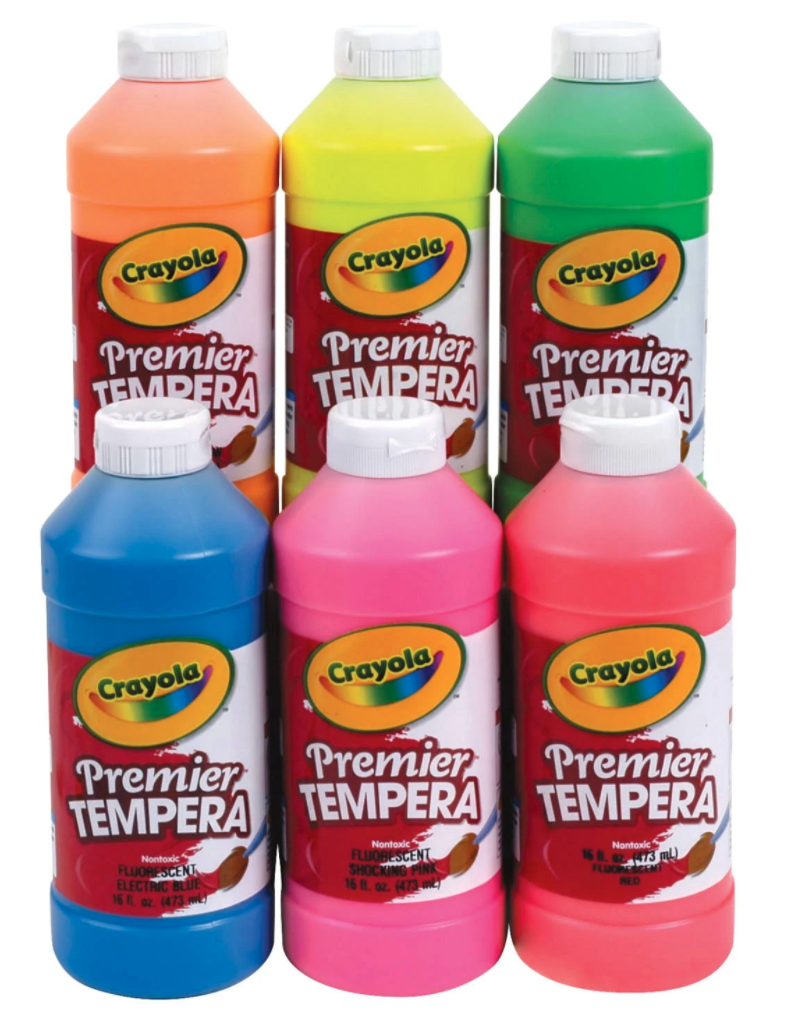
Fluorescent tempera paint (I love Crayola Fluorescent paint)
-
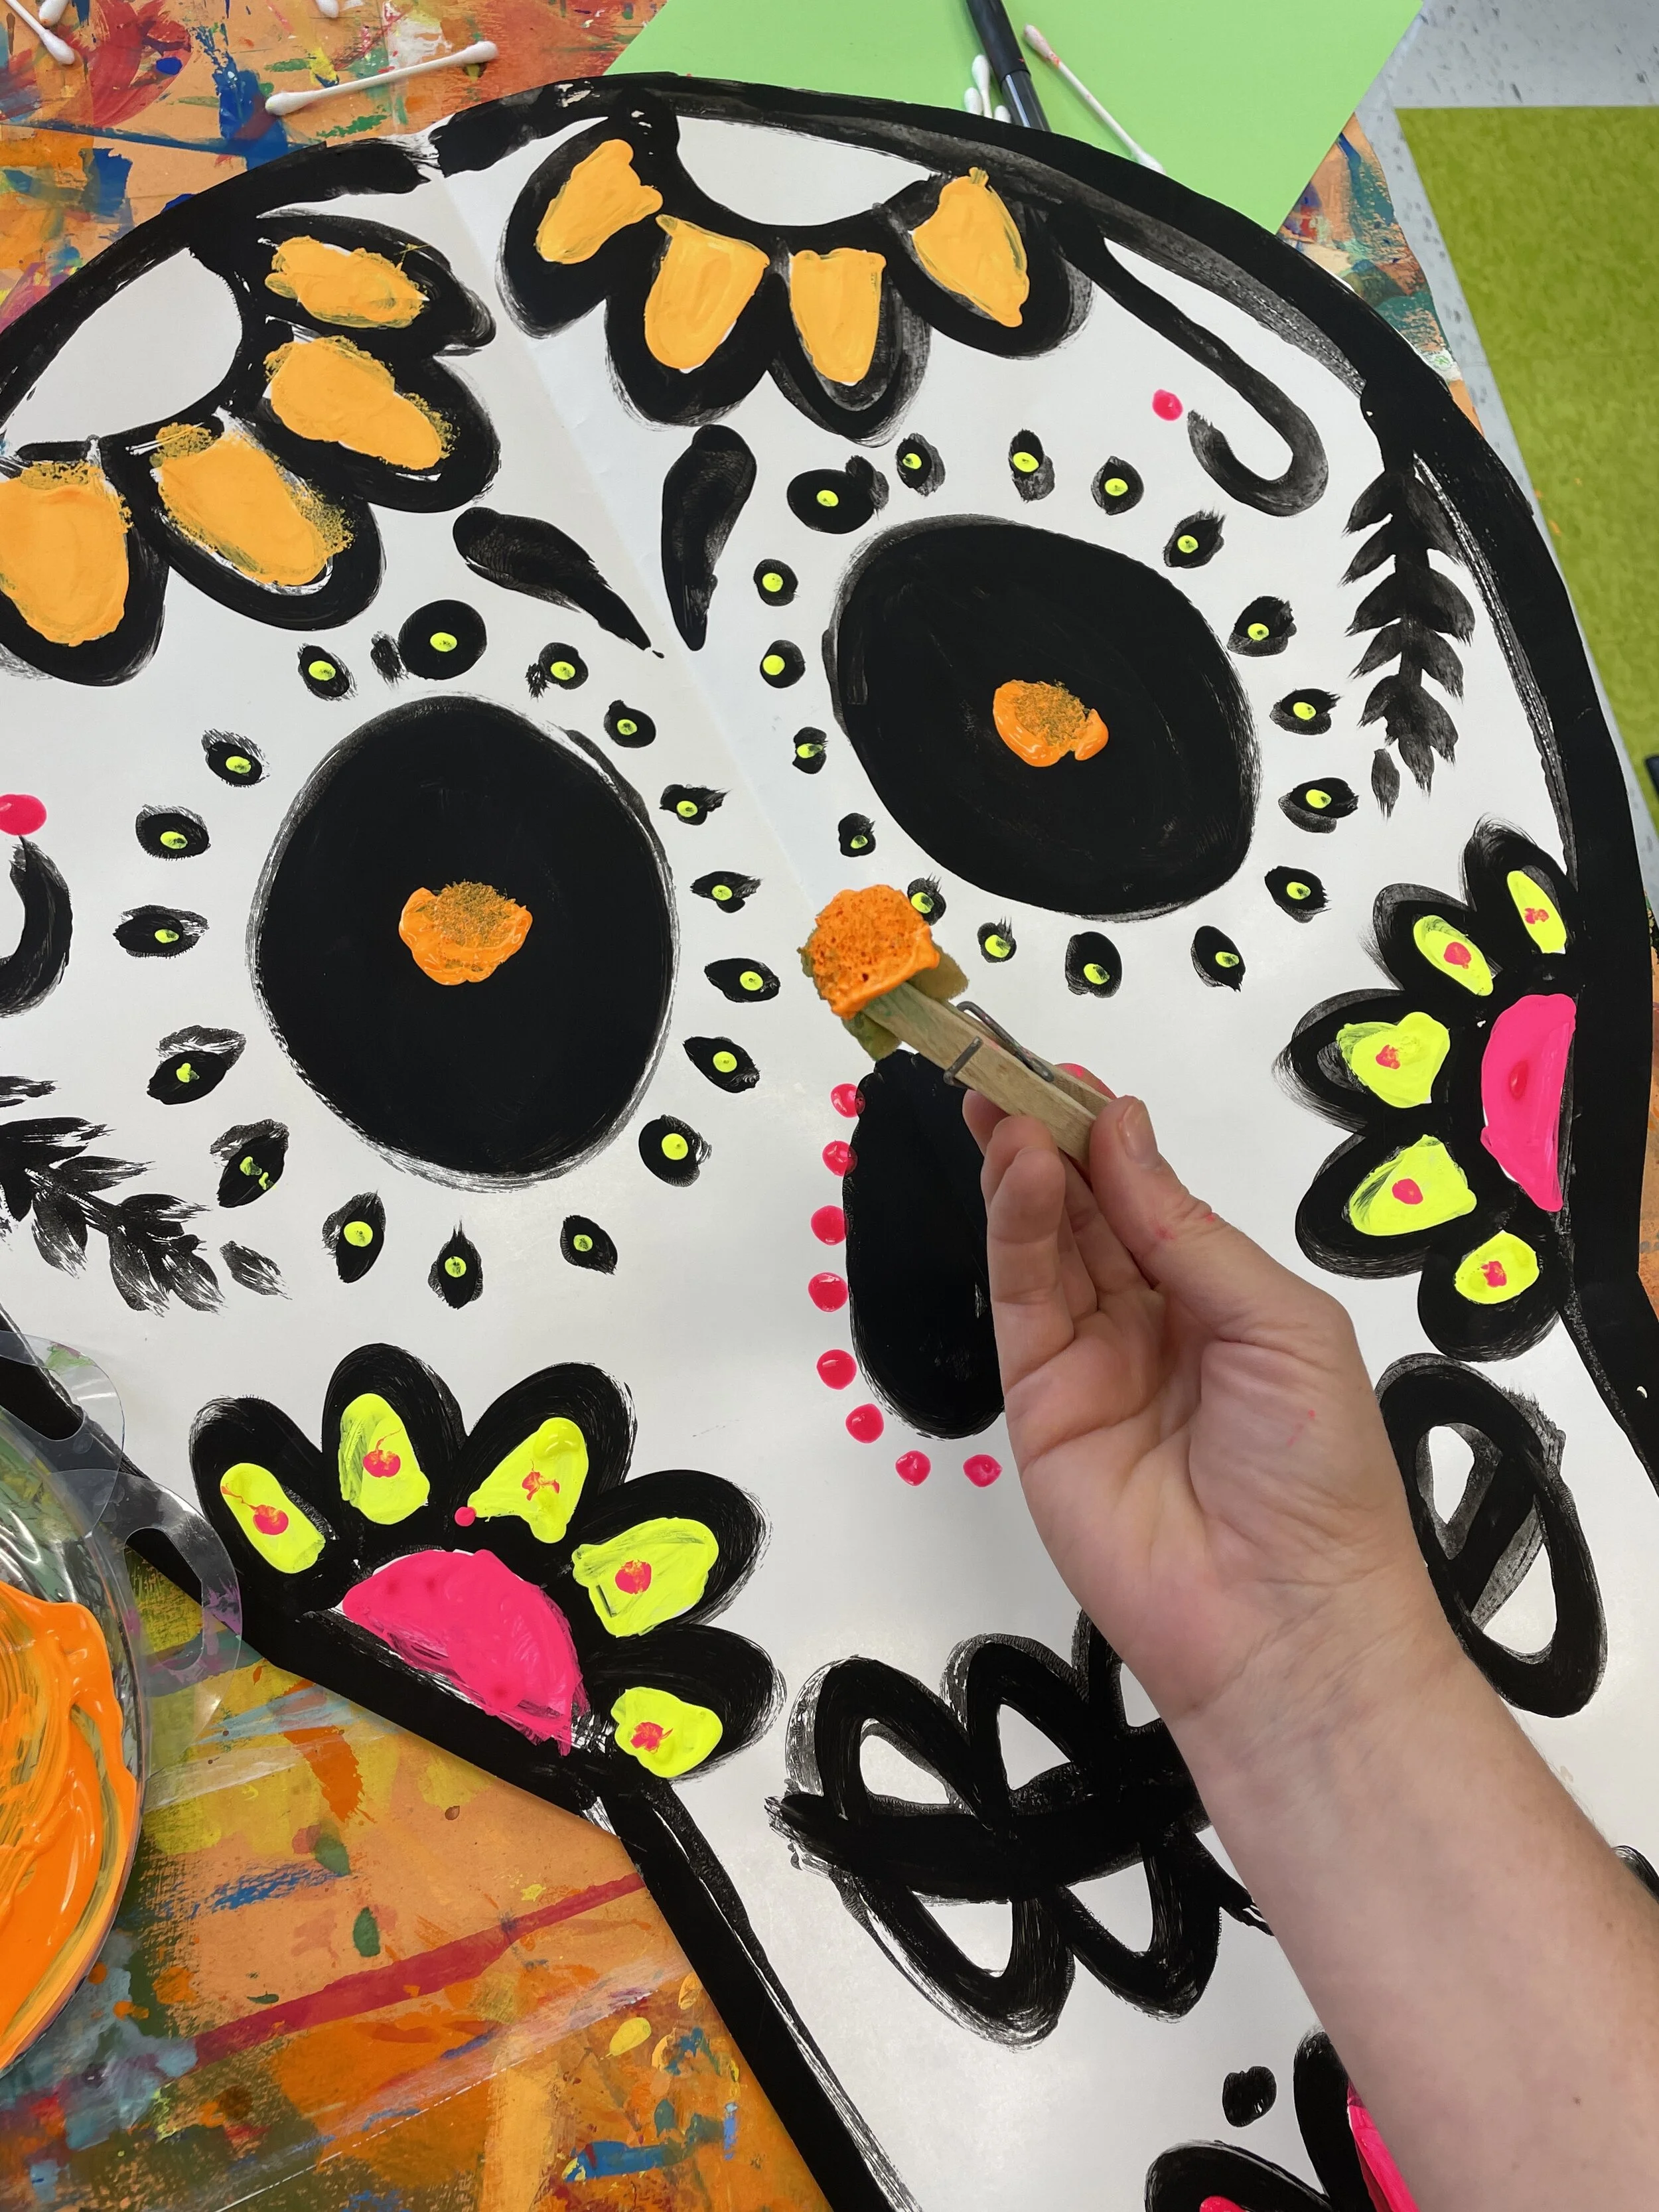
Paint brushes, Cut up sponges in clothes pins, Q tips, or any other stamping materials you have around the house!
-
Optional (but recommended) Black lights for glowing fun! I use these HouLight black light flood lights.
Step 1: Gather your Supplies
For this project you will need fluorescent tempera paint if you would like your paint to glow for your students. I use Crayola Premier Fluorescent Tempera paint. I also gathered various painting/stamping tools for my students to use such as: Q tips, Sponges cut into pieces and held by clothes pins and large round paint brushes.
Step 2: Set the Scene!
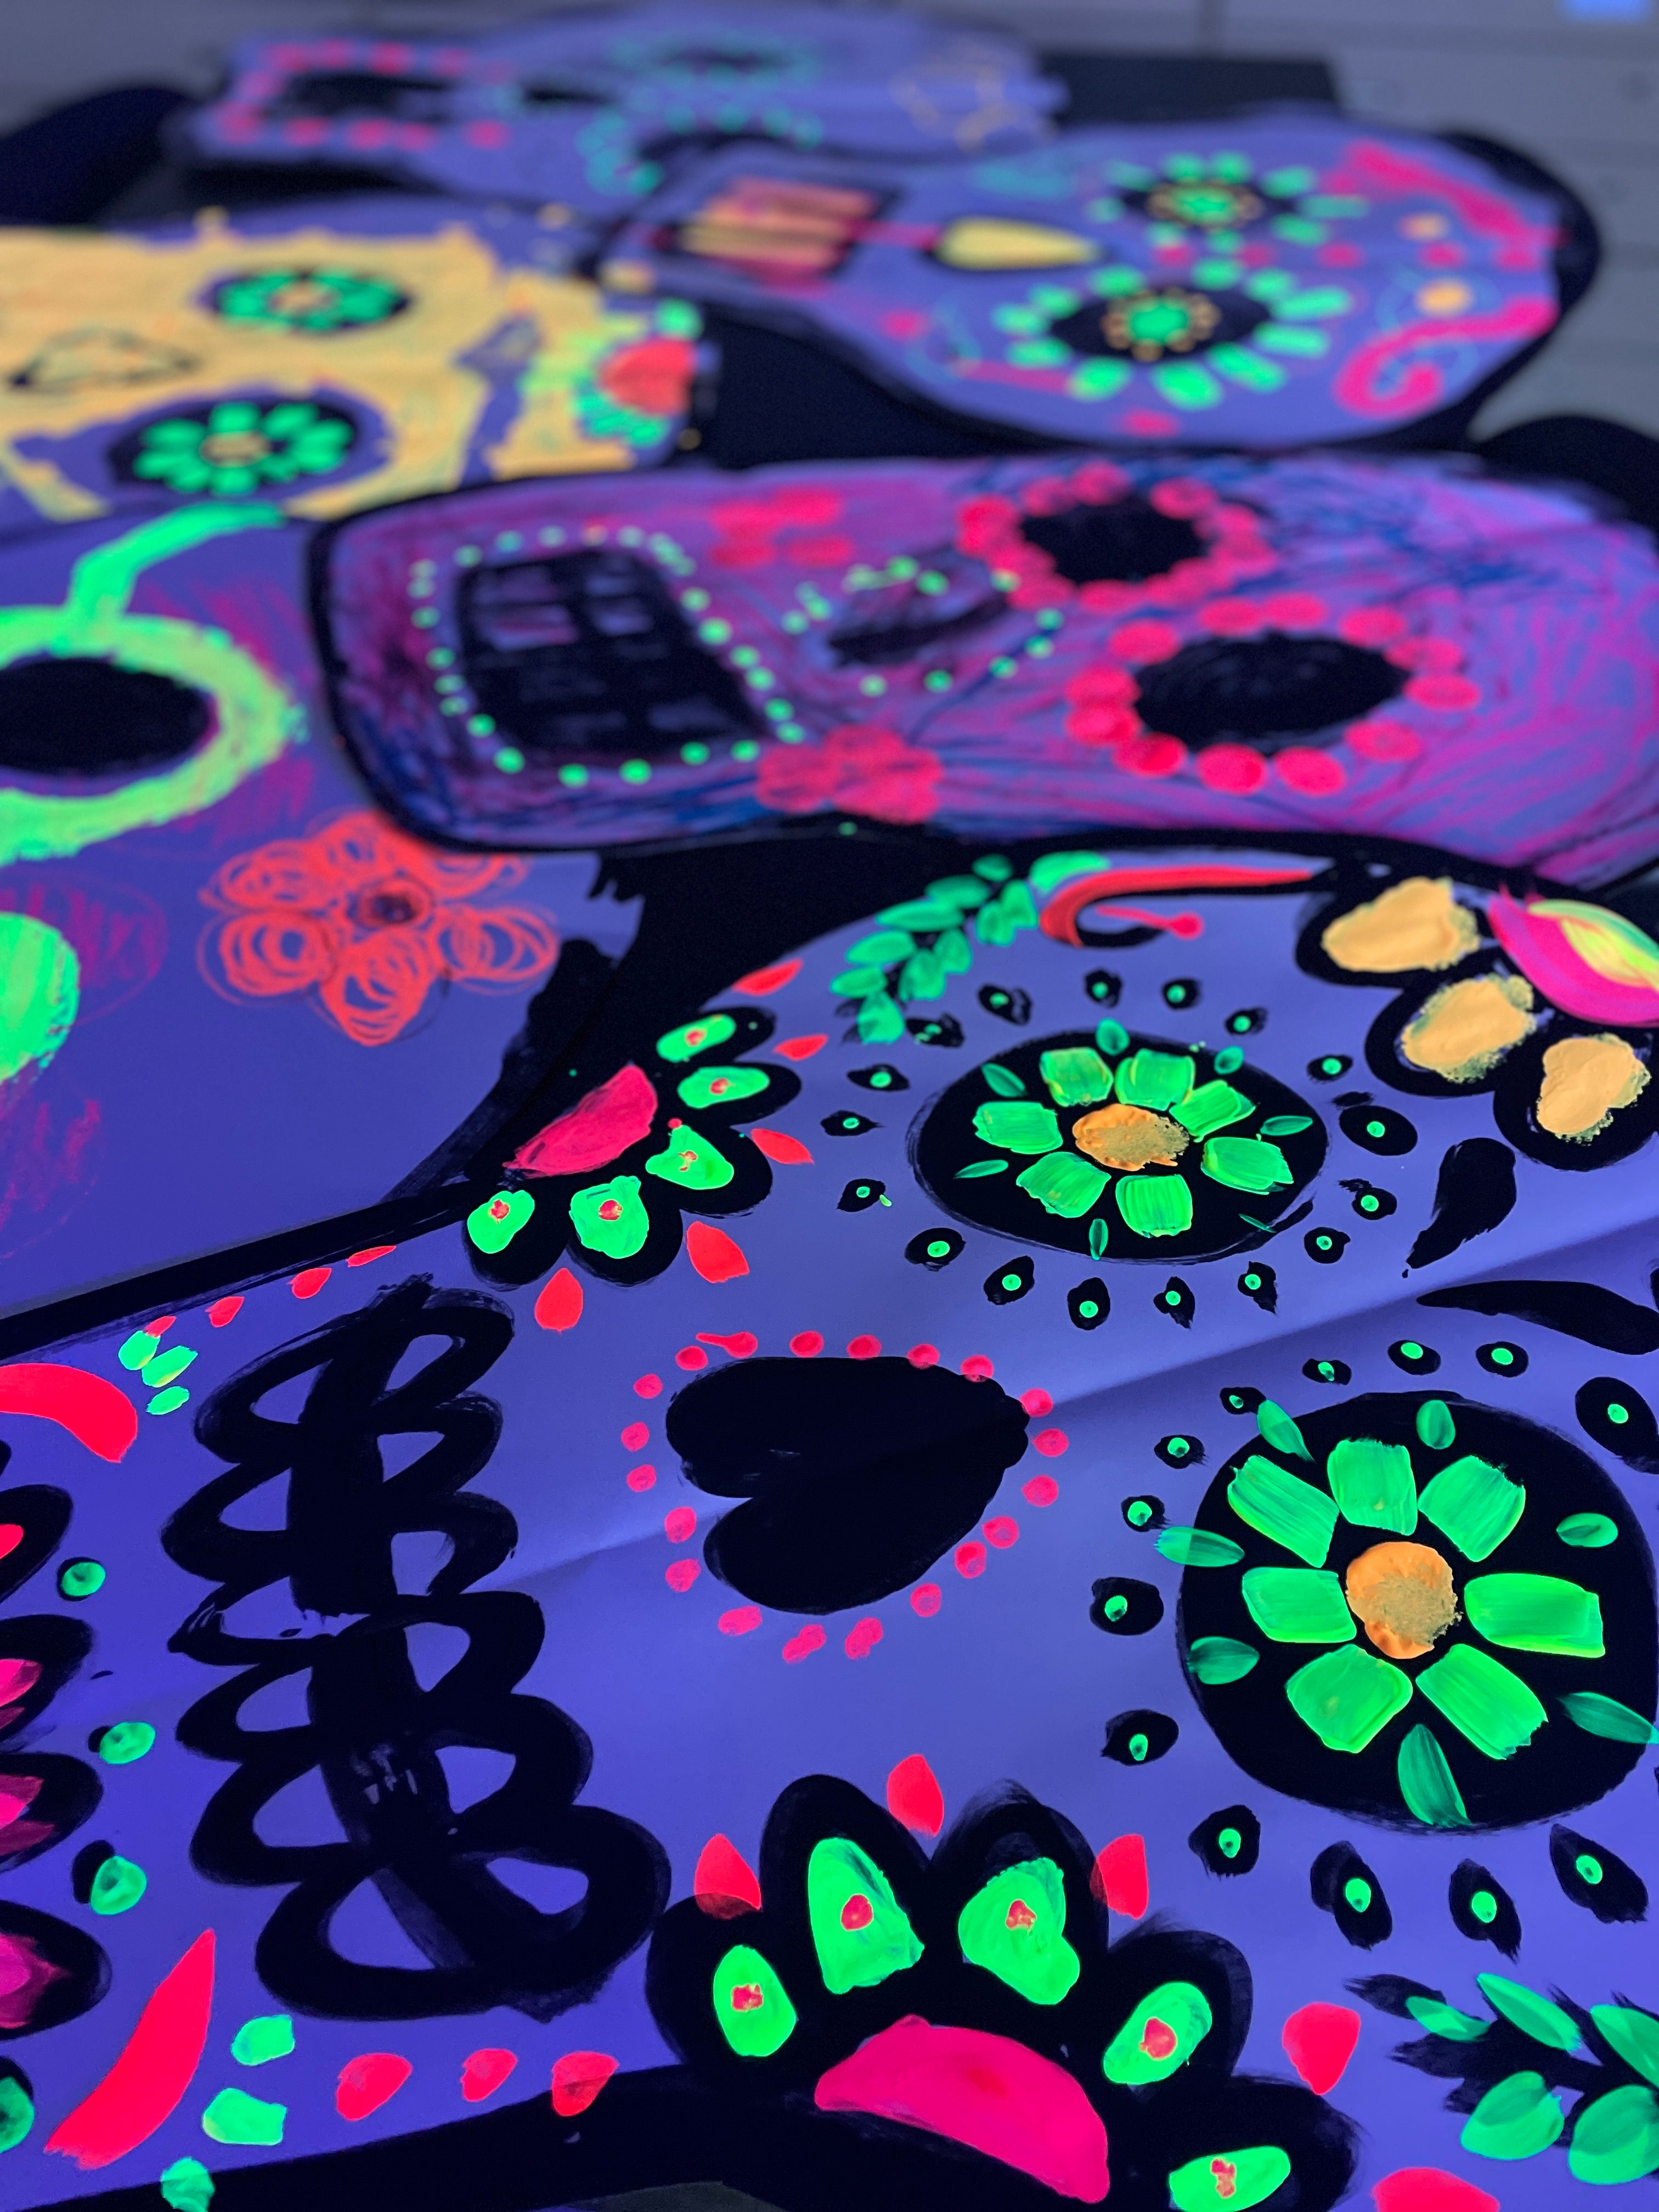
To add a bit of extra excitement to this project I went ahead and blacked out my classroom before my students arrived. I pulled down the blinds and plugged in 3 Black Light Flood lights that I had previously purchased for art shows. There are tons of options regarding black lights on Amazon but I found that flood lights really project and fill a space! I ended up buying a brand called Houlight. I placed my black lights as high up and tilted downward as I could. The paint was poured and the scene was set and I was so excited for my students to arrive!
Step 3: Let them paint and have fun!
I showed my students that they could do the same “paint then fold” transferring technique that we did the previous week but I found that so many of my adapted art students truly just wanted the freedom to paint their skulls however they wanted. Like the previous class I had my Sugar Skull idea sheets available and they enjoyed dotting around the eyes, and using sponges to paint florals in the eyes. However, some of them just really wanted to paint their skulls however they wanted and that was completely fine with me! The important thing is that they were engaged in the project and having fun! There is something so (dare I say) satisfying about painting in a black light setting. The paint glowed as the students painted and they were quiet and focused the whole class period! I plan on hanging these sugar skulls in a showcase in the school and hopefully shining a black light on them to glow so that other students can be amazed!
This was such a fun project and I know that students of all ages and abilities would love it!






1 comment
How many black lights did you use and what is the Watt count? LOVE, LOVE, LOVE this idea of creating in a black lit room!