Art is for everyone
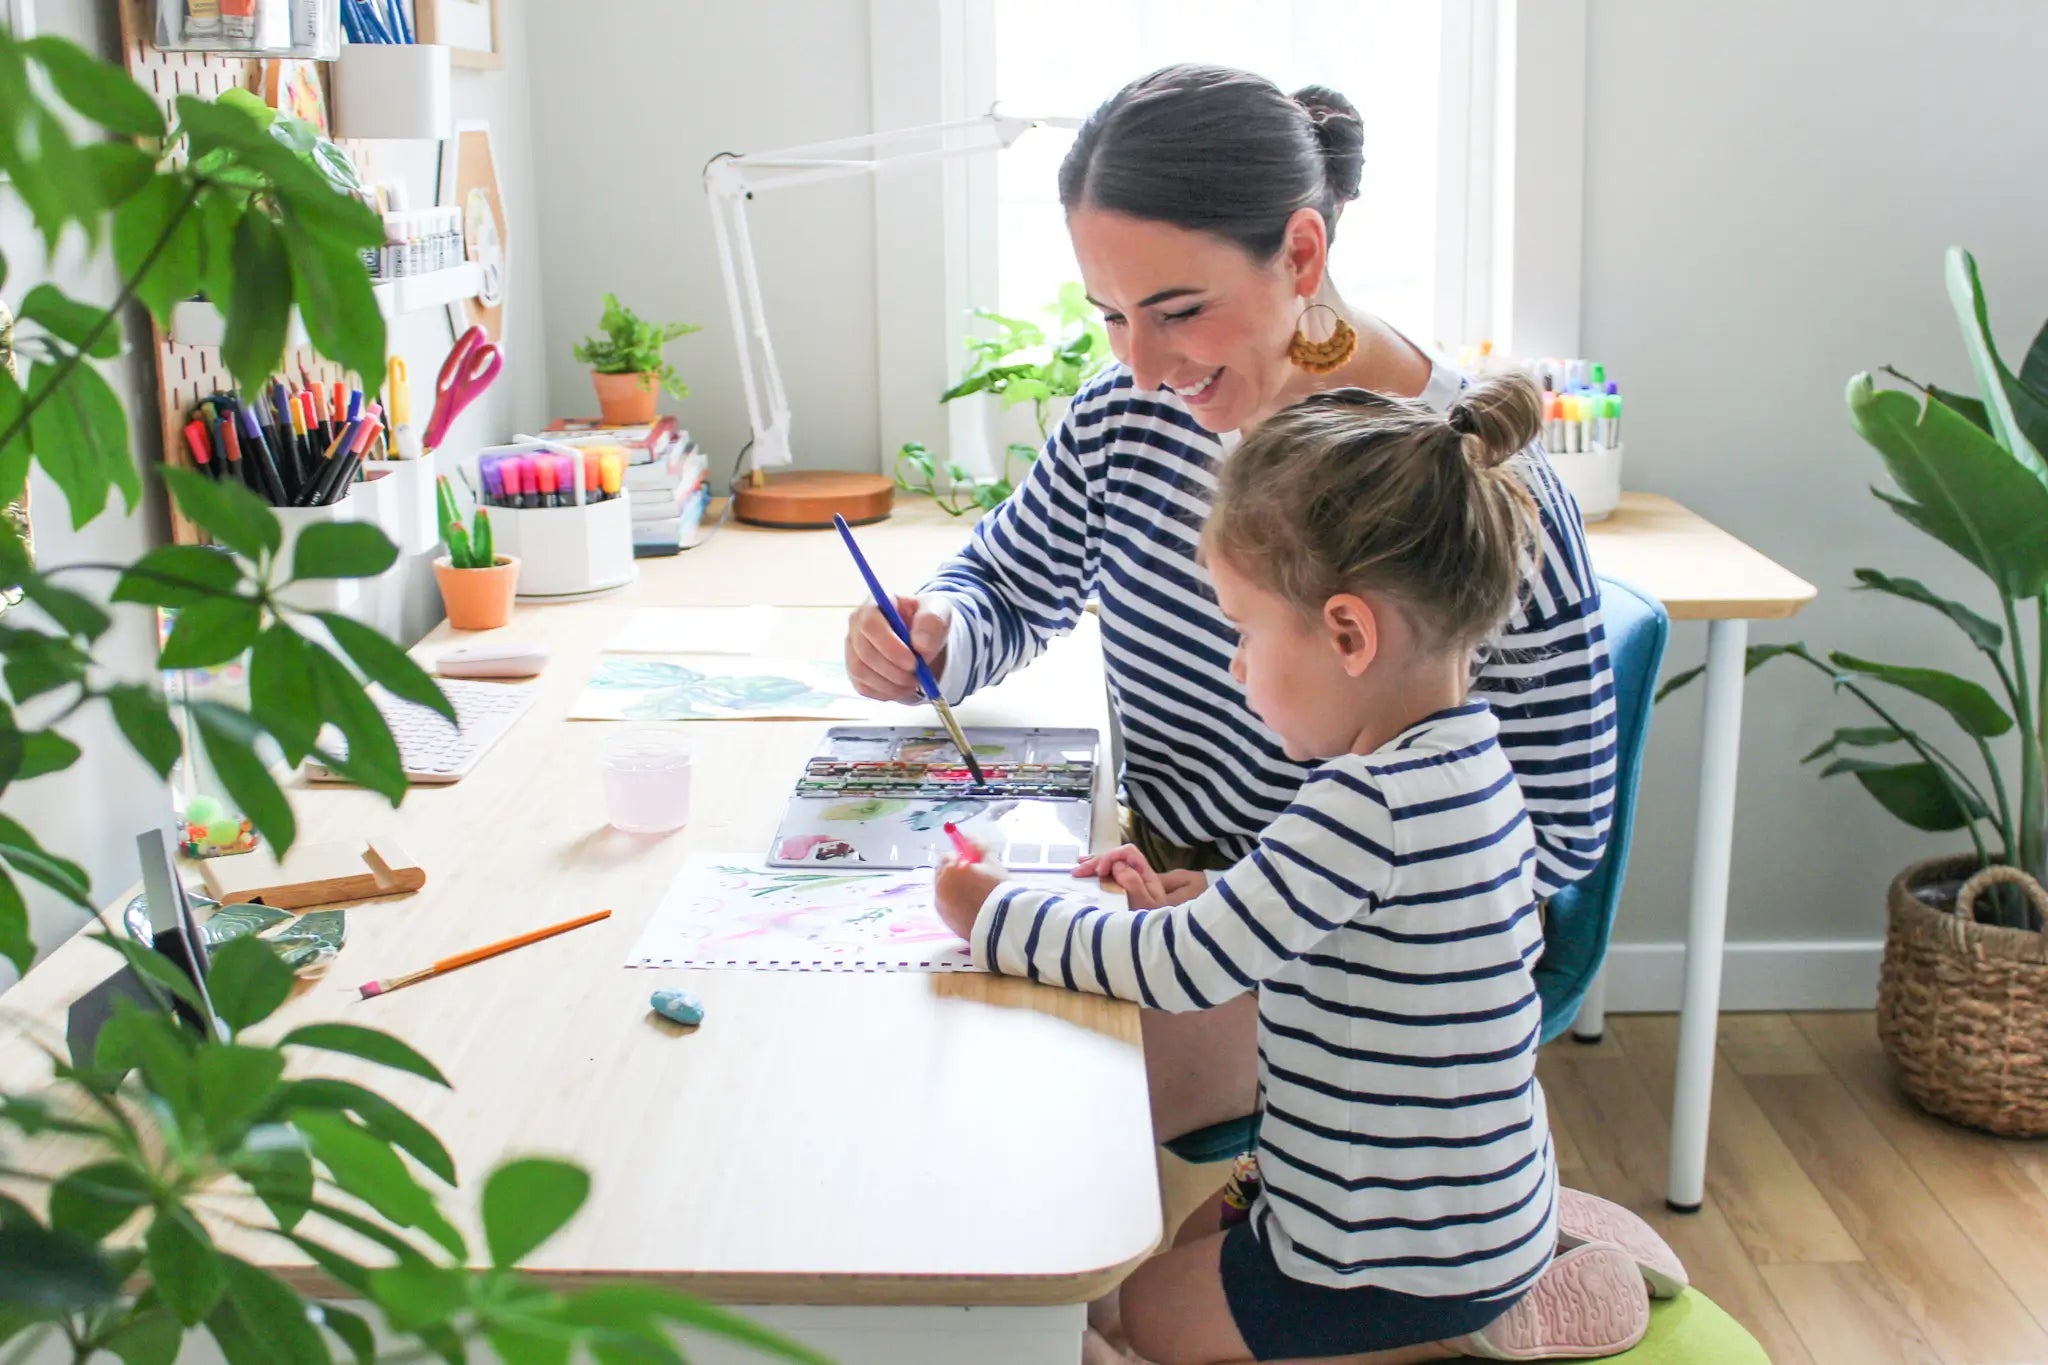
Hi! I'm Kaitlyn and I'm an art educator with 15 years of experience and I'm here to help and support teachers, children and artists of all ages tap into their creativity and help them gain confidence in their artistic abilities through high quality digital resources and lessons.

You're in the right place if:
You want to teach engaging art lessons to your students or children but lack the time or experience to plan the lessons you're striving for.
You are looking to warm up your teaching space with bright, colorful and modern art room decor.
You enjoy creating art but are looking for additional ways to continue to grow in your skillset.
Your school lacks an art program and you want to integrate high quality art lessons into your curriculum that will best serve your students.
A little about me:
I began my business in 2017 after years of sharing my lessons and hand drawn teaching visuals on Instagram. I gained so much wonderful feedback that I decided to start making my lessons and classroom creations available for all educators. There is nothing I love more than creating eye catching, happy and high quality resources for children and I am so happy to now be able to share with educators and children all over the world!
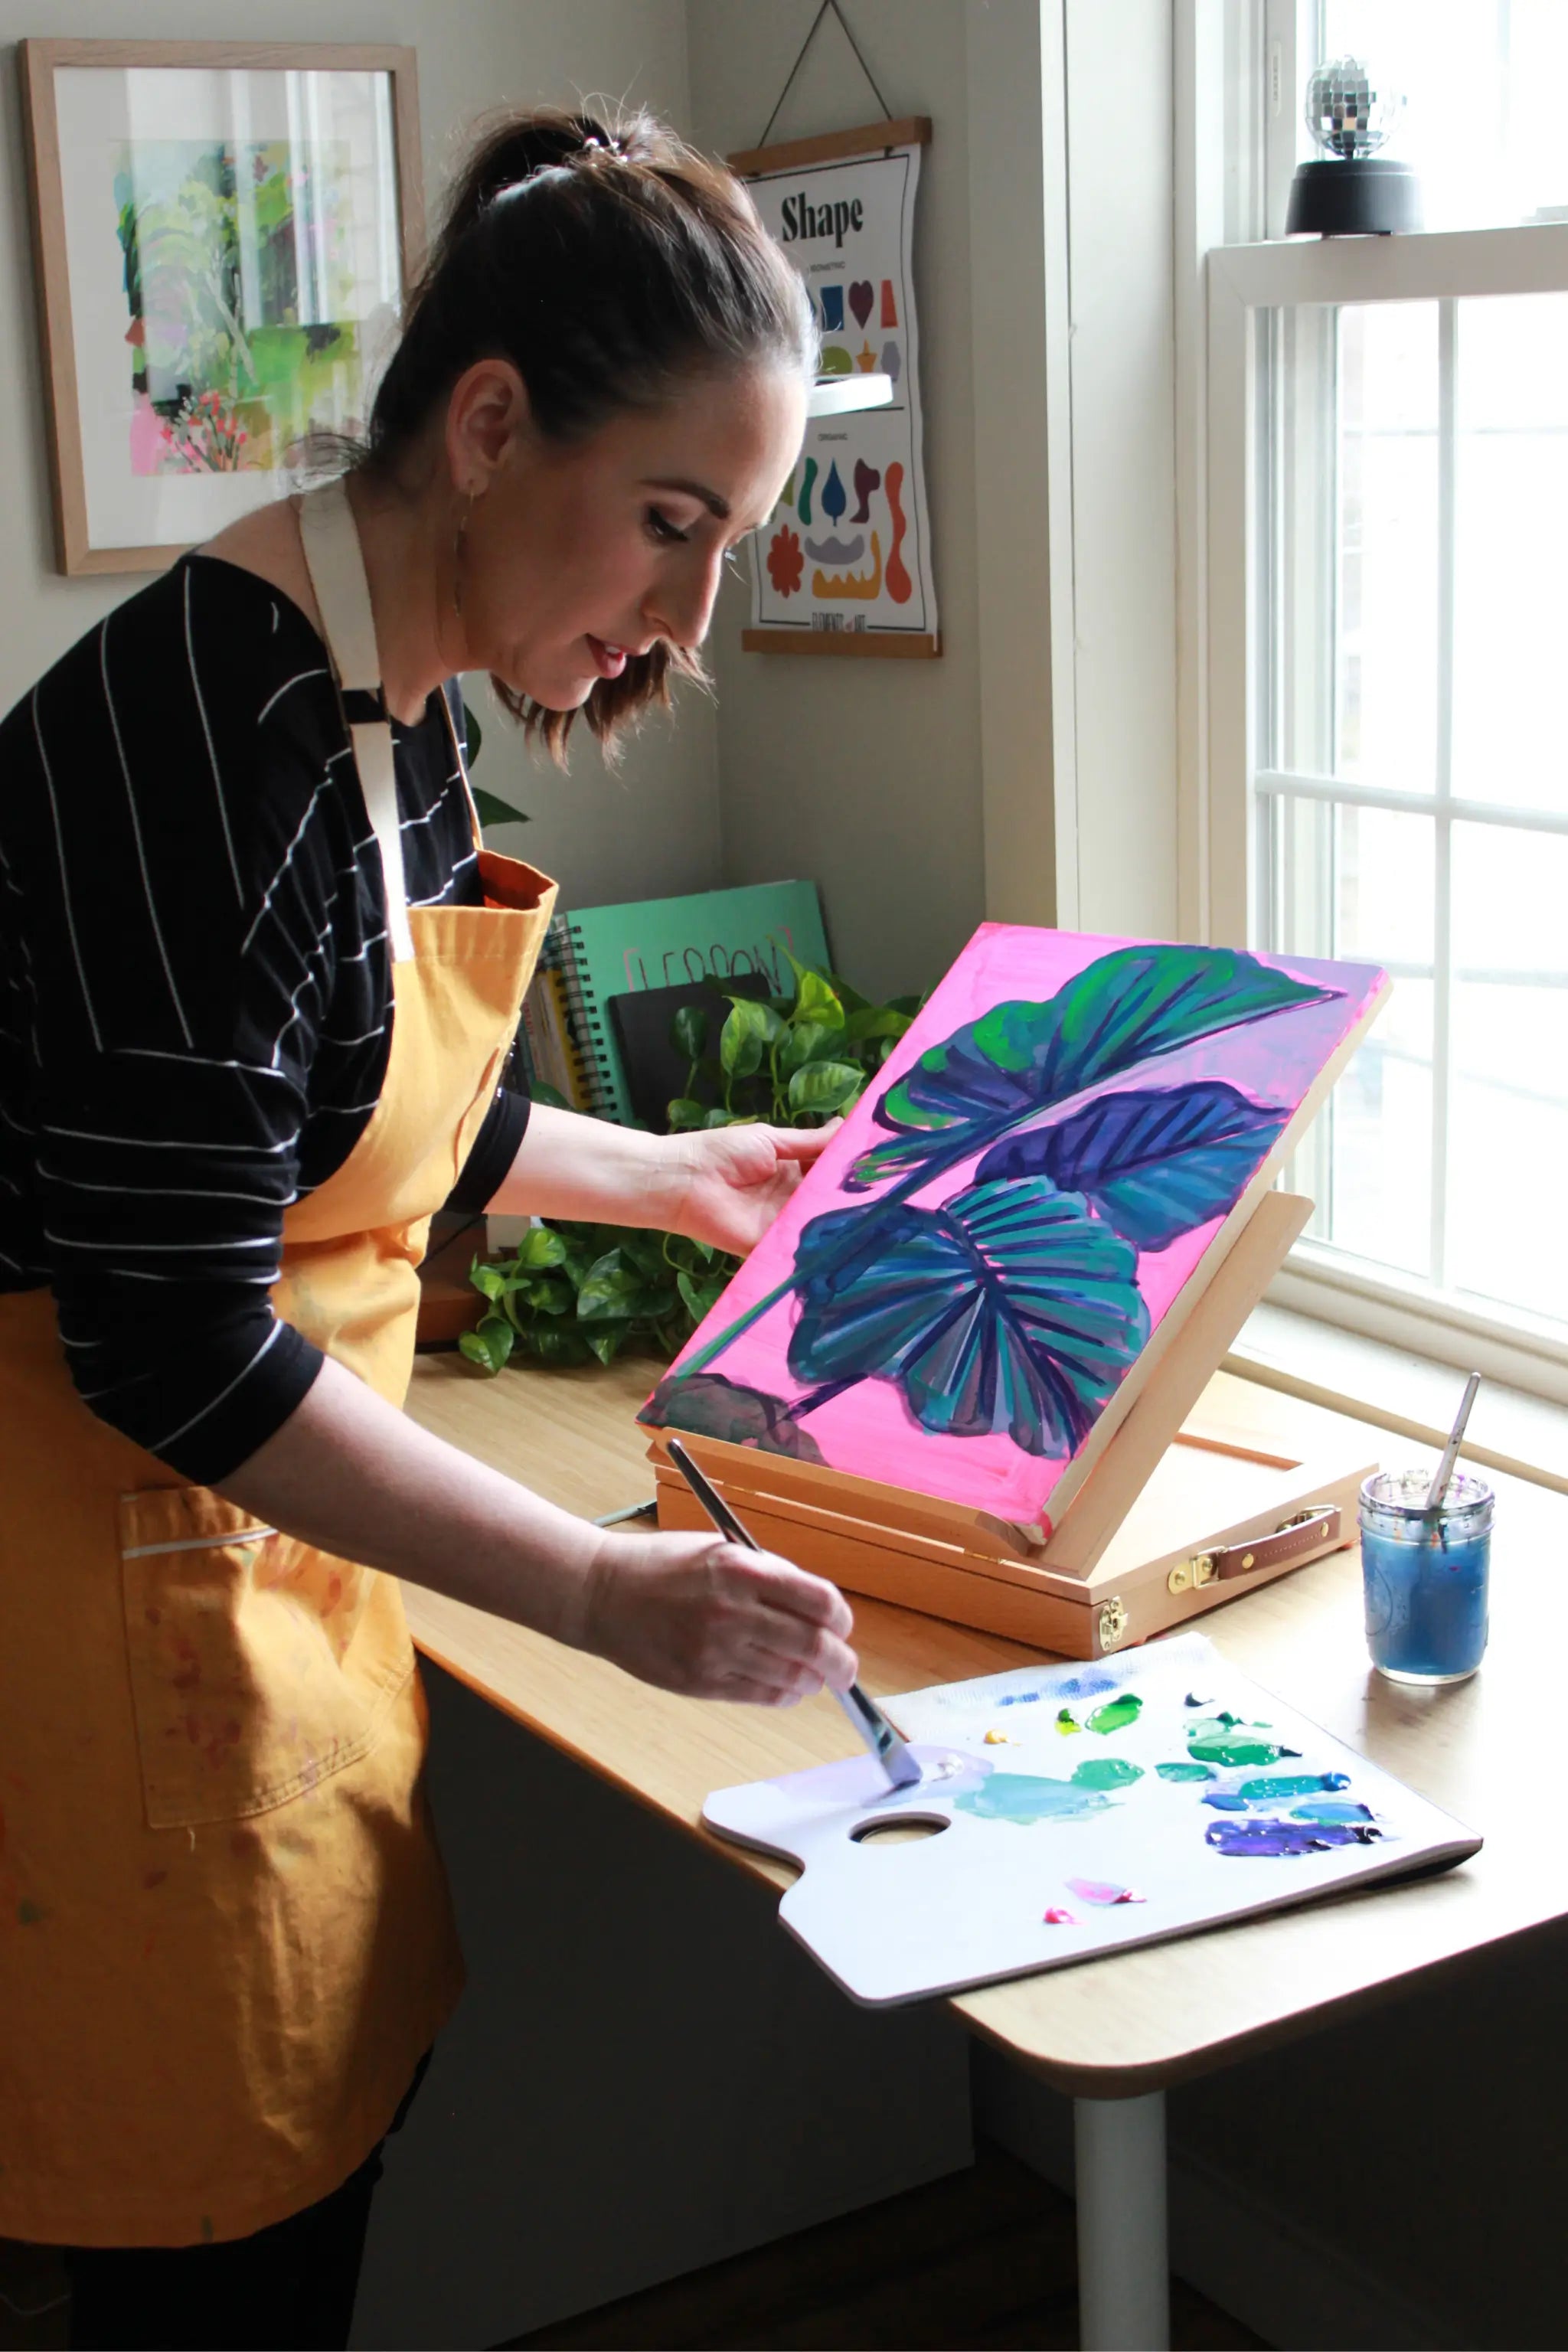
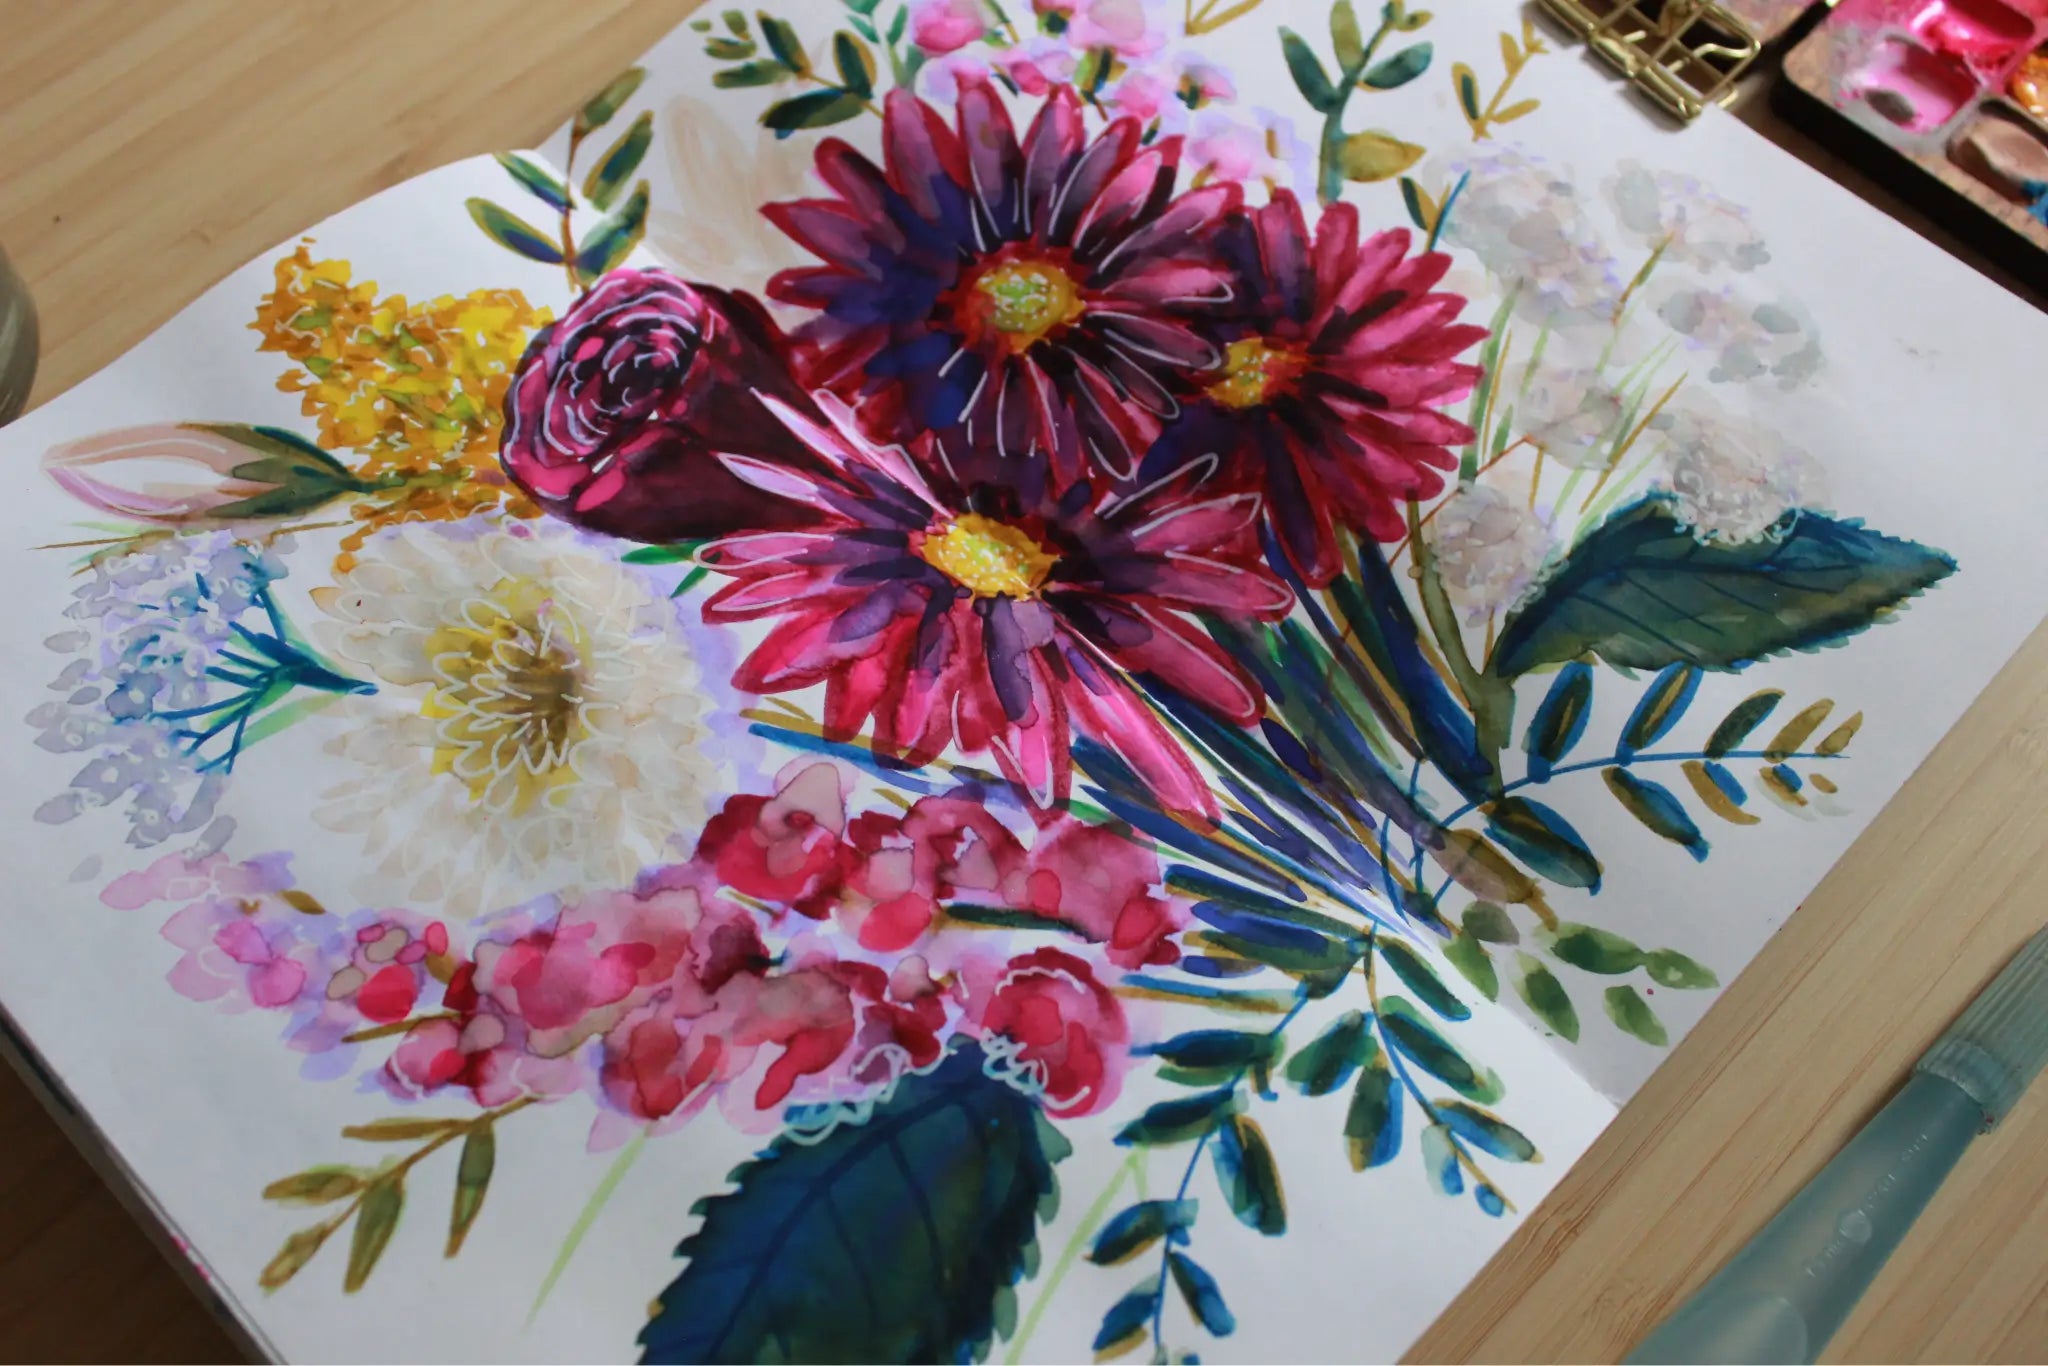
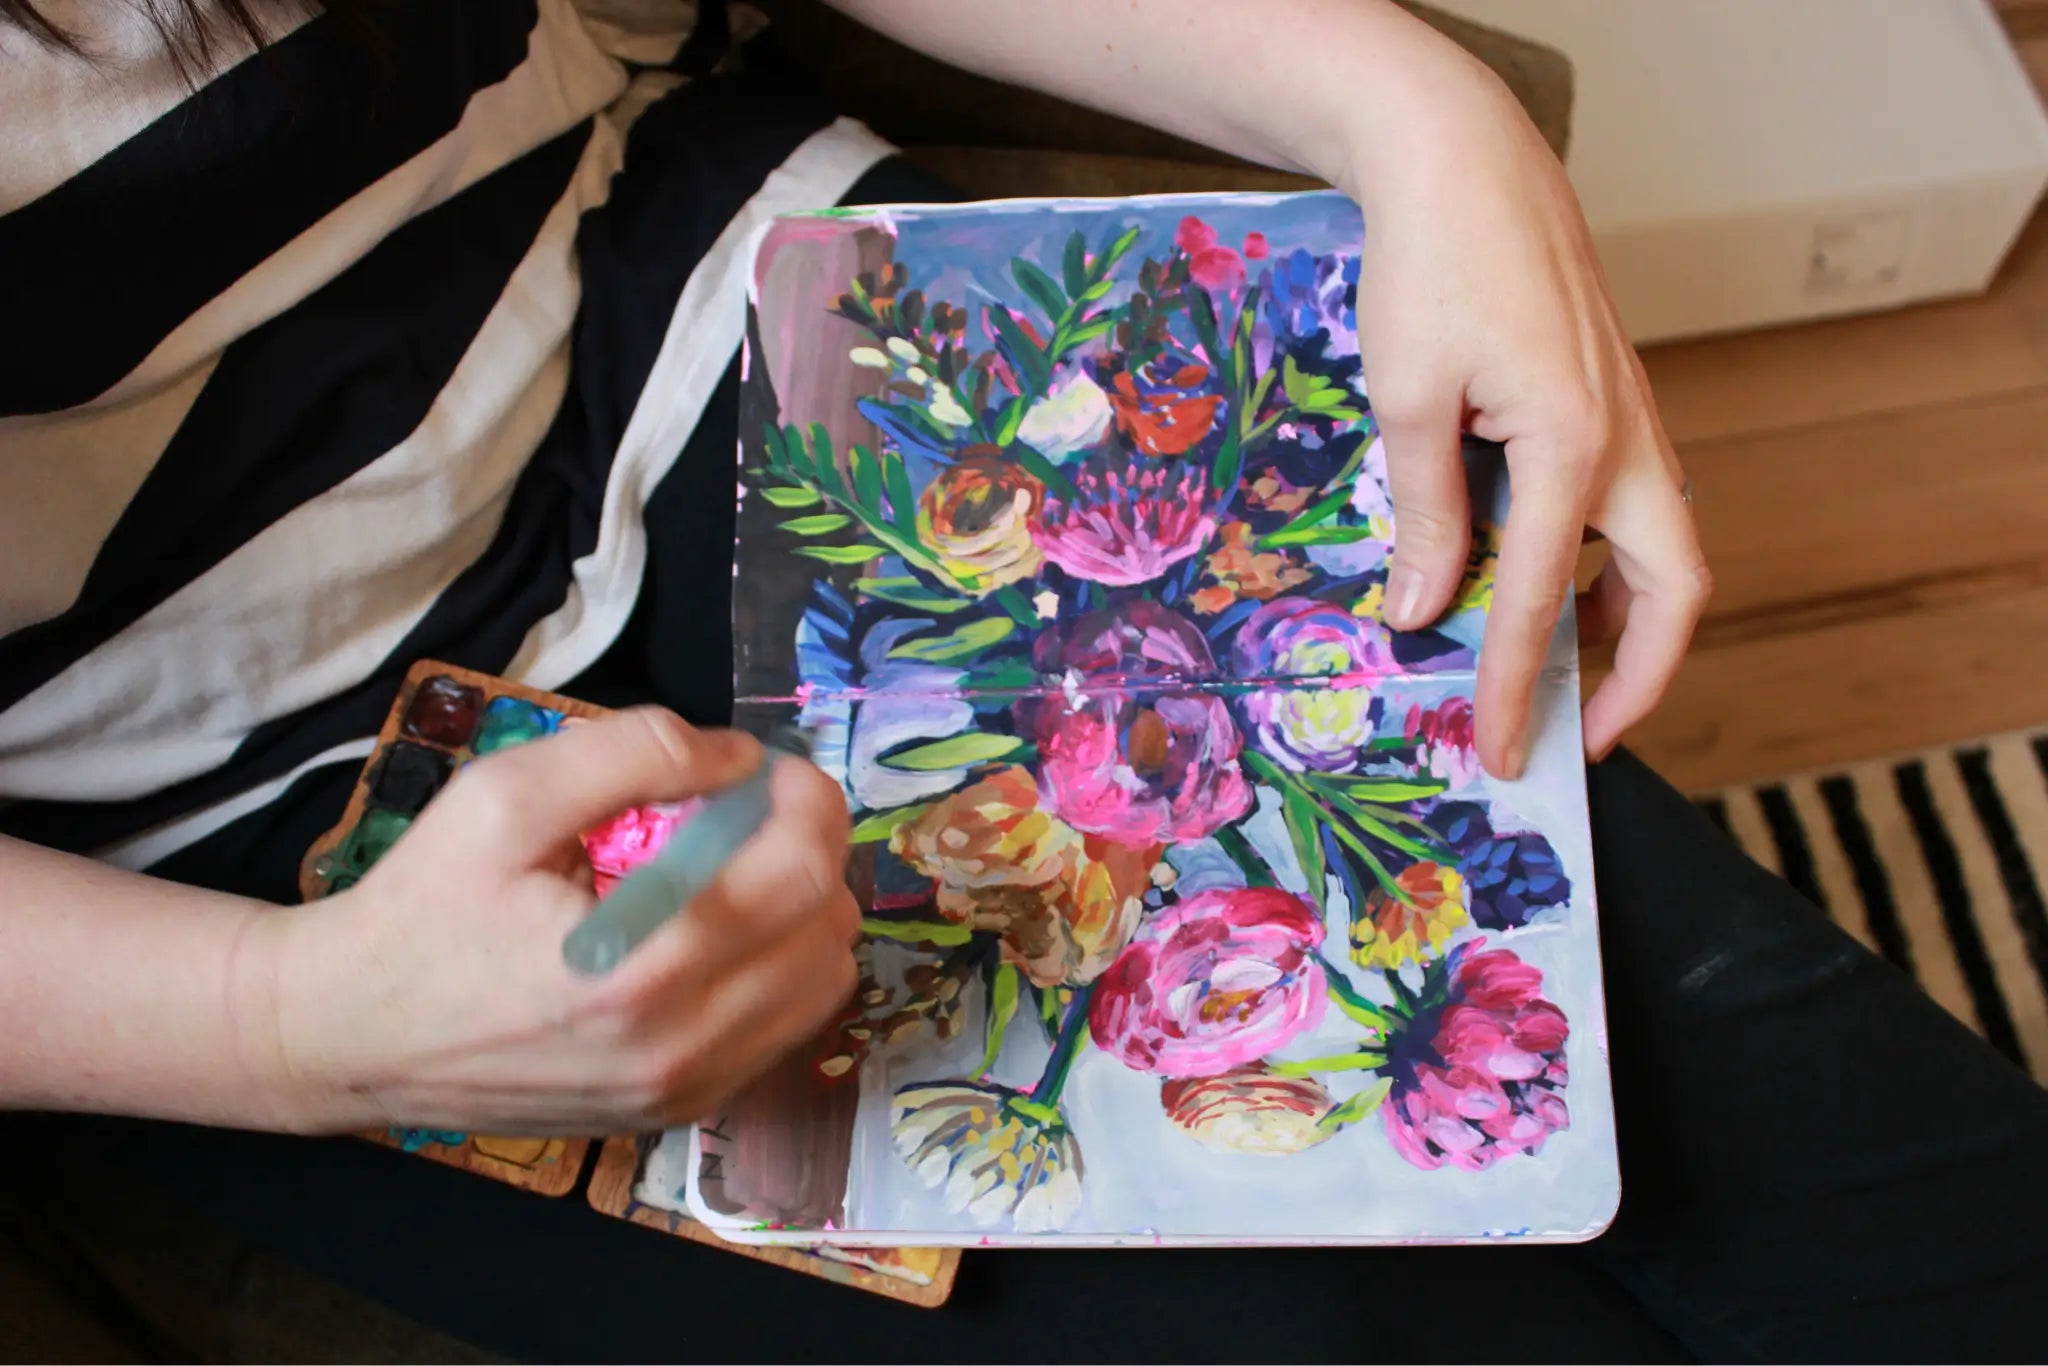
When I'm not teaching, you can find me painting in my sketchbook, walking my rescue lab Maddie, and spending quality time with my husband Chris and two children.
Throughout course of my teaching career, I have had the opportunity to teach visual art to thousands of children of all abilities and backgrounds.
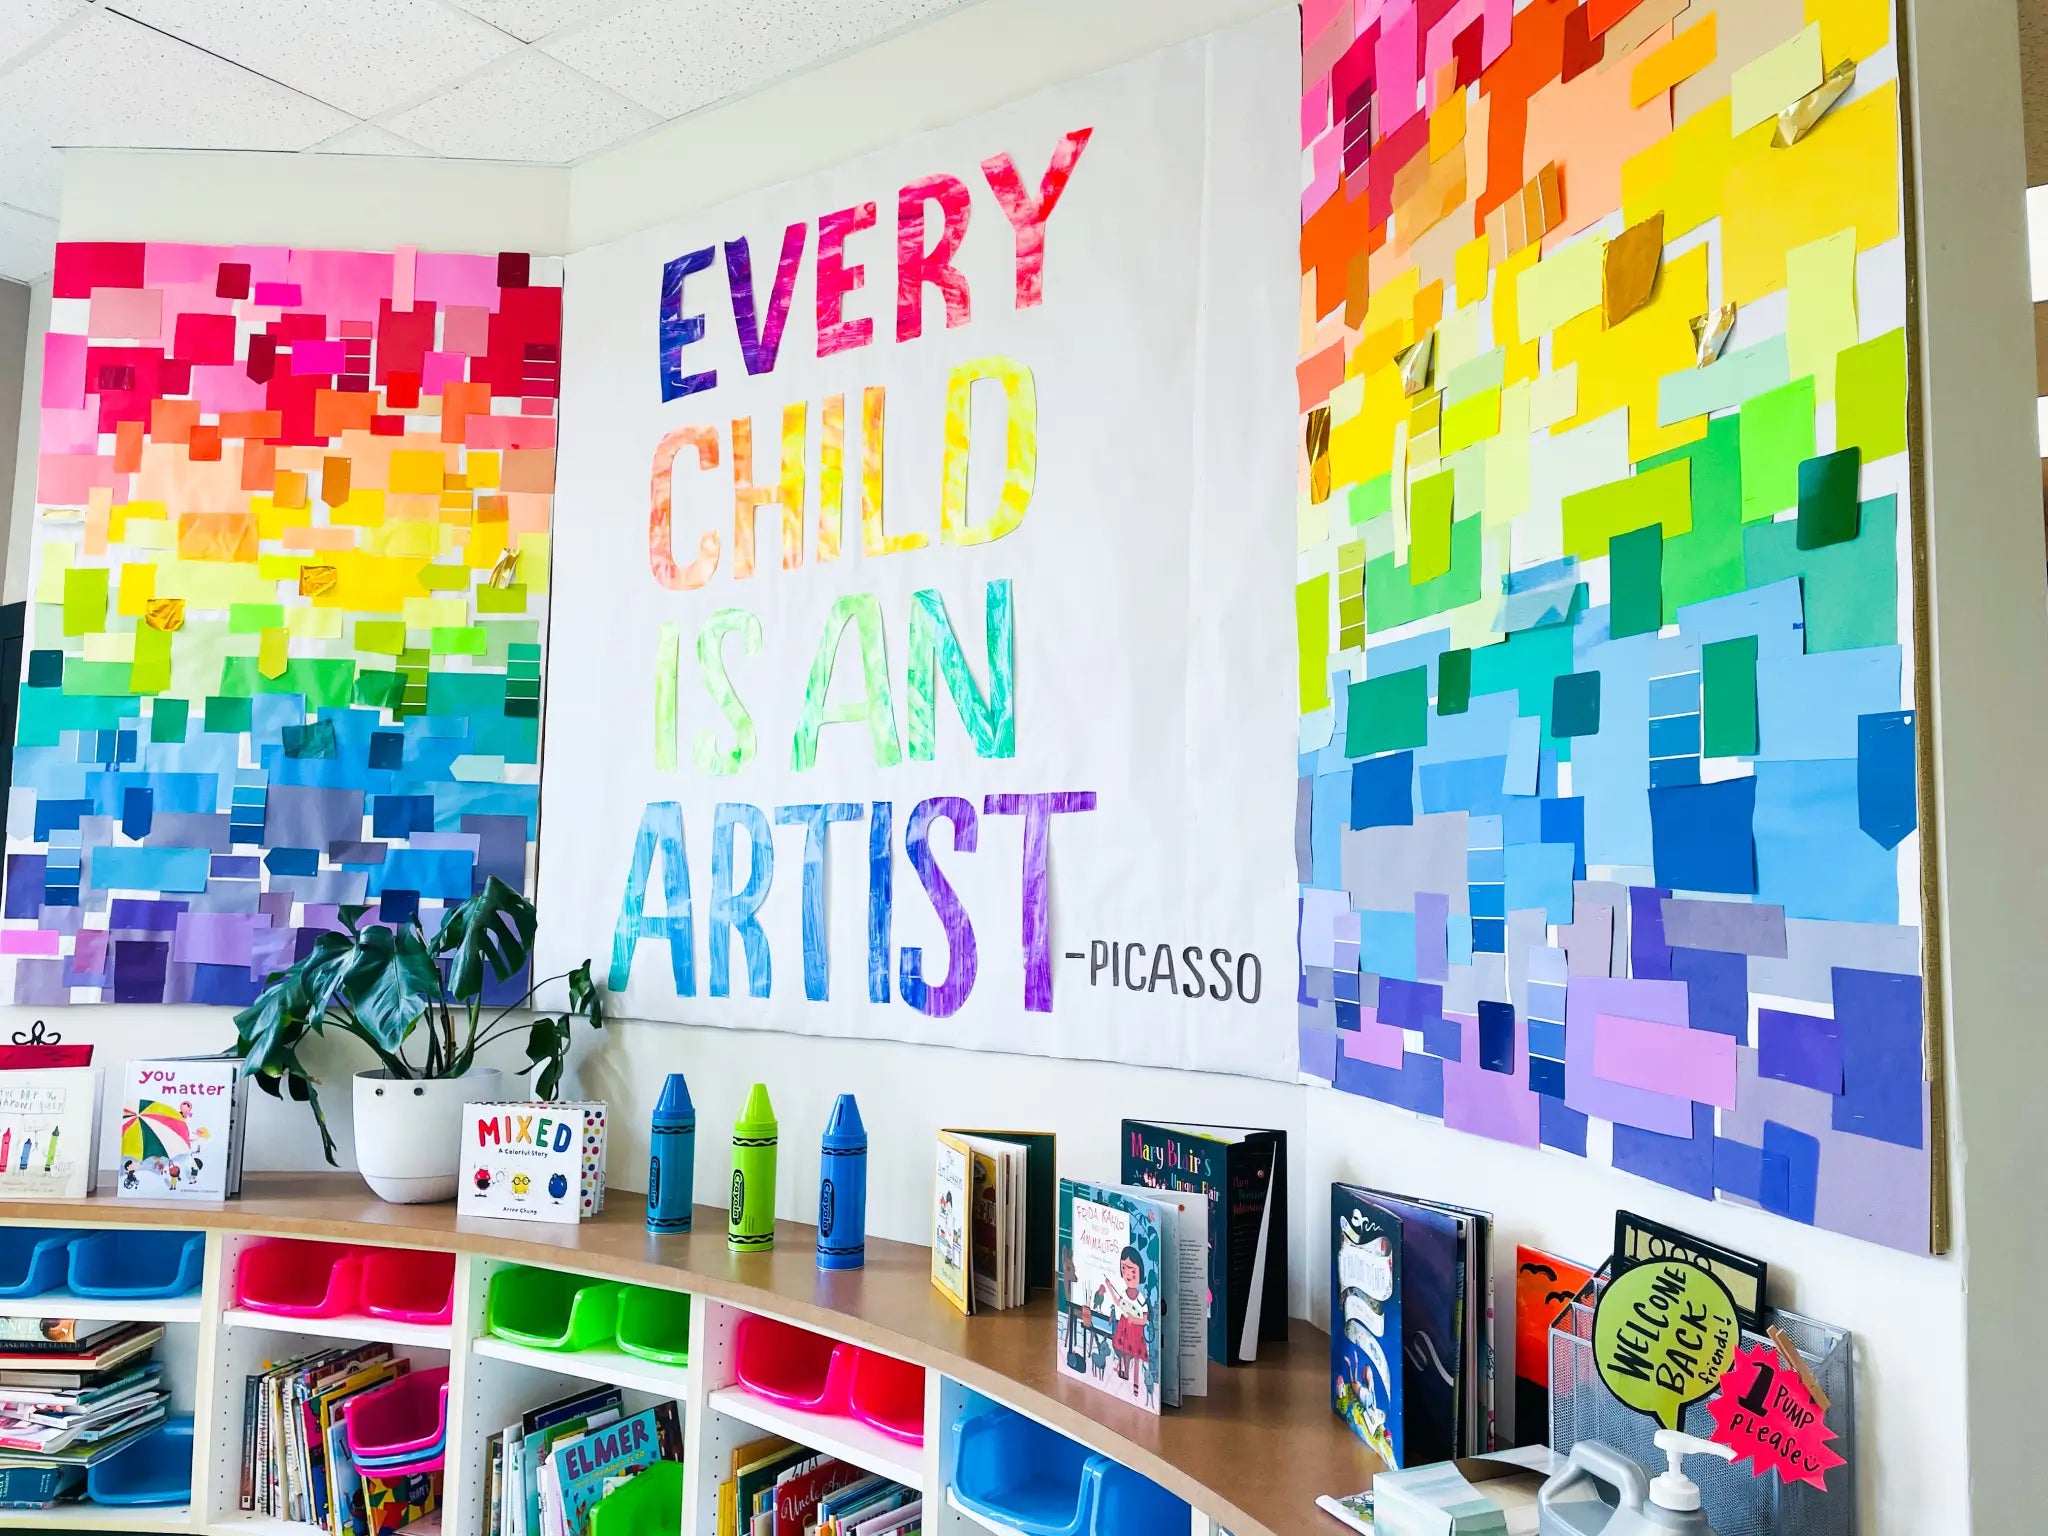
I am unwavering in my belief that everyone can be an artist and that the arts play a crucial role in a child’s well-being. I live for the “ah-ha” moments and the excitement that appears on a child’s face when they have created something they are truly proud of. I love transforming spaces to create immersive art show experiences that allow students’ art to shine. I am passionate about providing high quality art education for adapted/autistic support/life skills art classes that are student centered, sensory and process based. The joy that teaching art has given me over the years is unparalleled and I look forward to continuing to reach students and teachers all over the world as I expand my lessons, resources, and inspiration. I can’t thank you enough for here!
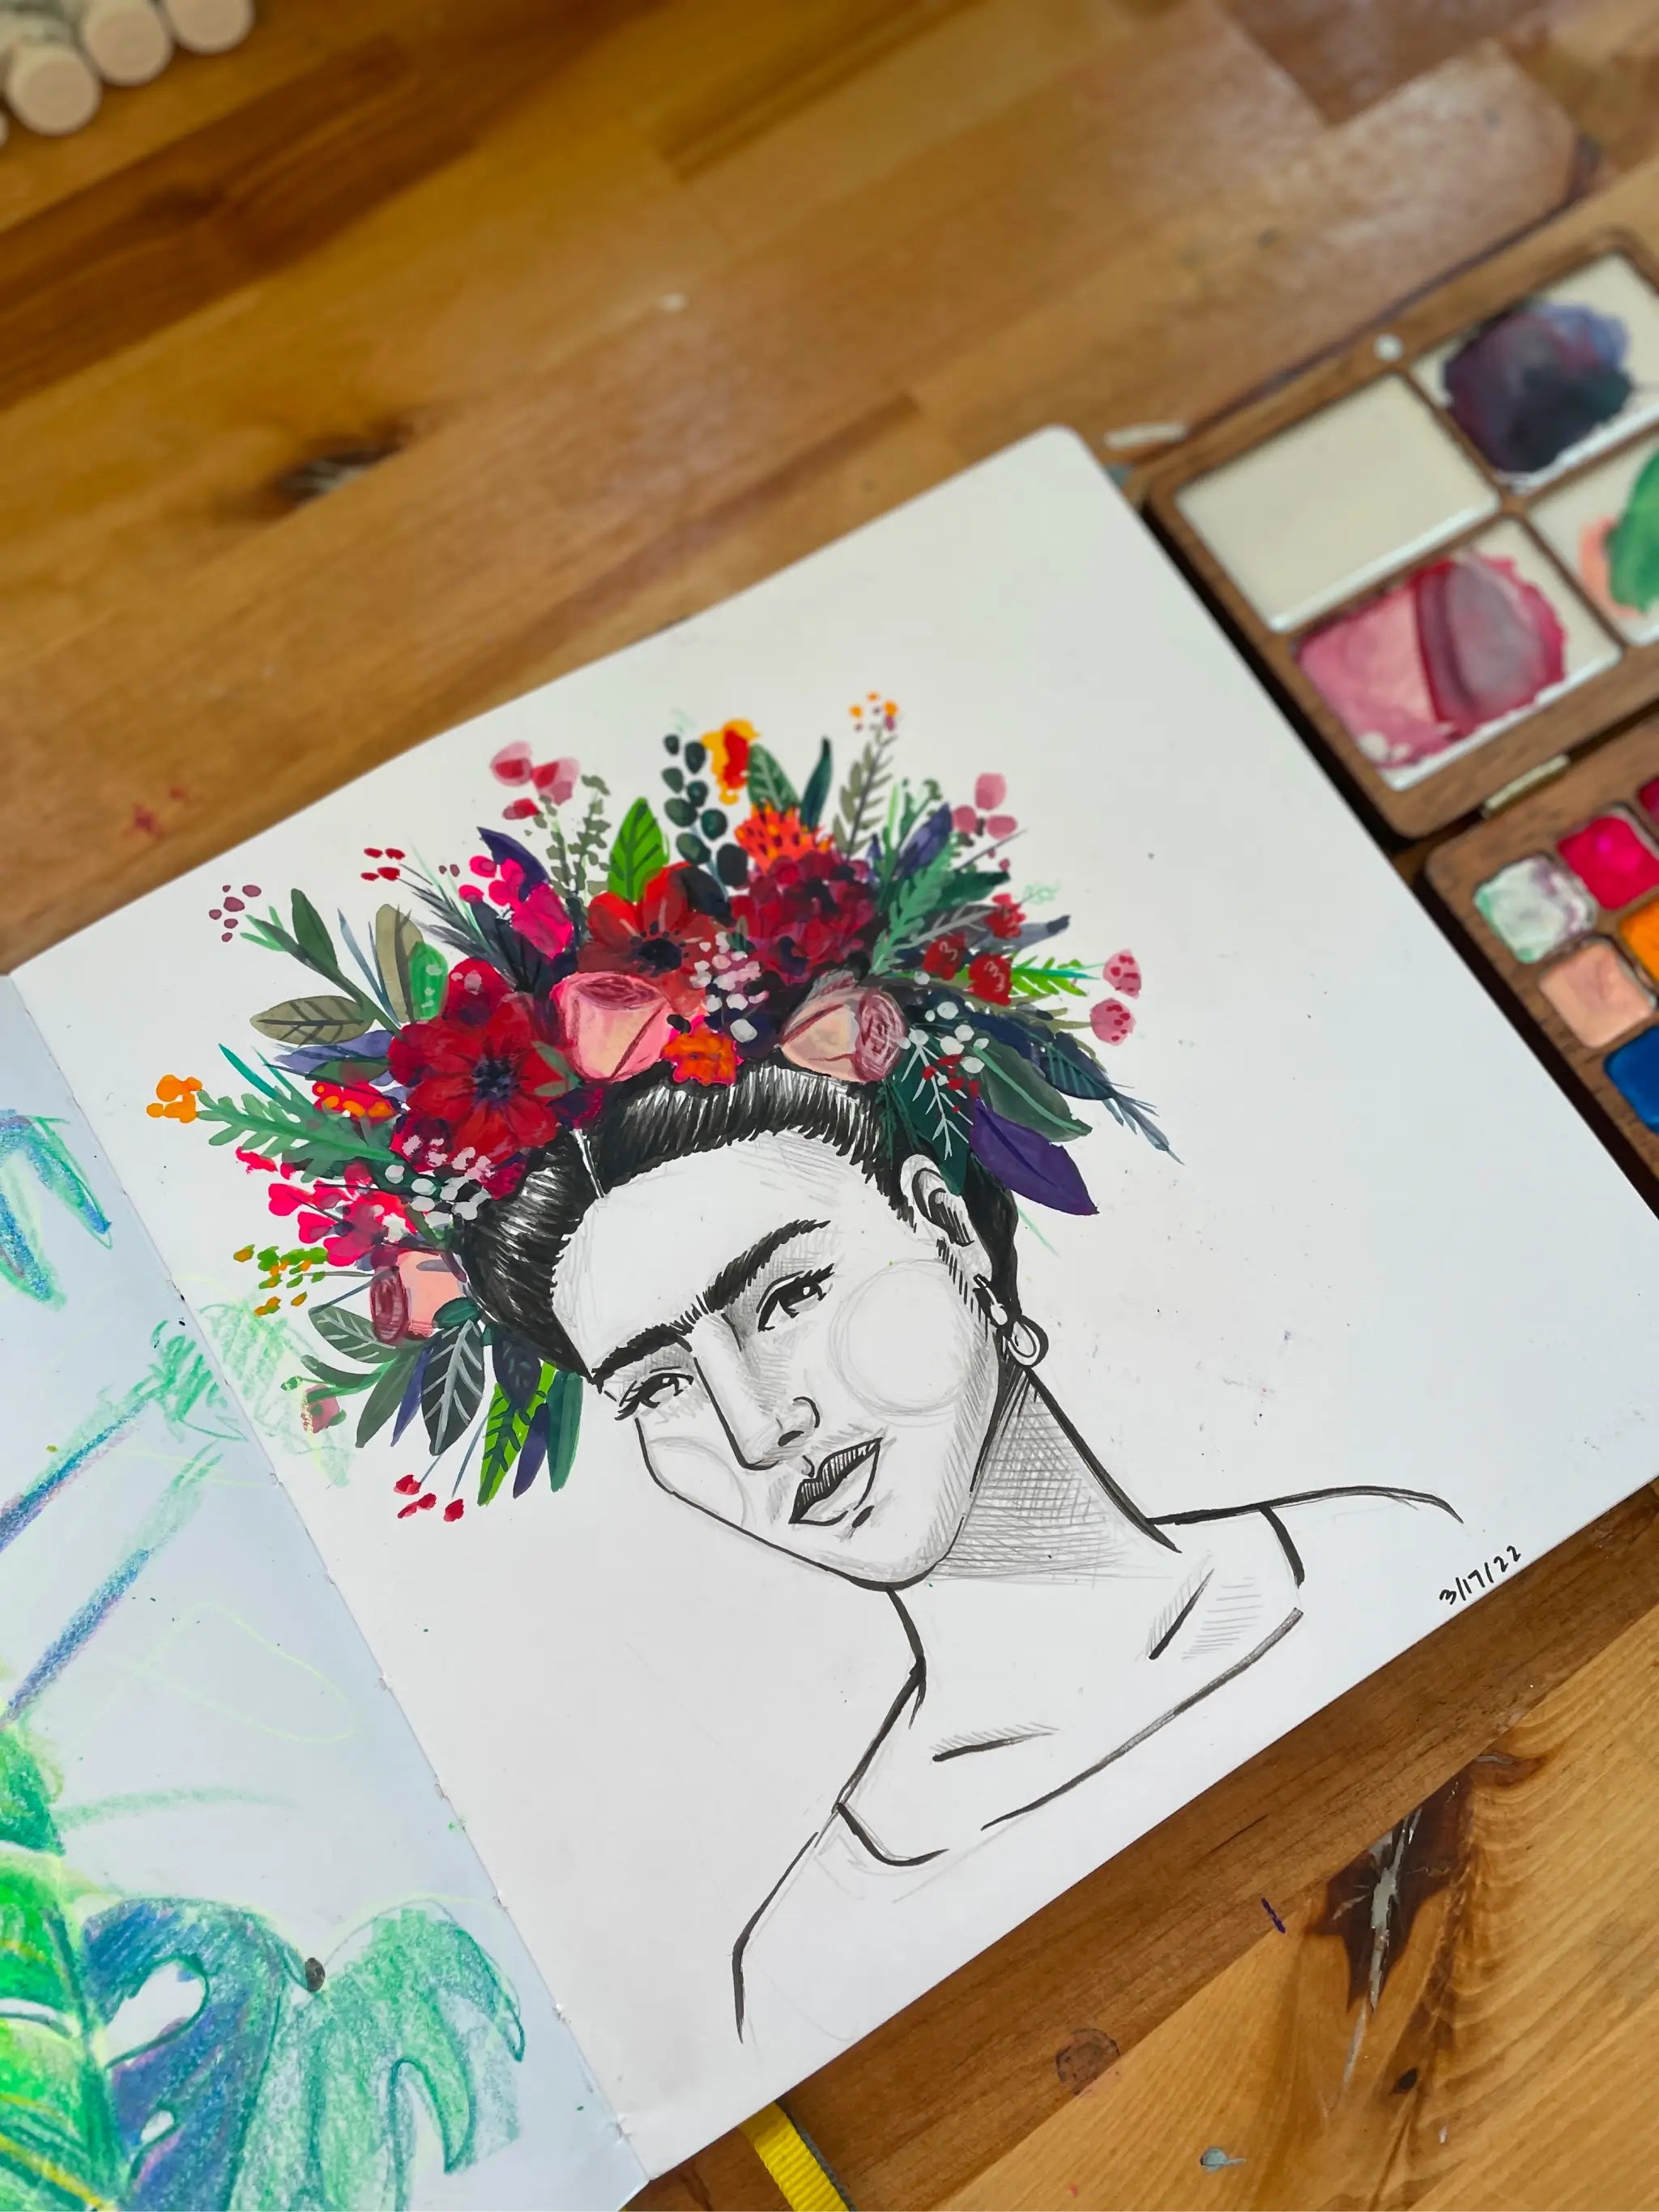
My Work
Follow me on IG for more @artwithmrs.e

Blog posts

How to Make a Textured 3D Tree for Your Classroom or Art Show
Creating a large, textured tree is a beautiful, dynamic project that can be used year after year to create an immersive experience for an art show or your classroom. Whether you're celebrating the seasons, creating a backdrop for an art exhibit, or just looking to add some creative flair to your space, this DIY tree project is a perfect fit. Here’s how to make it step-by-step. Materials Needed: Painter's tape Brown kraft paper Foil (for texture) Hot glue gun Brown paper towels (for paper mache) Paper mache paste (homemade or Elmer's glue paste) Cheap green plastic tablecloths Paper clips or binder clips Pool noodles (optional for branches) Streamers or twisted green bulletin board paper (for vines) Paint and brushes (for embellishments) Step 1: Set the Base Start by finding a column or bump-out wall space to use as the tree's base. Secure brown kraft paper onto the wall with painter's tape to form the trunk of the tree. This will provide a sturdy foundation for the rest of your project. Step 2: Add Texture with Foil Crinkle some strips of foil and hot glue them onto the kraft paper base. This adds texture and gives the tree a more sculptural, realistic look. Foil is lightweight but can still give the appearance of rough bark or tree texture. Step 3: Paper Mache the Trunk Next, use strips of inexpensive brown paper towels (perfect for this project and commonly found in schools!) to create a paper mache layer over the foil. Dip the strips into paper mache paste (you can either make it yourself or use Elmer's glue paste) and apply them over the crumpled foil. This layer adds both texture and strength to the trunk. Step 4: Create the Tree's Leaves For the leaves, use green plastic tablecloths from the dollar store. These are cheap, easy to work with, and have a nice flowing texture. Attach the tablecloths to the ceiling using paper clips or binder clips, letting them hang down to form the main body of the tree’s leaves. Step 5: Make Vines to Hang from the Tree Create some fun vines by twisting green bulletin board paper, streamers, or strips of tablecloths. Drape them around the tree to give it an extra layer of whimsy and realism. You can even have your students help create these in bulk for efficiency! Step 6: Add Branches with Pool Noodles If you'd like to add branches to your tree, pool noodles work wonderfully. Cut them to the desired length, then wrap them in crumpled kraft paper and secure them using hot glue or more paper mache. This makes for flexible, lightweight branches that can be arranged however you like. Step 7: Embellish the Tree Trunk Once the basic structure is in place, it’s time for some finishing touches! Use a dry brush technique with different shades of brown paint to add texture to the trunk. You could also paint in a critter in a hole in the tree, or get creative with other ideas to personalize the look. Step 8: Bonus – Reuse Your Tree for Different Celebrations One of the best parts about this project is that it’s versatile! You can reuse the tree year after year for different themes or school events. For example, I used this tree as part of a Mister Rogers-themed art show. The possibilities are endless when you think about how to incorporate the tree into different celebrations or art show themes! This DIY tree is a fun way to add a creative element to your space, and the best part is it can be used for multiple purposes throughout the year. From art shows to classroom decor, it’s sure to be a hit! Happy crafting!
Learn more
How to Make a Vibrant Paper Weaving: A Fun and Accessible Art Project for Kids
Create a vibrant paper weaving project with your students by combining bubble wrap printing and colorful weaving techniques! This engaging lesson strengthens fine motor skills, pattern recognition, and color theory while allowing kids to explore texture and contrast. Perfect for art teachers, homeschool parents, and adapted art classes, this hands-on activity is a fun and accessible way to teach weaving and mixed media art!
Learn more
Stamp Your Wild Side: DIY Printmaking Art Project Inspired by Charley Harper
If you love bold, graphic designs and exploring art with kids, you won’t want to miss the ‘I Am Wild’ exhibit at the Pittsburgh Children’s Museum. Inspired by the iconic work of Charley Harper, this exhibit celebrates his unique way of seeing the natural world—through vibrant colors, geometric shapes, and minimal, yet striking, compositions. To bring a piece of this artistic magic home, I’ve created a DIY stamping project inspired by Harper’s distinctive style. This simple and fun activity lets kids explore shapes, printmaking, and creativity while making their own animal prints—just like Harper’s iconic artwork. Plus, with Valentine’s Day around the corner, these homemade stamps can be used to make one-of-a-kind cards! About the ‘I Am Wild’ Exhibit at the Children’s Museum The ‘I Am Wild’ exhibit immerses visitors in the world of Charley Harper, whose artwork transforms animals into striking, shape-based designs. His approach, often called “minimal realism,” captures the essence of birds, insects, and wildlife through bold lines and geometric forms. At the exhibit, kids and families can explore interactive displays, create their own shape-inspired art, and learn about Harper’s deep love for nature and conservation. It’s a perfect way to introduce young artists to his unique vision while inspiring them to see the world through an artistic lens. DIY Charley Harper-Inspired Stamping Project This easy and engaging printmaking project allows kids to build their own animal stamps using simple geometric shapes. Whether they want to make birds, fish, or any other wild creature, this activity encourages creativity while reinforcing Harper’s style. Materials You’ll Need: Adhesive craft foam shapes or adhesive foam sheets Scissors Cardboard squares, or wooden blocks, bottle caps, anything hard to use for the stamp base Brayers (small ink rollers) Washable block printing ink or acrylic paint white or colored paper- I love this neon card stock from Astrobright Step-by-Step Instructions: Create Your Stamp Design Use pre cut foam shapes, or cut basic shapes (triangles, circles, rectangles) from adhesive craft foam. Arrange and stick them onto a cardboard square or wooden block to form an animal, just like Charley Harper’s geometric creatures. Use a pencil to draw lines as detail that will show up in your stamp. Ink Your Stamp Roll ink onto your foam stamp using a brayer for even coverage. If using acrylic paint, apply a thin, smooth layer. You can also use an ink pad or even markers if you do not have a brayer or paint to use for printing. 3. Press & Print Firmly press the stamp onto paper and lift to reveal your design. Experiment with stamping patterns, using different colors, layering shapes, and adding details with acrylic markers or puffy paint. 4. Optional: Add additional details to you print or a Valentine’s Day Twist! Turn your prints into handmade Valentine’s cards by using pink and red ink or cutting out heart shapes to add to your designs. Add extra fun and flair to your prints with puffy paint, paint pens, or any supply you'd like to make them more personalized! Other Printing Options: You can also choose to use your DIY stamps with an ink pad! This is a more mess free option. You can check out some stamp pads here Why This Project is Perfect for Kids Encourages creative thinking through shape-based design. Introduces basic printmaking techniques in an easy, approachable way. Ties into a real-world art exhibit, deepening kids’ appreciation for Harper’s work. Provides a hands-on way to make personalized gifts and cards for special occasions. Visit the Exhibit & Try This at Home! If you’re in the area, I highly recommend visiting the ‘I Am Wild’ exhibit at the Children’s Museum to see Charley Harper’s work up close and spark even more creative inspiration! Then, bring the fun home with this DIY stamping project and see what wild creations your kids come up with. Happy stamping!
Learn more


