This watercolor watercolor geodes art lesson is an absolute STUNNER. ✨
Sometimes I totally forget about lessons I taught years ago, especially if they were a quick add on and not technically part of my art show theme. This lesson came into fruition thanks to the help of my buddies @mrsallainart (for the geode inspo) and @2art.chambers (for the b & w background inspiration!) love these ladies so much!

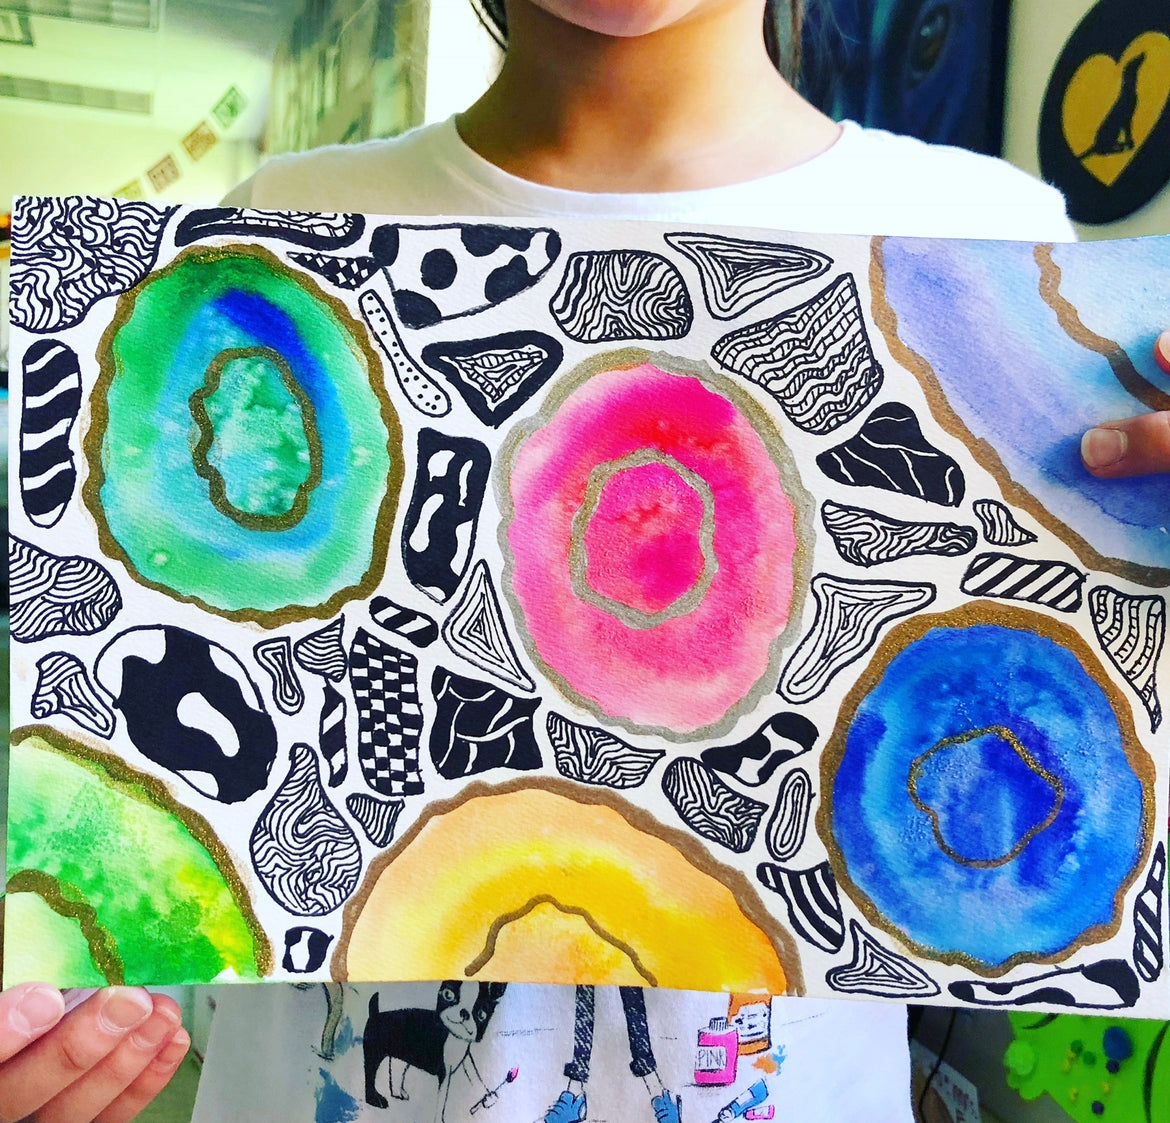
Watercolor geodes are so much fun to make! Here are the steps:
1. Using the wet - on - wet technique, have students first paint an egg sized, imperfect oval with just WATER on watercolor paper.

2. Then, using 2-3 analogous colors*, use a generous amount of watercolor to paint the geode. Starting around the outside rim of the water oval, add your first color. Rinse your brush, then leaving a bit of space between colors and moving inward l, paint another watercolor circle. Change colors again or go back to the first as you go towards the middle.
*note: analogous colors are colors that are neighbors on the color wheel, for ex: blue-green, blue, blue-violet or yellow, yellow-green, green.
3. Moving quickly, sprinkle some salt (I prefer coarse sea salt) in the middle of the wet “geode”. This technique leaves a speckled/ glittery texture perfect for a geode when it dried.
4. Repeat steps 1-3 with 3 or 4 more ovals on the same piece of watercolor paper. Be sure to do one at a time Bc the water/ paint dries fast and you want to get the most out of this technique by keeping your focus on one at a time. Otherwise if you sprinkle the salt when the paint is dry, it’ll just sit on top vs settling in the paint.
5. Once paint is dry, use gold paint or a gold marker to trace around the outside edge of each geode, and add a thin bumpy line inside the paint that follow the texture for added ✨pazazz ✨
6. Once the geodes are dry, cut them out, and use small piece of cardboard or 3D-O to glue in between the geodes and your background paper. This sidelong raises the geodes off the paper for a 3D look.

7. Using fine and ultra fine sharpie (or other permanent marker) fill the background with organic shapes that somewhat look like giraffe spots initially (meaning they almost can fit together like a puzzle but have a bit of space in between each shape) and then fill the spaces with different black and white patterns.

This project is not only gorgeous when it's completed, but such a fun process as well! Loved by kids (and adults) of all ages. Have fun! 🖤


2 comments
This lesson is perfect for 6th grade study of rock formations. Instead of salt i like to glue glitter on once dry and cut out. May I use this?
Hi. What grade level is this? And how many class periods did it take/