A few years ago I took a class on fibers through The Art of Education (highly recommend btw) and one of our assignments was to figure out a supply organization system that would work best for our students. This got my wheels turning for sure and I ended up creating something I named "The Weaving Wagon".
The weaving wagon was essentially an art cart specifically for all things fibers and weaving related. It was such a huge success in my classroom that I feel like I absolutely have to break it down and share how I organized it and how I used it with my students. Here we go!
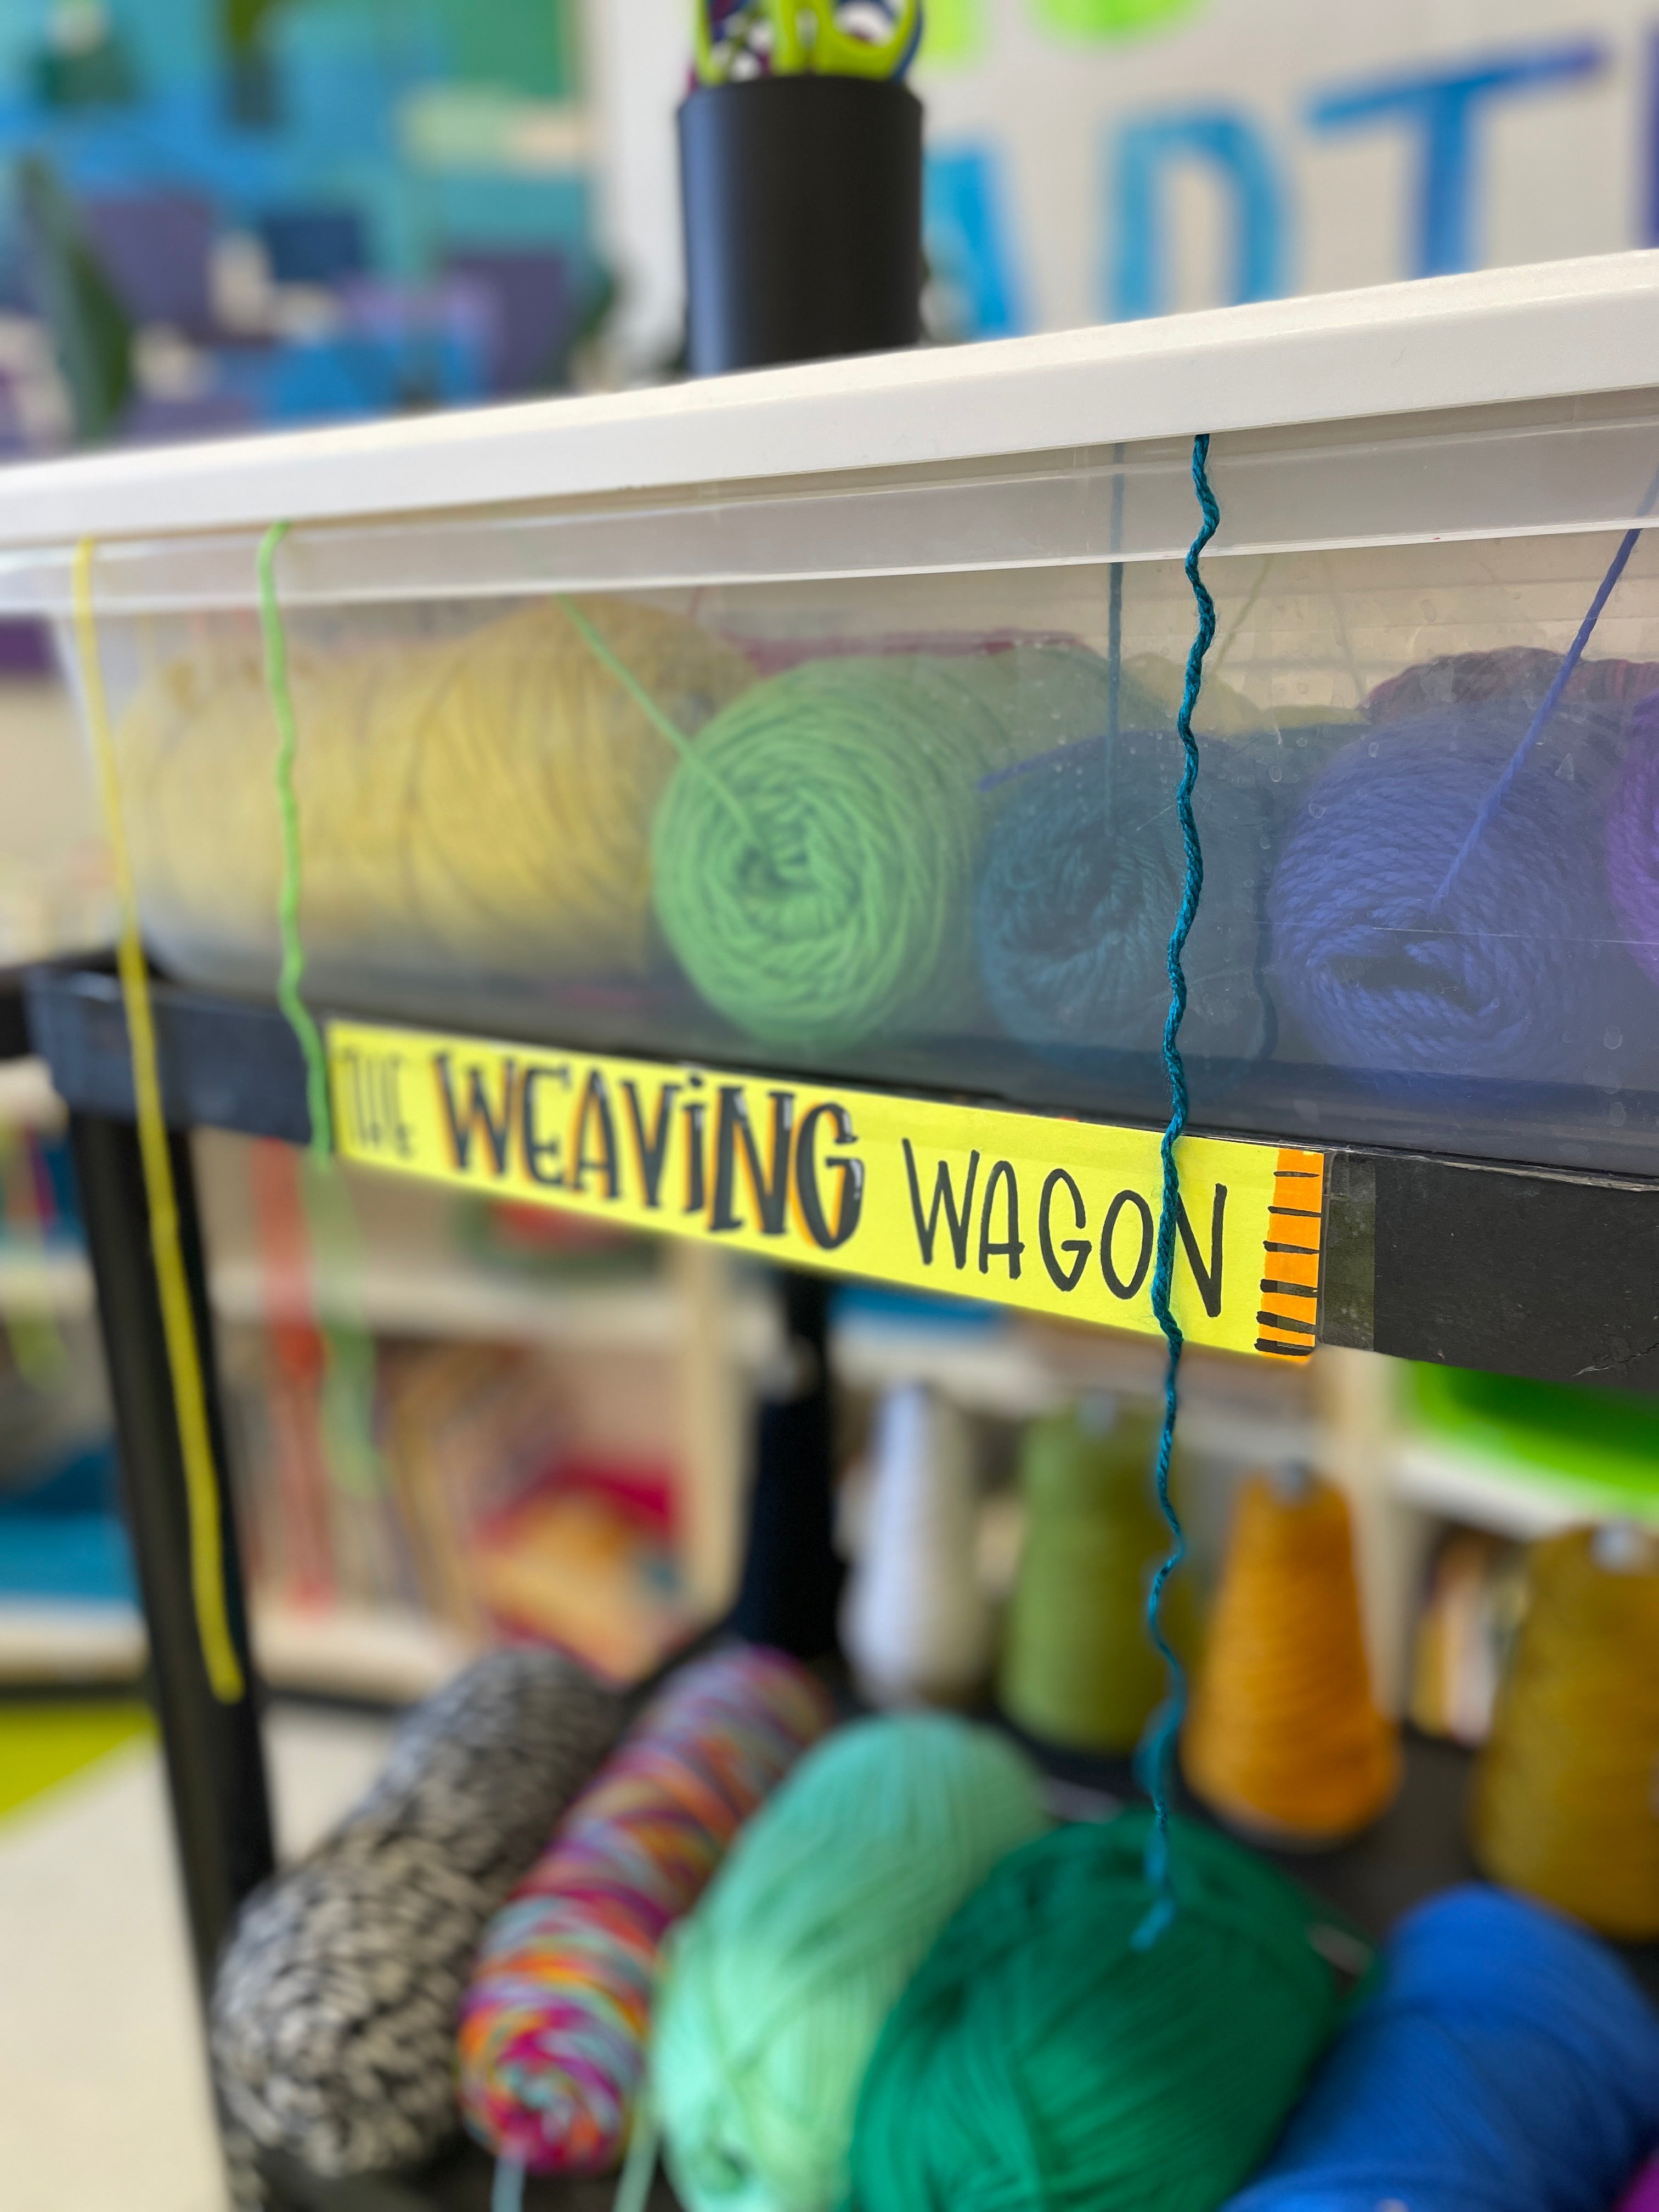
The Weaving Wagon

THE SET UP
The Yarn:


Ok, I am ALL about independence in the art room. So if I can teach a child from an early age how to get their own yarn without making a giant tangled mess then I am going to! The best way that I have found to dispense yarn is with a shallow plastic tub and lid. I think I got this bin from Target, but basically I arranged rolls of yarn in one single layer in the bin with the tail (coming from the middle of the yarn) pulled out and over the lip of the bin. Place the lid back on and your students will be able to pull the yarn without any tangles, yarn getting stuck or any other issue! The only thing I had to make sure to remind them and model for them was that when they took their yarn (an arms length or wingspan depending on the age and project) they had to leave a tail long enough to touch the top of the cart (other wise if they cut it too short the end goes shooting back into the bin).
I kept the yarn on the top of my cart (which btw is just an old AV cart that the school had lying around) and then a few specialty yarns on the second row. These were mostly yarns that has a spool that stood up on it's own and few others that didn't fit in the bin on top.
The Needles:

One of the best hacks I was ever taught was from a veteran teacher in my district (shout out to Mrs. Lee Knapp). She taught me the most GENIUS way to not only keep your tapestry needles organized, but how to teach accountability, responsibility and ownership regarding the supplies. So she used a thick piece of recycled styrofoam to house the needles. Drawing a grid in permanent marker, numbering each one, and then sticking the needle in the middle. All of the kids in my school have a class number (and if they don't its super easy to assign them one). So all I would have to do is call numbers 1-5, 5-10, 10-15, etc to come get their supplies. At the end of class it held everyone accountable to return their needle, because no one wanted to hear "we're missing number 17! Who is number 17?" Goodbye missing needles!
Other Misc Supplies:

At the bottom of the cart I not only housed the needles, but had a bin for the needle threaders (thank you Cassie Stephens for this genius hack), combs for pushing down cardboard weavings, and worksheets from the Art of Education.
TEACHING PROCEDURES

As much as I wish I could create this cart and then step back and watch perfect harmony happen in the art room- it's not going to happen. That's why, like everything at the elementary level, procedures need to be taught. So think about, what procedures would work best for you, your students, and your space... because everyone is different! For me, I kept the cart at the front of the room, and called student numbers to come get their supplies (like I mentioned, in groups of 5-8 usually). To avoid overcrowding, I usually placed the needles, combs, needle threaders, etc on a nearby table. Once that first group gathered their supplies then I called the next group and so on. I kept a small cup of student scissors on top of the yarn bin for easy access and clean up as well. For clean up I usually assigned the art star (the helper of the day) to pick a friend or two to gather all of the student work, combs, needle threaders and yarn scraps, while the individual students were responsible for returning their own needles.
THE BEST PART:
One of my favorite parts about this weaving system is that it is on a cart- which means it's mobile!! My favorite time of the year to do weaving and fibers with my students is the end of the year. It's the perfect way to "weave our way to summer" after the art show. And with that being said, as the weather got nicer, I loved taking my classes outside to work on their weavings when the weather was nice. The cart made it super easy to just bring out supplies with us!
 .
. 

I hope you find this post helpful to you in your next weaving project!


