
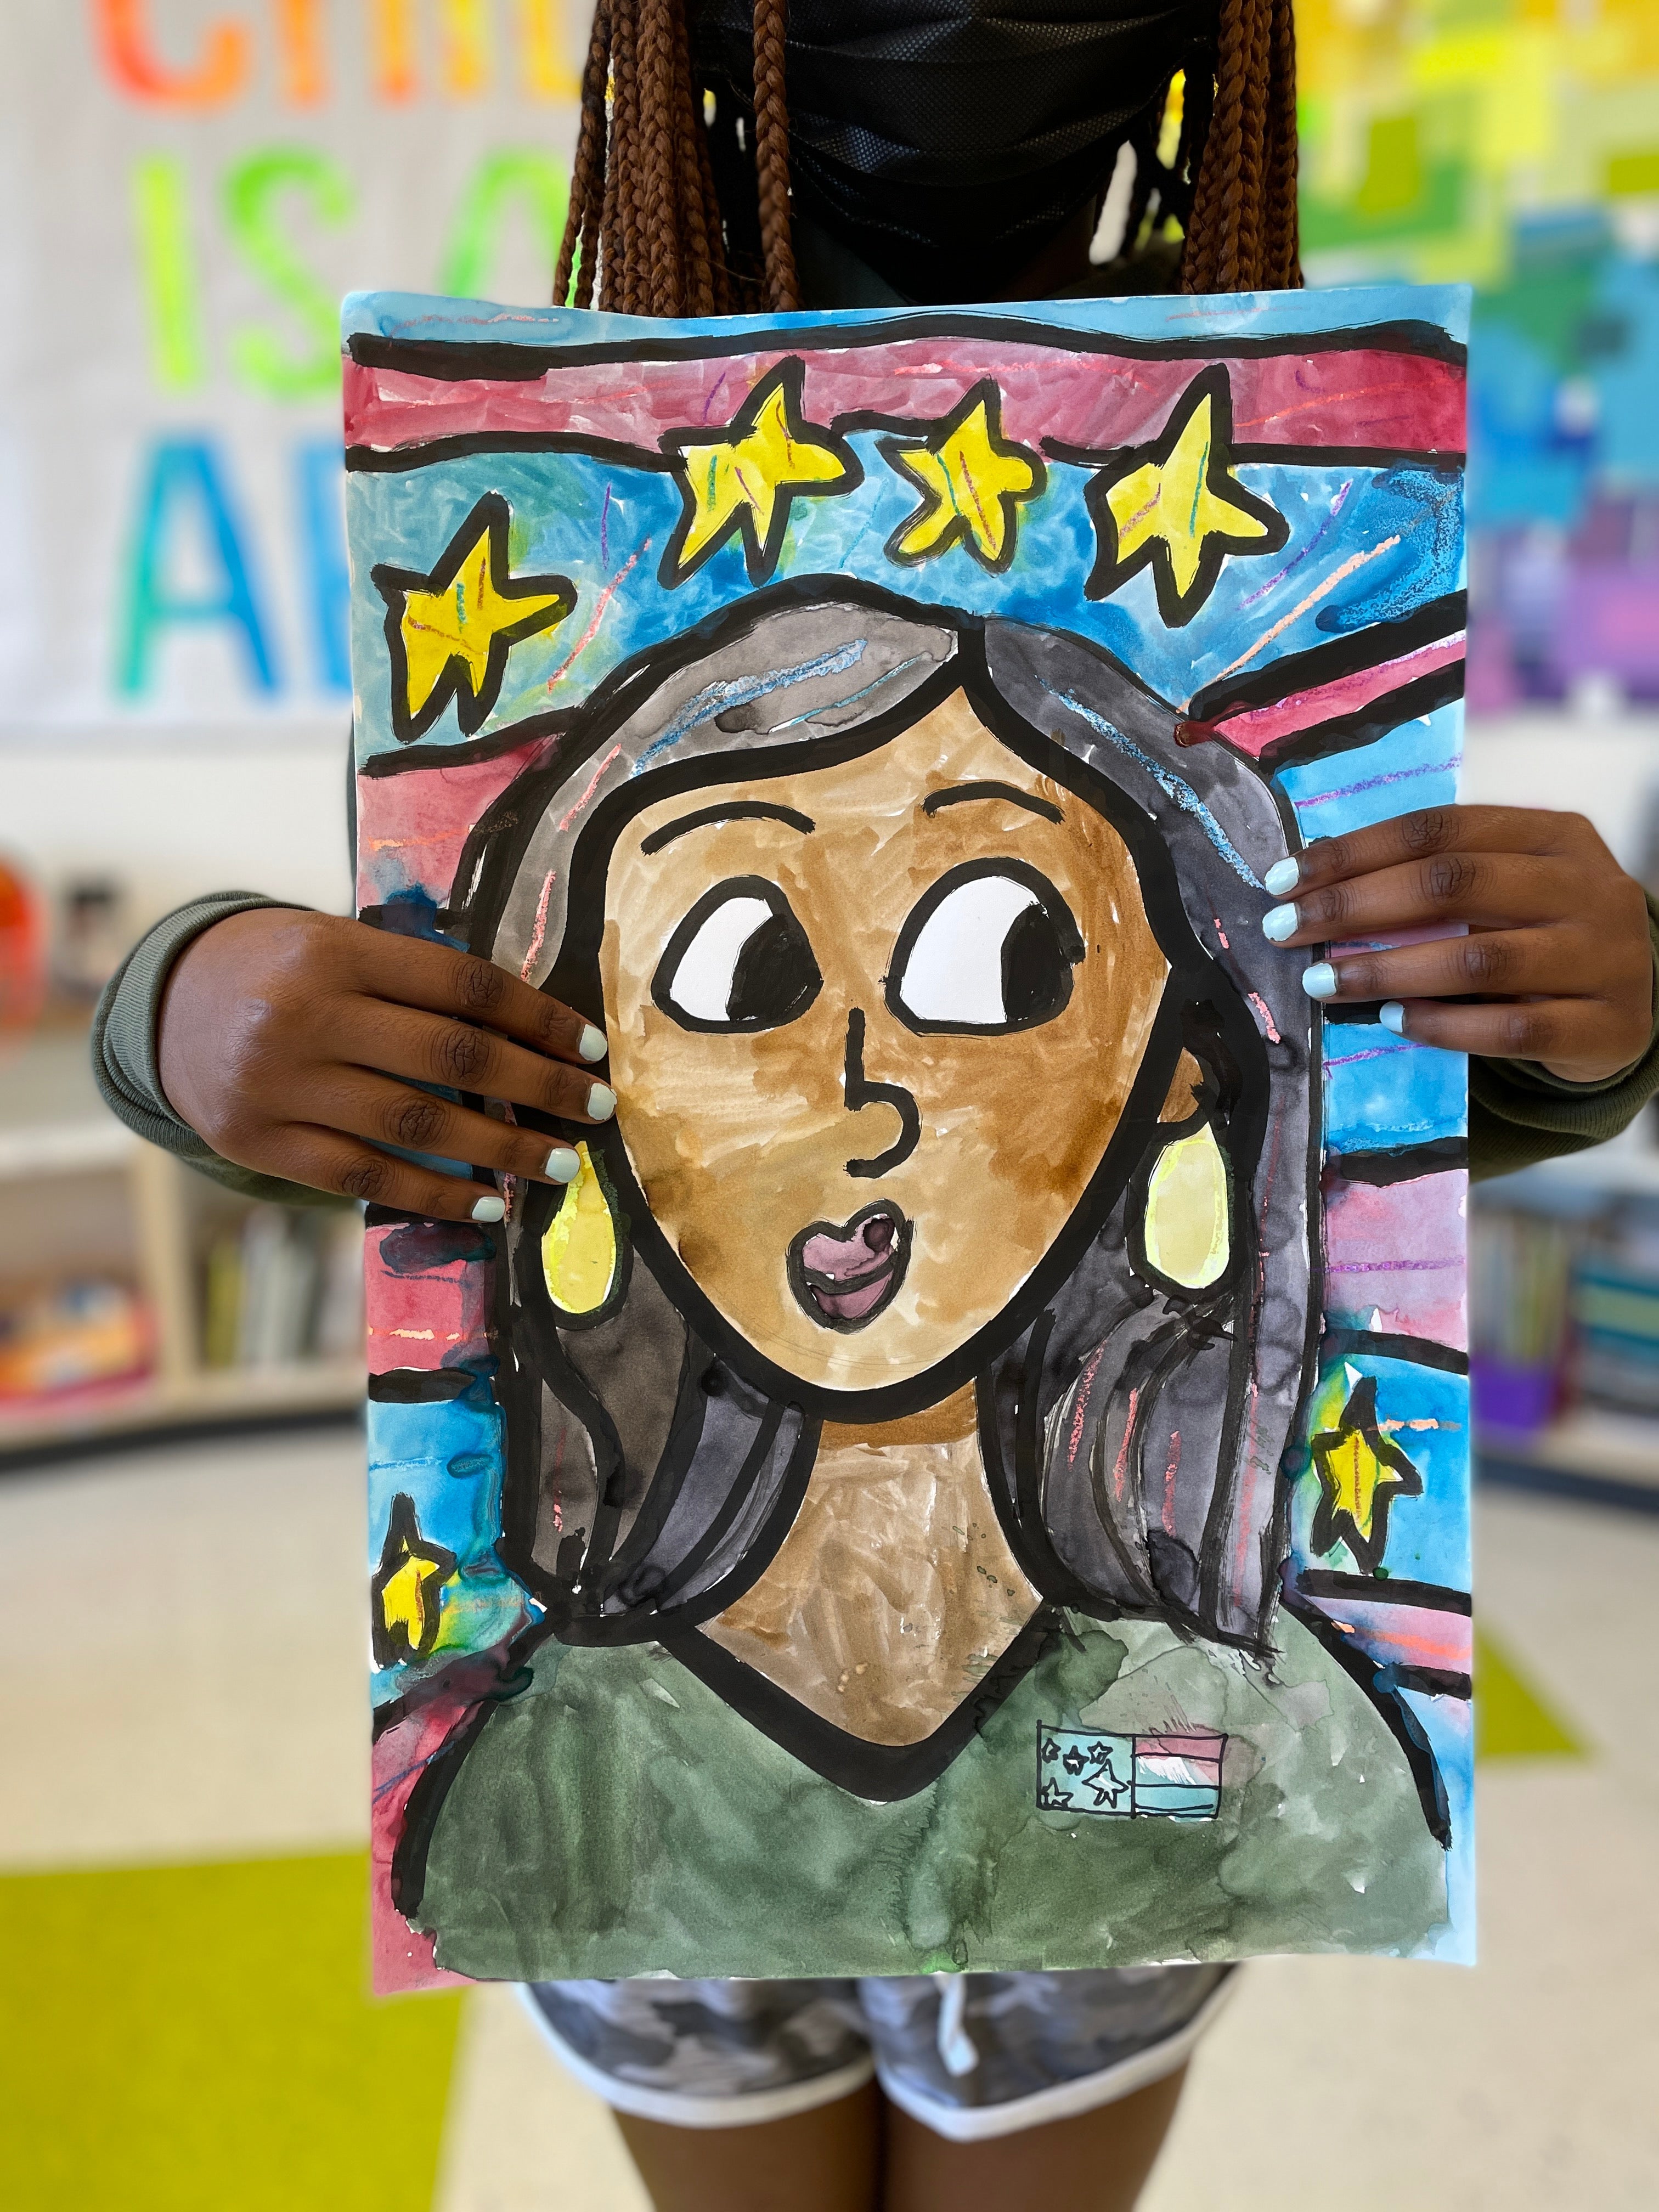
My example of a folk art portrait of poet, Amanda Gorman
February is black history month and there are so many amazing ways you can celebrate in the art room! One of my favorites ways to celebrate inspiring people is by creating folk art portraits.
What is a folk art portrait vs. a regular portrait? Well, folk art is usually art that is "self taught" and is rooted in family, cultures and heritage. Many times folk artists are self taught which means their style tends to be less "realistic". There is often bright colors and patterns in folk art pieces. Creating a portrait in more of an informal style is less intimidating for many children and thus allowing for more engagement, success and confidence.
Over the years I have had my fourth grades students create folk art inspired portraits of some of their biggest inspirations. From Inspiring Women for women's history month, to important members of the community, to inspirational African American's and more. Let's take a look at how some of my students were able to celebrate this special month through their work! (The full folk art lesson can be found here.)
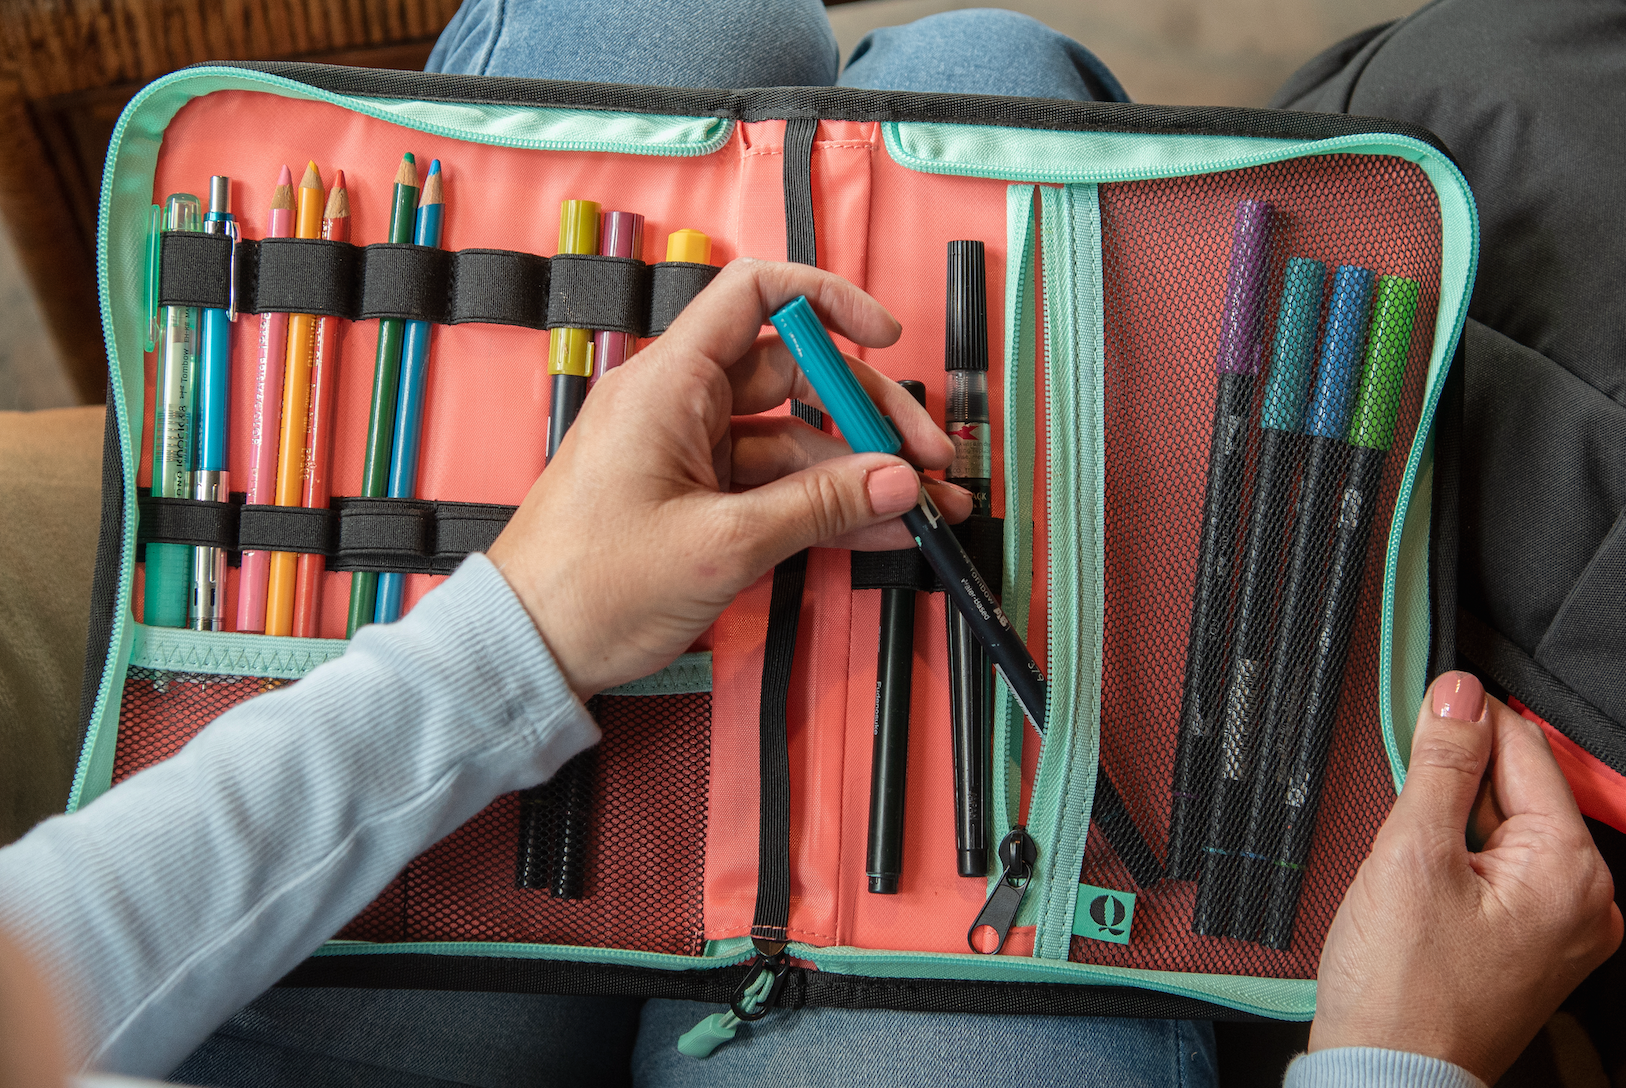
To create a portrait in a folk art style, you will need a few materials:
- Bingo daubers with black India ink, or thick black markers
- Fluorescent oil pastels ( I love either Crayola's or Sargent art's)
- Watercolor paints (I love Crayola's Education watercolors)
- Paint Brushes (these Royal brushes are the BEST)

Step 1: Have each student select and research the person they would like to draw. If students have access to ipads or technology, have each student pull up a photo of the person and save it to reference.


Step 2: Using photo of the individual and the folk art drawing guides provided in the lesson, have students create a practice drawing. One of my favorite ways to have students create a rough draft is using a class set of white boards and dry erase markers. The reason why this works best for this project is because when they go to draw their final portrait with the black bingo dauber ink, their lines will be VERY thick. So it's best they practice drawing with a marker that also has thick lines so they can be imitate their drawing. If you do not have access to white boards, have students did a practice drawing with washable markers on white practice paper to use as their reference.

Step 3: Using their sketch/ white board drawing students will complete their final drawing using the India ink dauber or a thick black permanent marker. Allow any wet ink to dry.


Step 4: Use fluorescent oil pastels to add bright colored patterns and details to the portrait. Do not color in everything- just use for "pops" of color.

Step 5: Use watercolor to paint over the oil pastels to create a wax resist and let dry.
 .
. 
Step 6: Mat and display work to celebrate Black History Month!
I hope you and your students enjoy this lesson and find creative ways to incorporate it into many different subjects to celebrate Black History Month and much more! For the full lesson, resources and more in-depth instruction you can find my Folk Art Lesson here.
If you are looking for another way that you can celebrate Black History Month, check out this blog post about how to create a Black Artist Display in your school.
I hope that this lesson has helped provide you with a few ways to celebrate Black Artists and other inspiring Black figures in your art room. Don't forget- black history shouldn't just be celebrated in February, but all year long!
Have fun!
xx-Kaitlyn




2 comments
The best inspiration ever!
Thank you for creating this!