


Type:
Winter Village Drawing Guide | Digital Download


Type: Lessons
Northern Lights Winter Landscapes | Art Lesson | Digital Download


Type: Drawing Guide
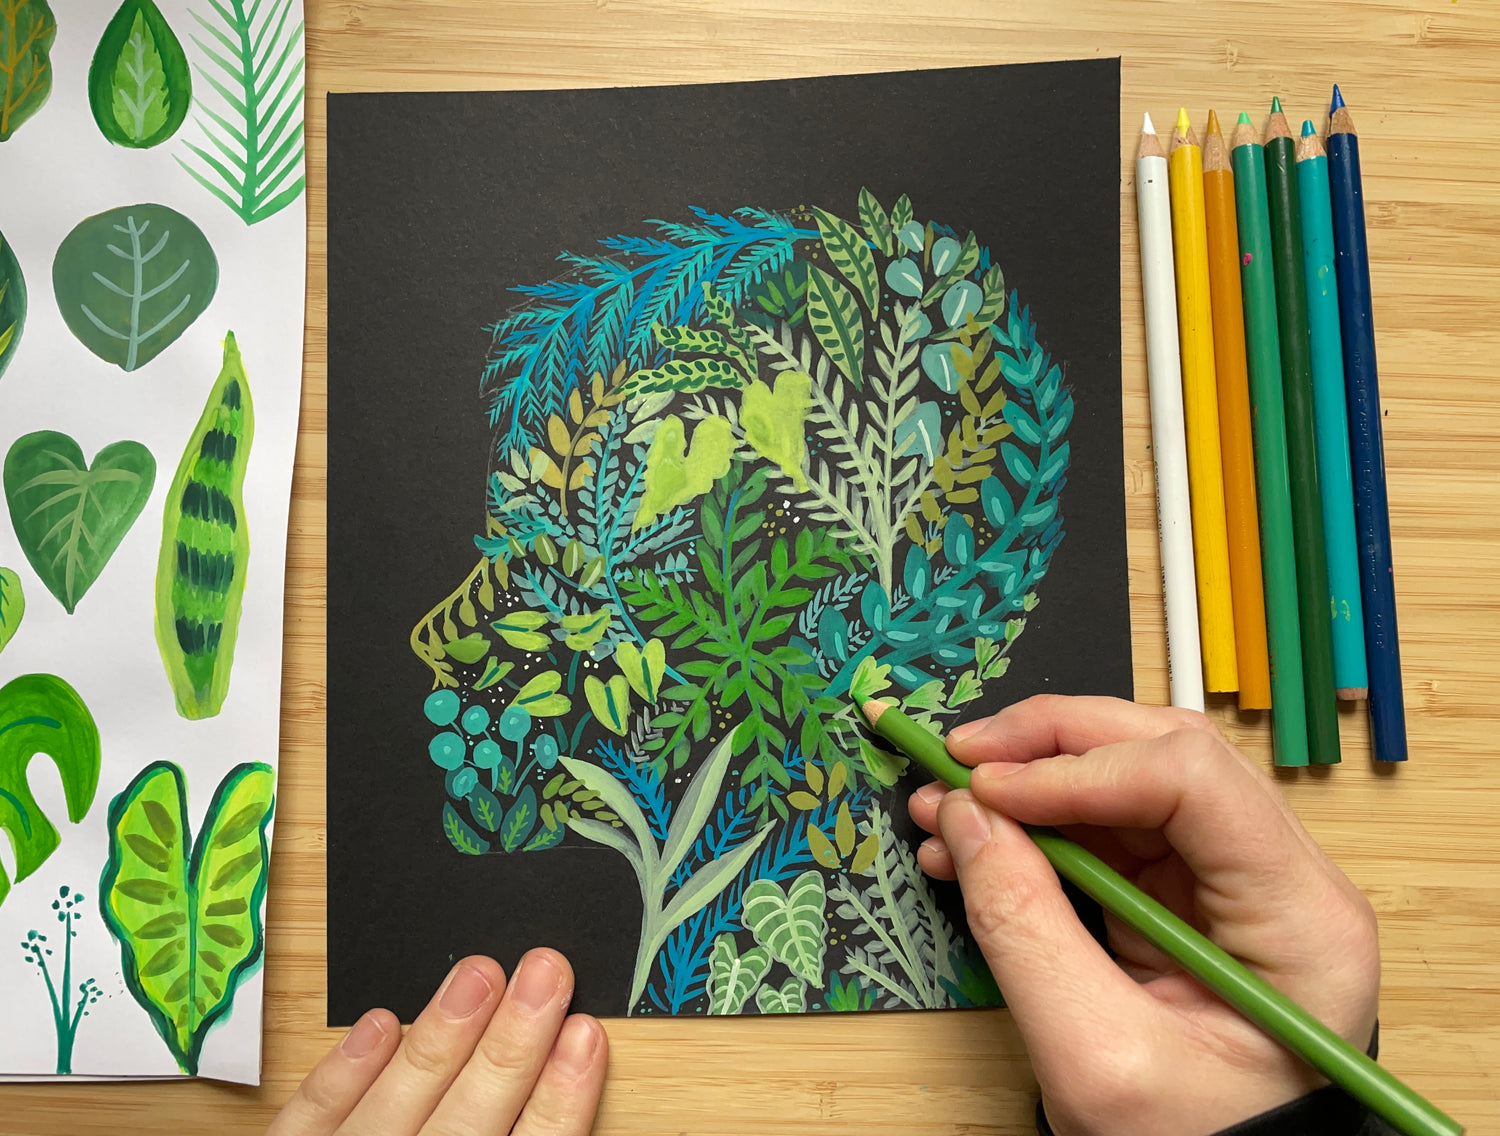
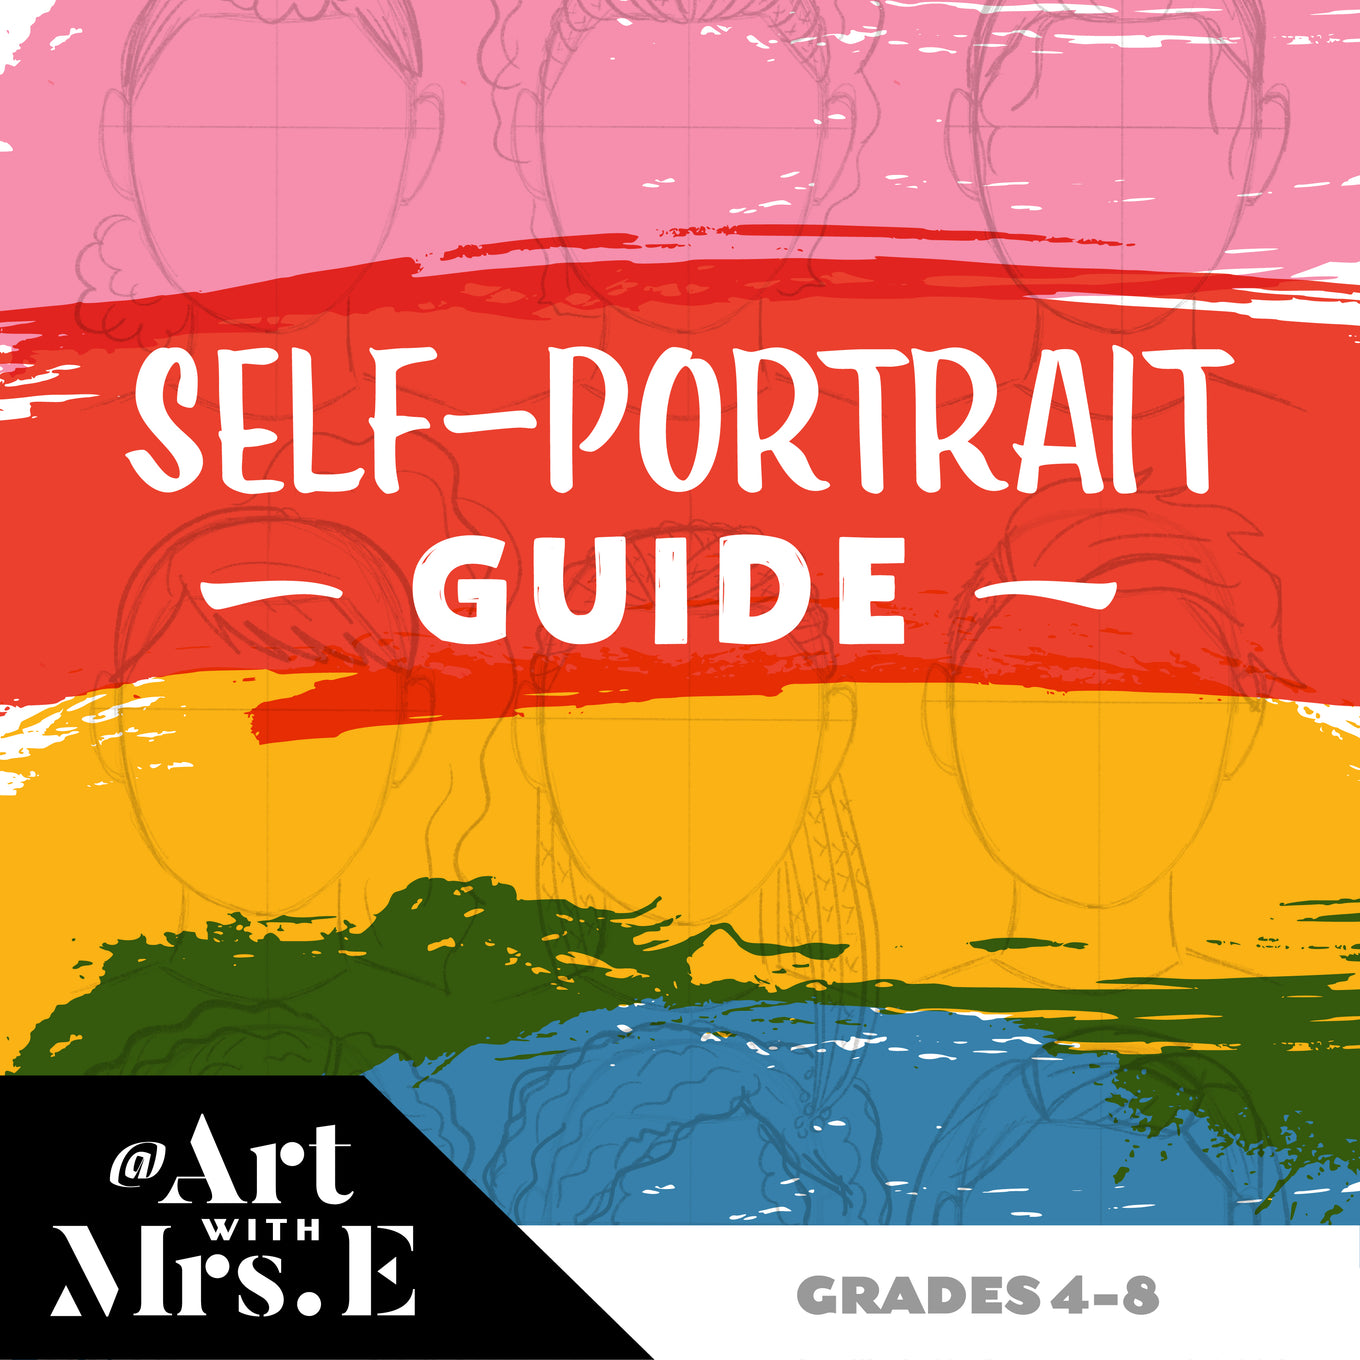
Advanced Self-Portrait Guide / Digital Download

Type: Classroom Decor
Famous Artist Bundle


Type: Lessons
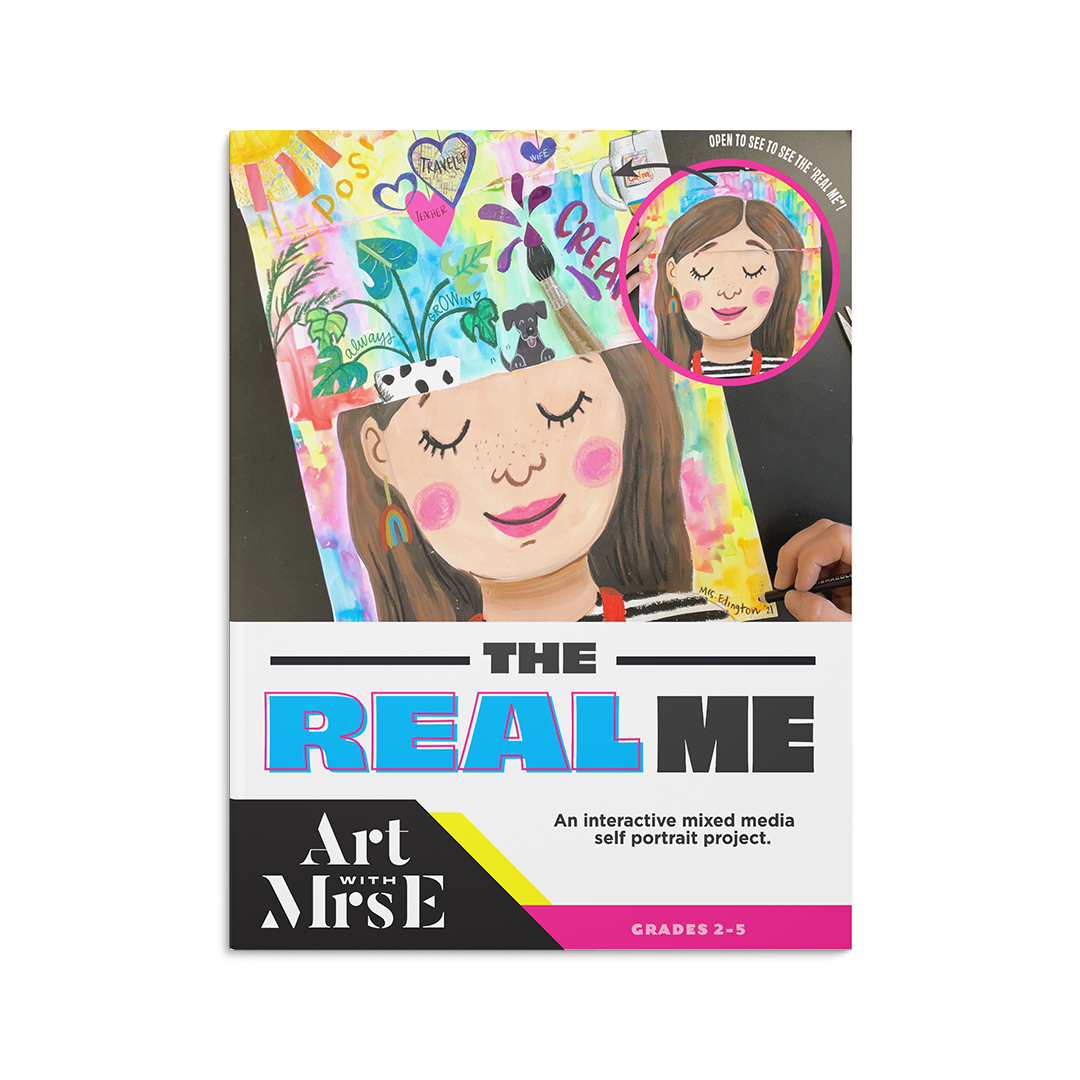
The Real Me | Art Lesson | Digital Download
Type: Lessons
Northern Lights Winter Landscapes | Art Lesson | Digital Download


Type: Lessons
Folk Art | Lesson | Digital Download


Type:
Delicious Desserts Oil Pastel Art Lesson || Cupcakes + Ice Cream Cones


Type:
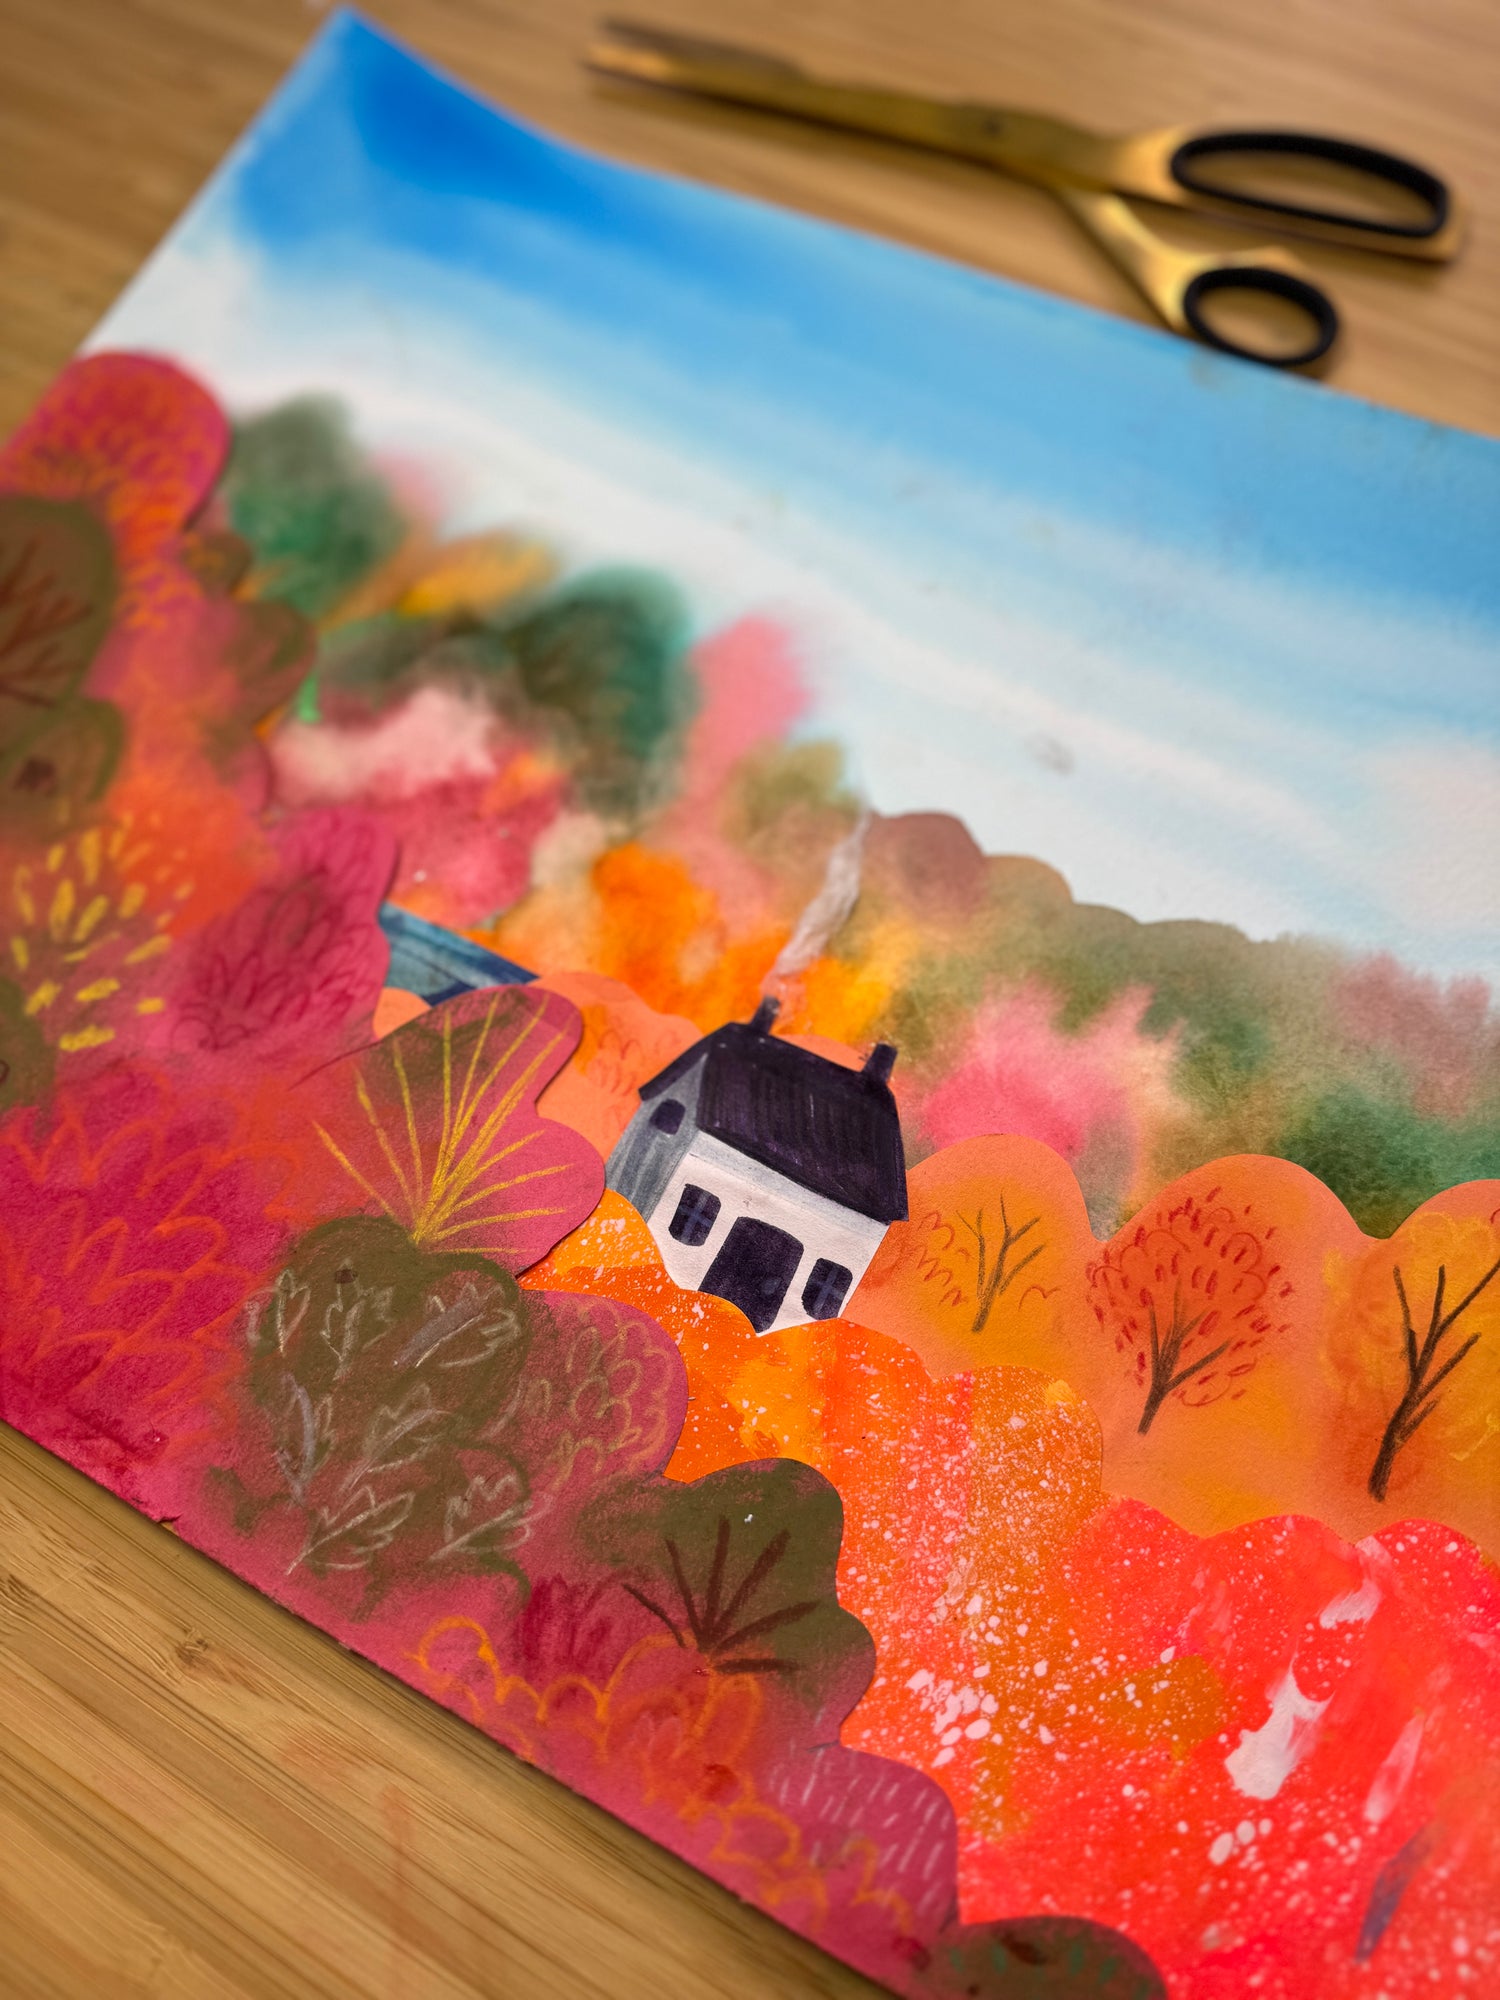
Autumn Landscape | Digital Mixed Media Elementary Art Lesson


Type: Lessons
Crazy Hair Day | Art Lesson | Digital Download


Type:
Printed Petals | Digital Art Lesson
Type: Classroom Decor
Famous Artist Bundle

Type:
Famous Author Posters || DIgital Download


Type:
Famous Musicians Bundle | Digital Download


Type: Classroom Decor
Less Talky, More Arty – Digital Classroom Poster Download


Type: Classroom Decor
Artists Posters - Vol. 5 | Digital Download


Type:
Famous Musicians | Digital Classroom Posters | Vol. 2


Type: Classroom Decor
Famous Musicians Posters | Digital Downloads


Type:
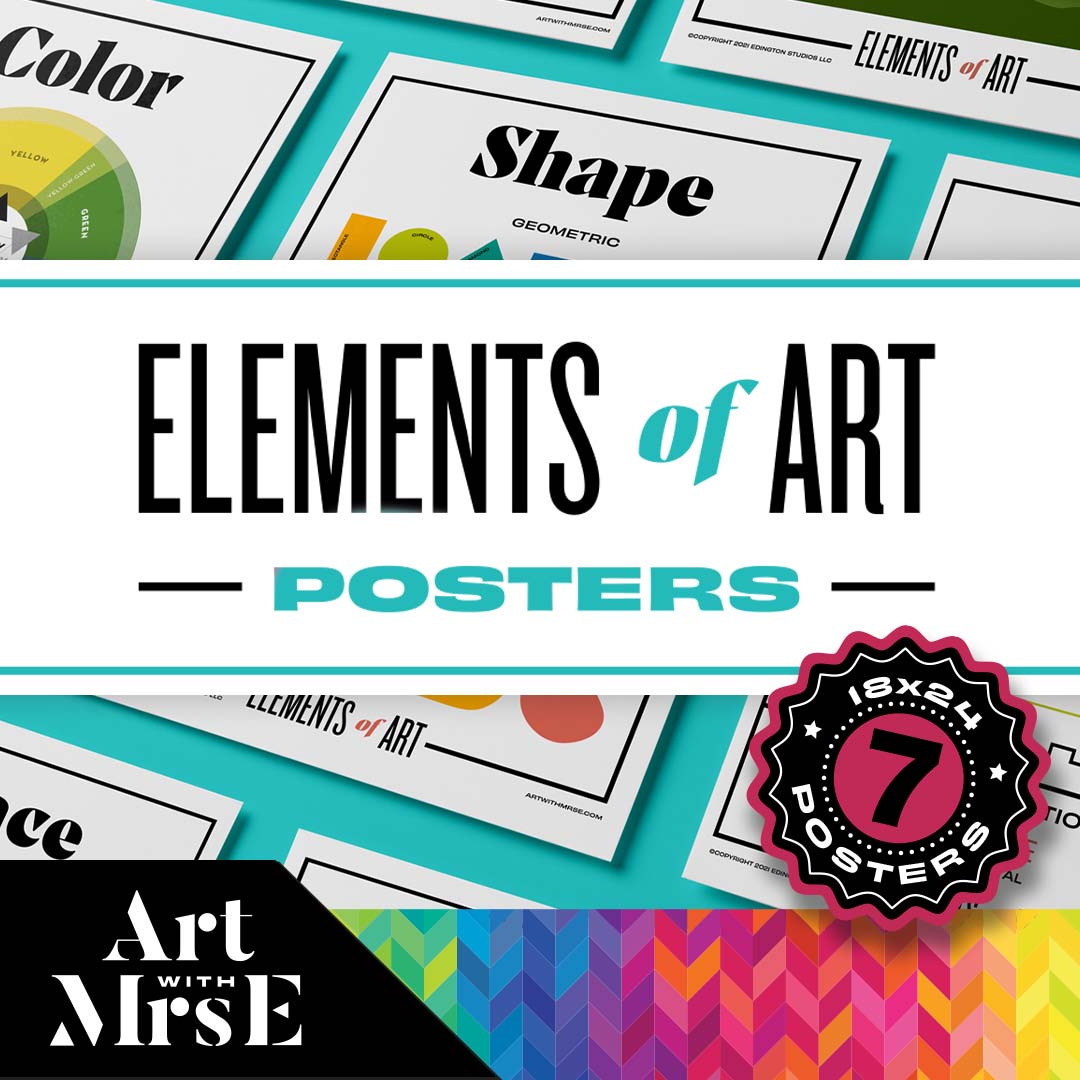
Elements of Art Posters // Digital Download


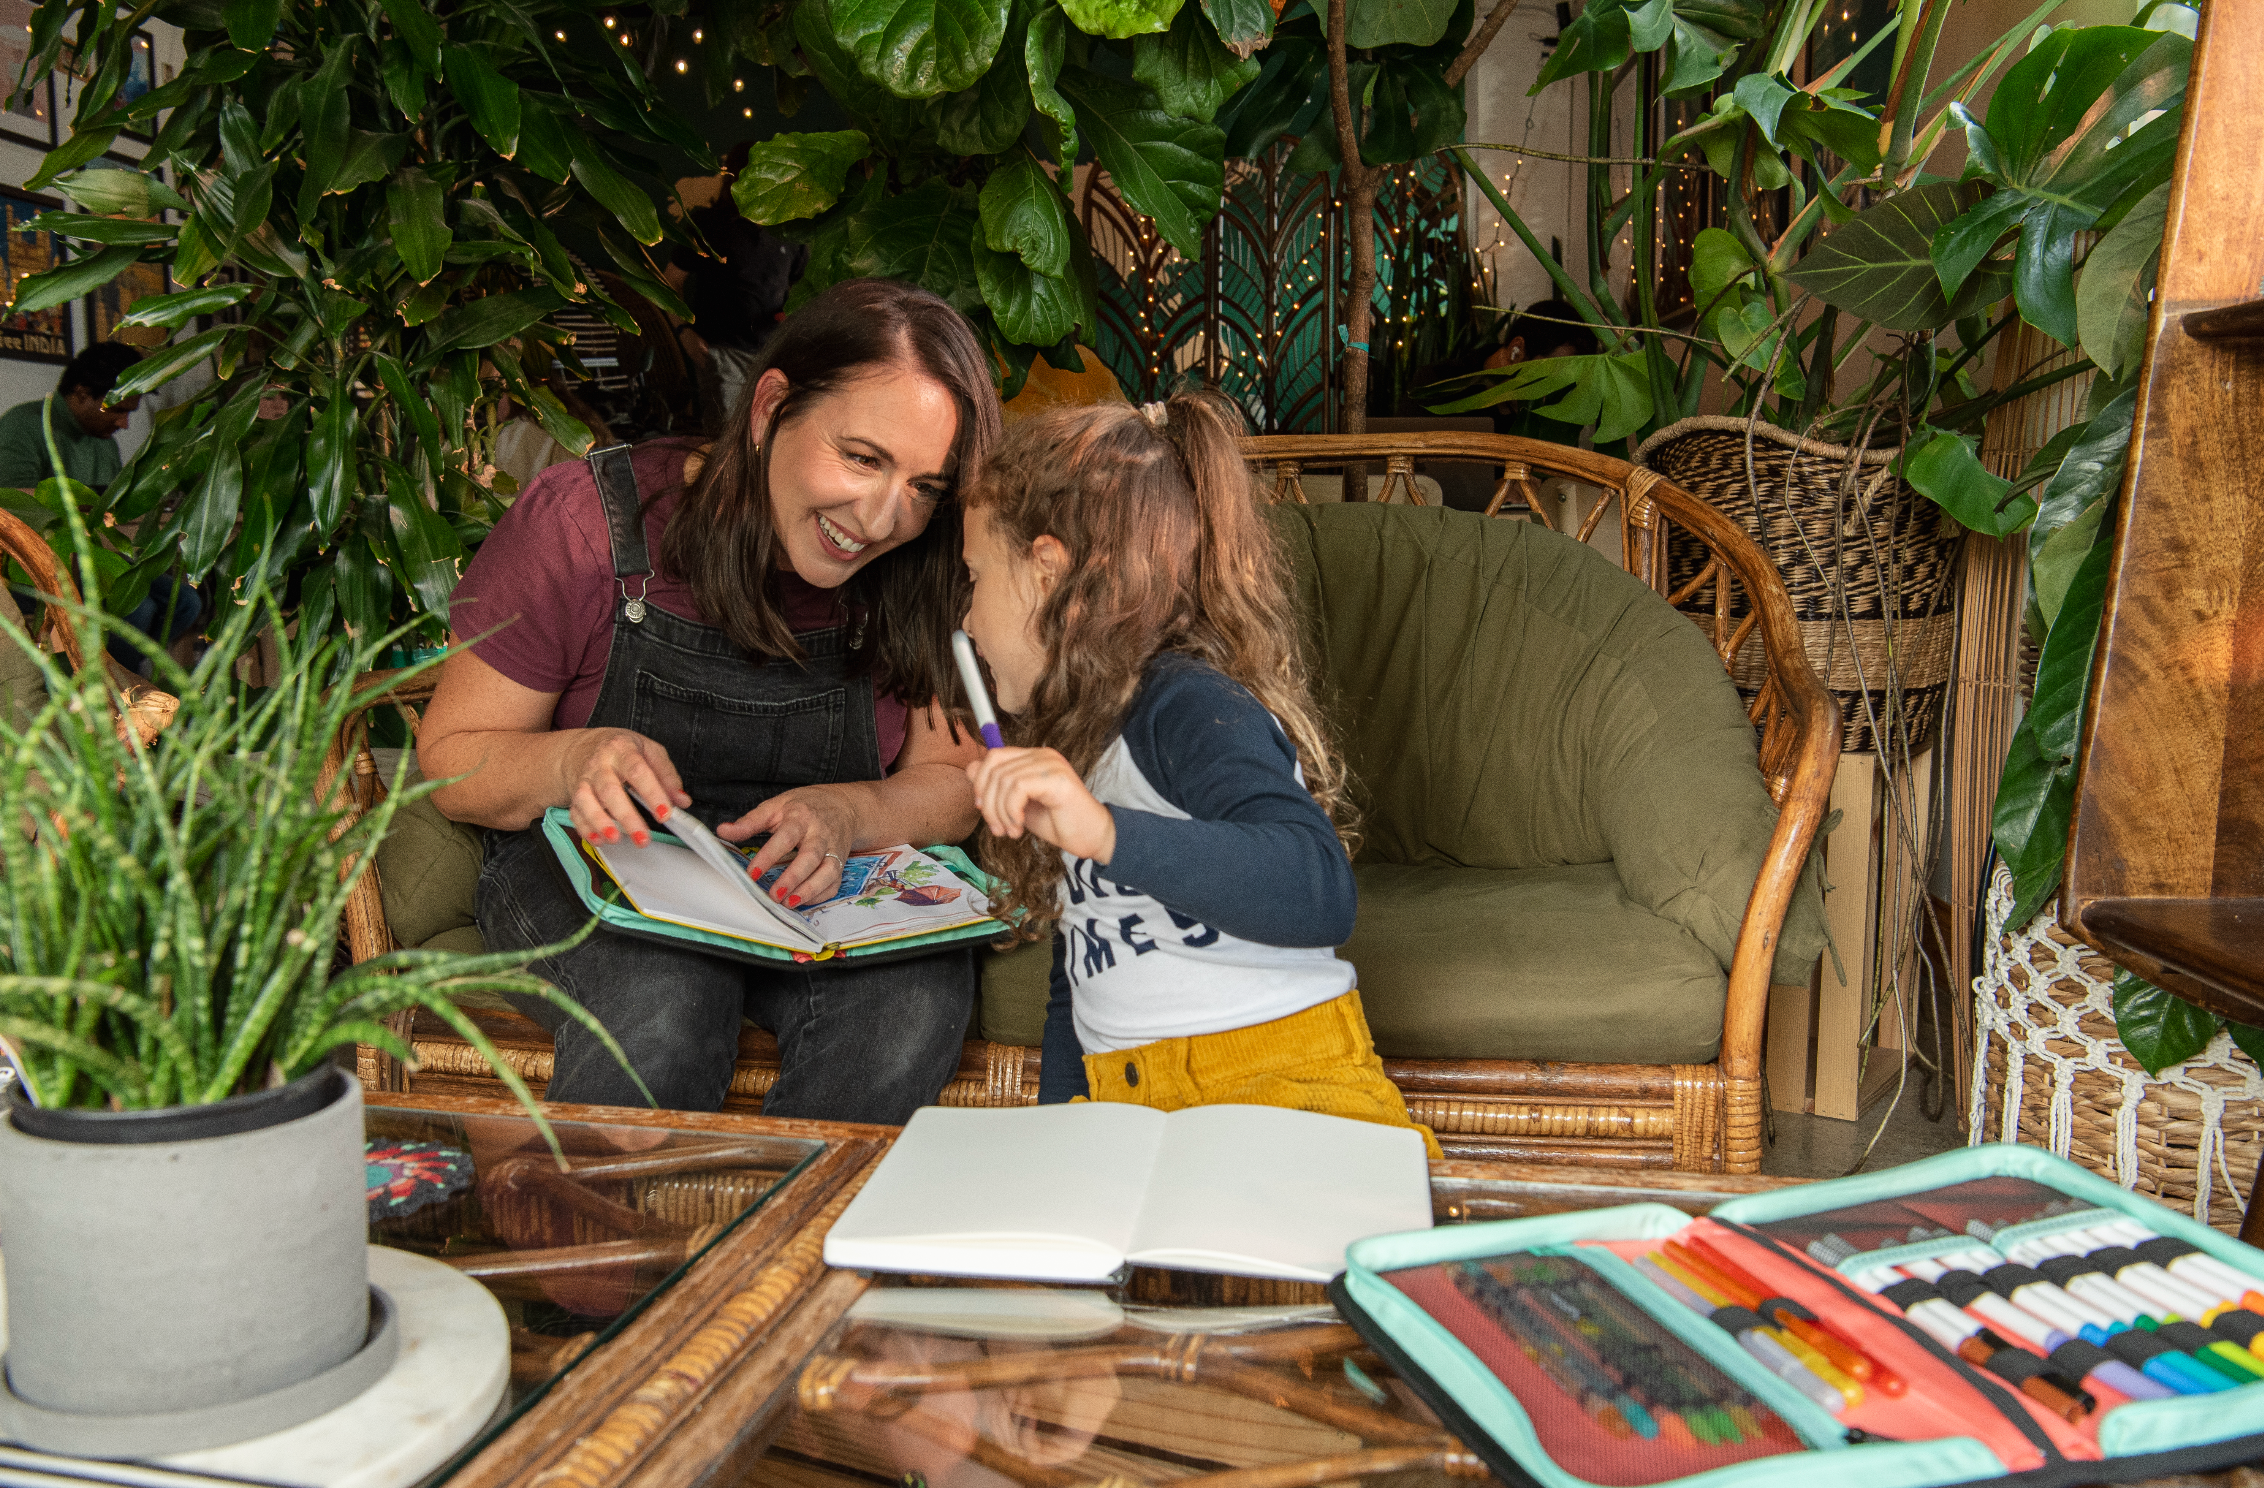
Discover the passion behind Art with Mrs. E!
Kaitlyn, an art educator with 15 years of experience, is dedicated to supporting teachers, students, and artists of all ages. Her mission is to help others unlock their creativity and gain confidence in their artistic abilities through high-quality digital resources and engaging lessons.
Featured Resources
Dive into the ultimate playground for artistic souls!


Advanced Self-Portrait Guide / Digital Download
Advanced Self-Portrait Guide / Digital Download
Drawing a realistic self portrait can be a daunting and sometimes difficult task for students, no matter what age they... Learn More
Share this product
Bundle & Save
Buy any 5 digital lesson plans and get a free Artist Quote Poster.
The Real Me | Art Lesson | Digital Download
Northern Lights Winter Landscapes | Art Lesson | Digital Download
Folk Art | Lesson | Digital Download
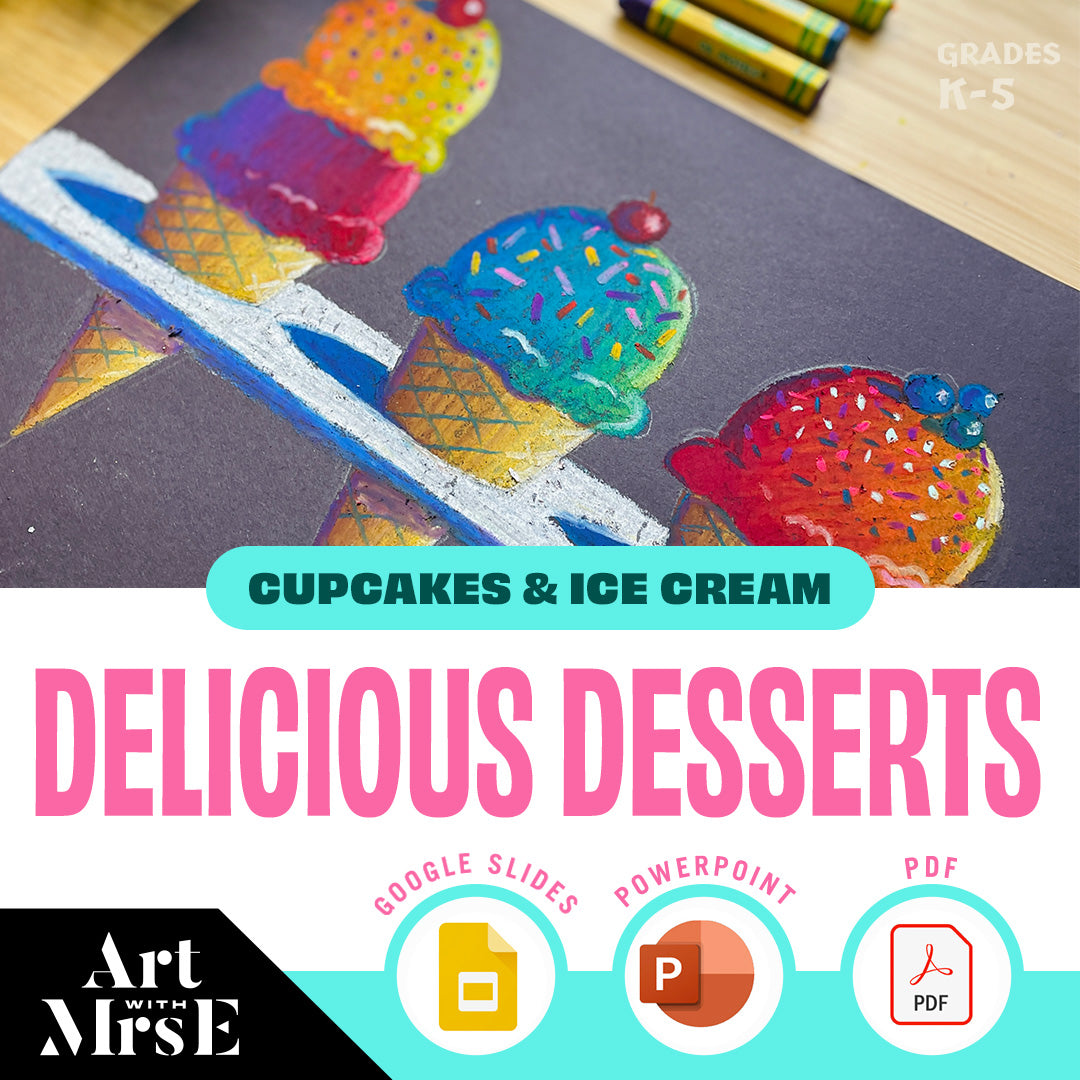
Delicious Desserts Oil Pastel Art Lesson || Cupcakes + Ice Cream Cones
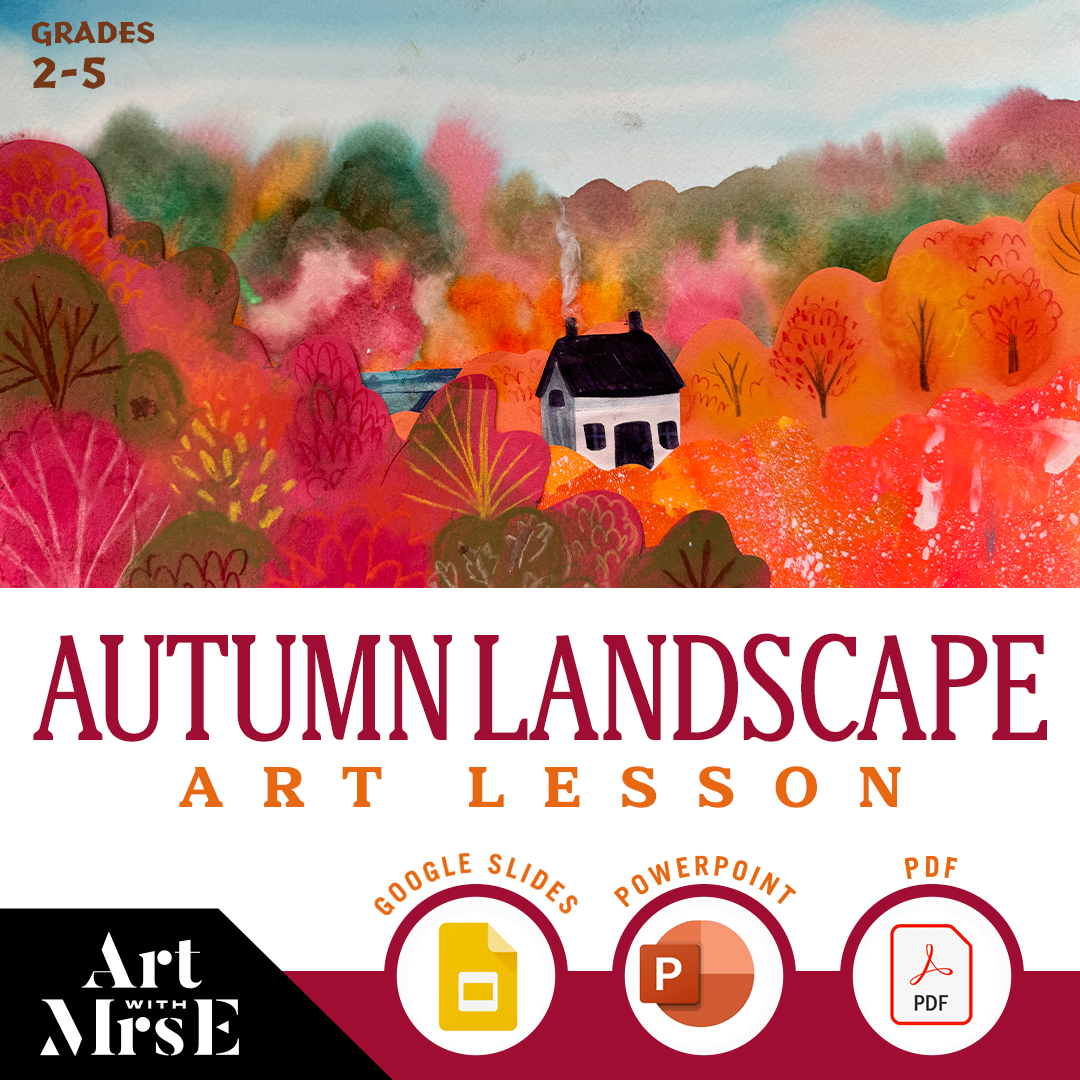
Autumn Landscape | Digital Mixed Media Elementary Art Lesson
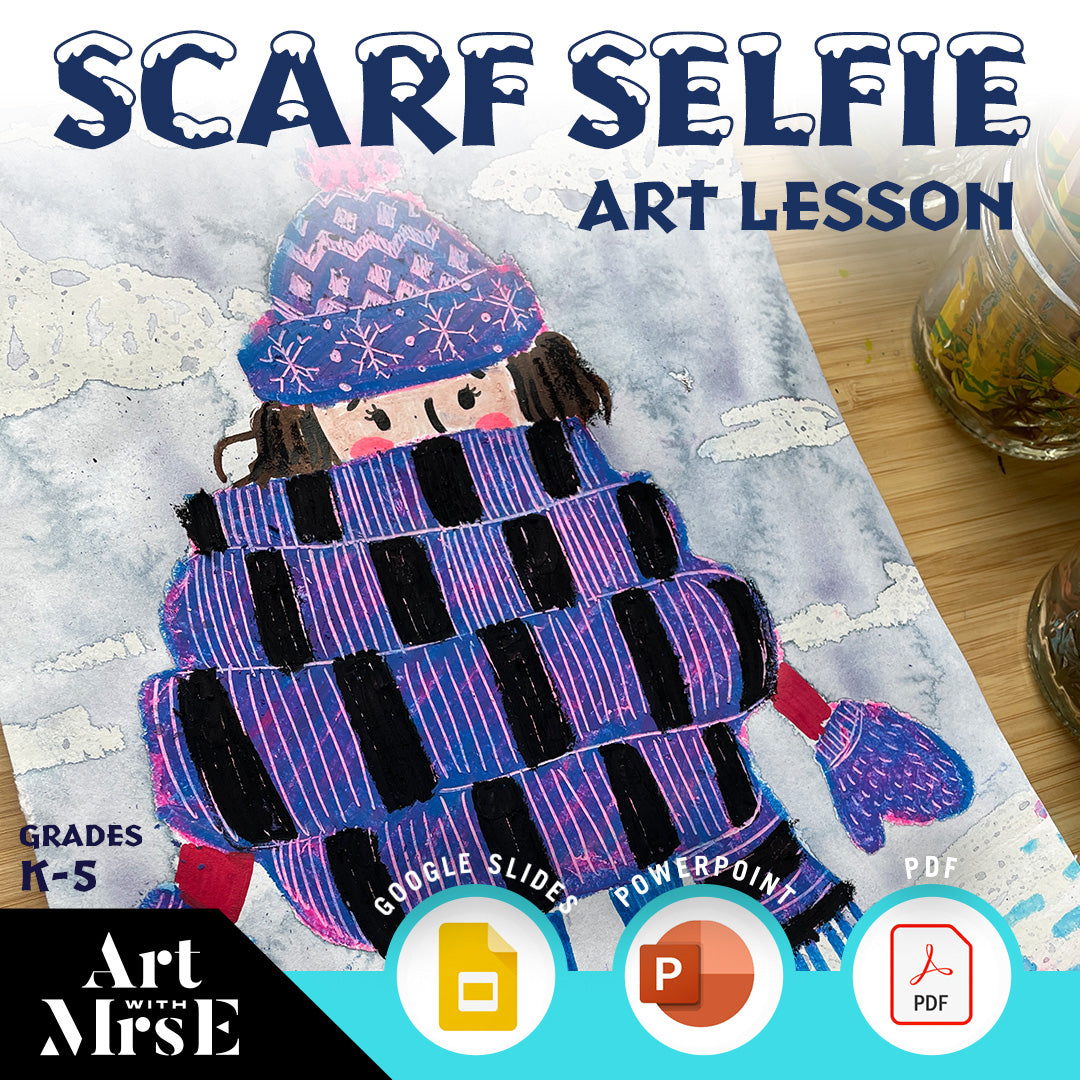
Scarf Selfie Digital Art Lesson
Purchase 3 seasonal or holiday-themed lesson plans and receive a bonus drawing guide.
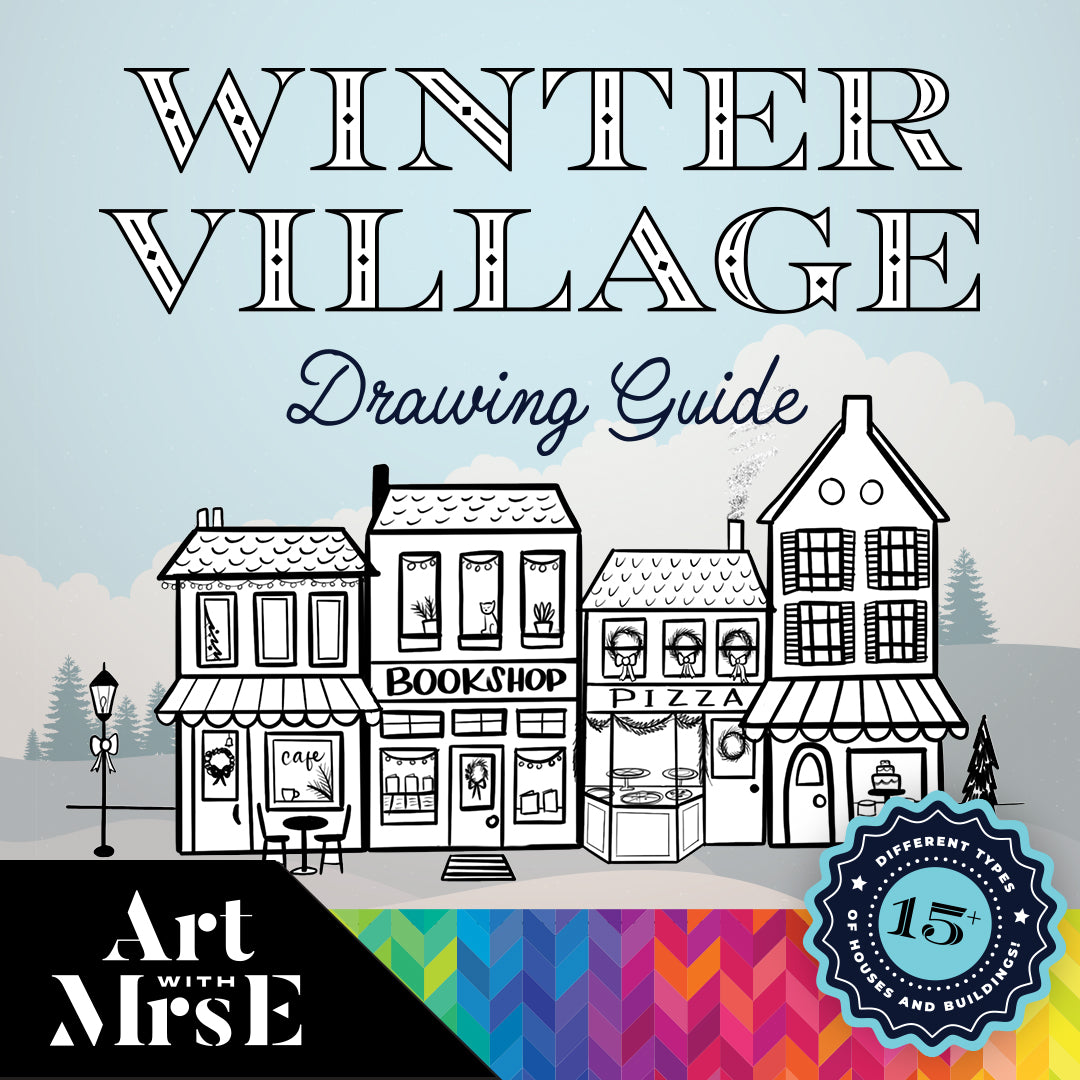
Winter Village Drawing Guide | Digital Download
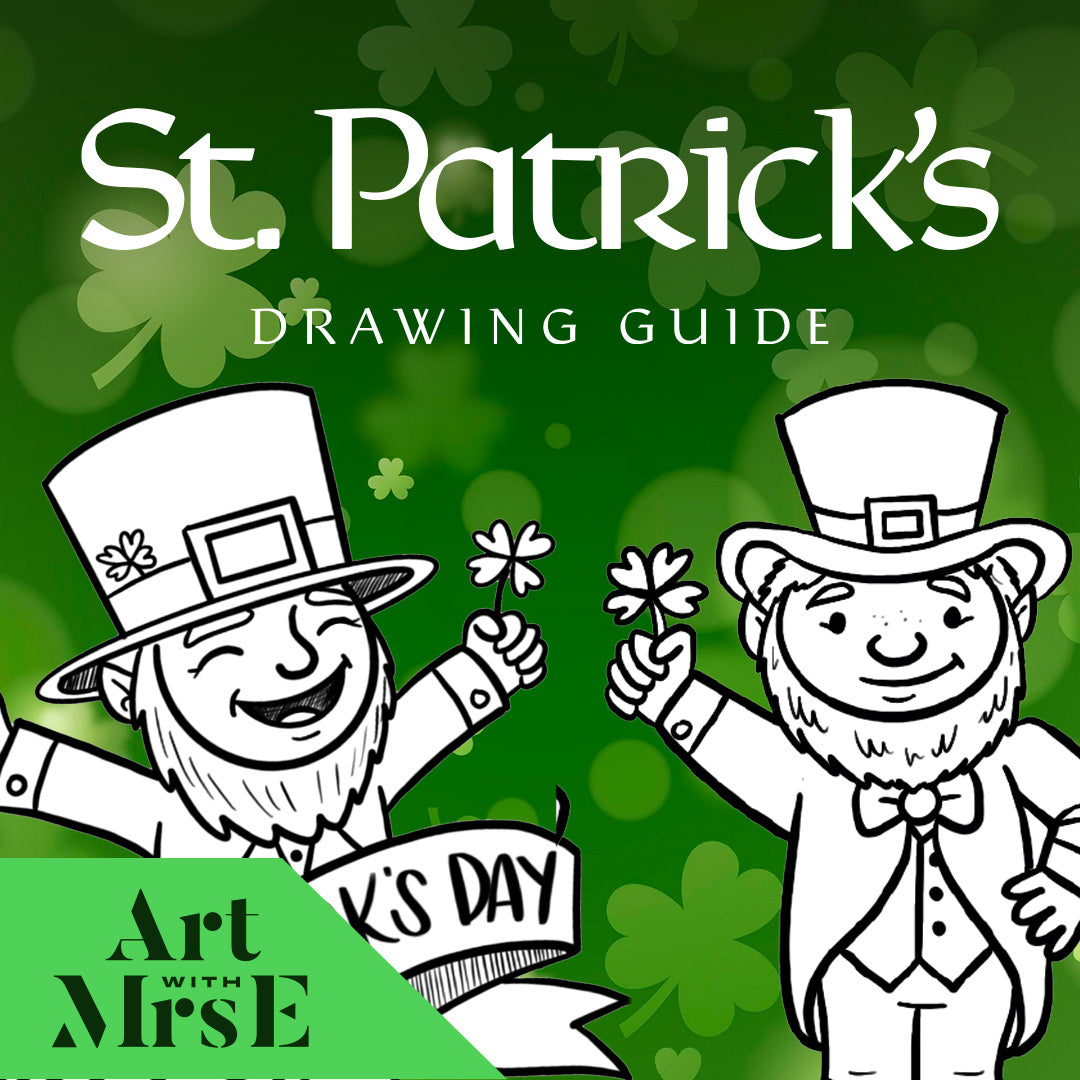

St. Patrick's Day Drawing Guide | Digital Download
Northern Lights Winter Landscapes | Art Lesson | Digital Download
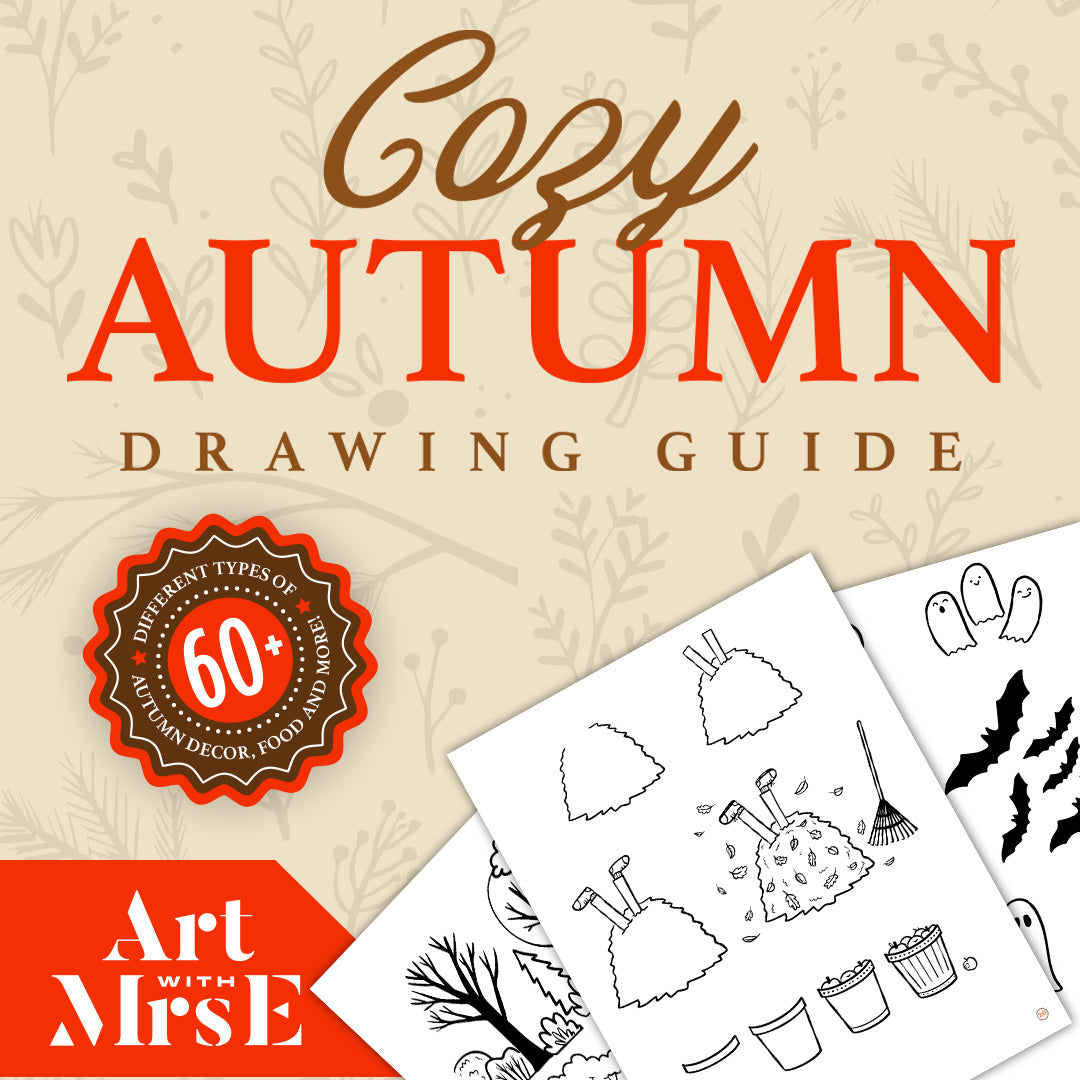

Cozy Autumn Digital Drawing Guide
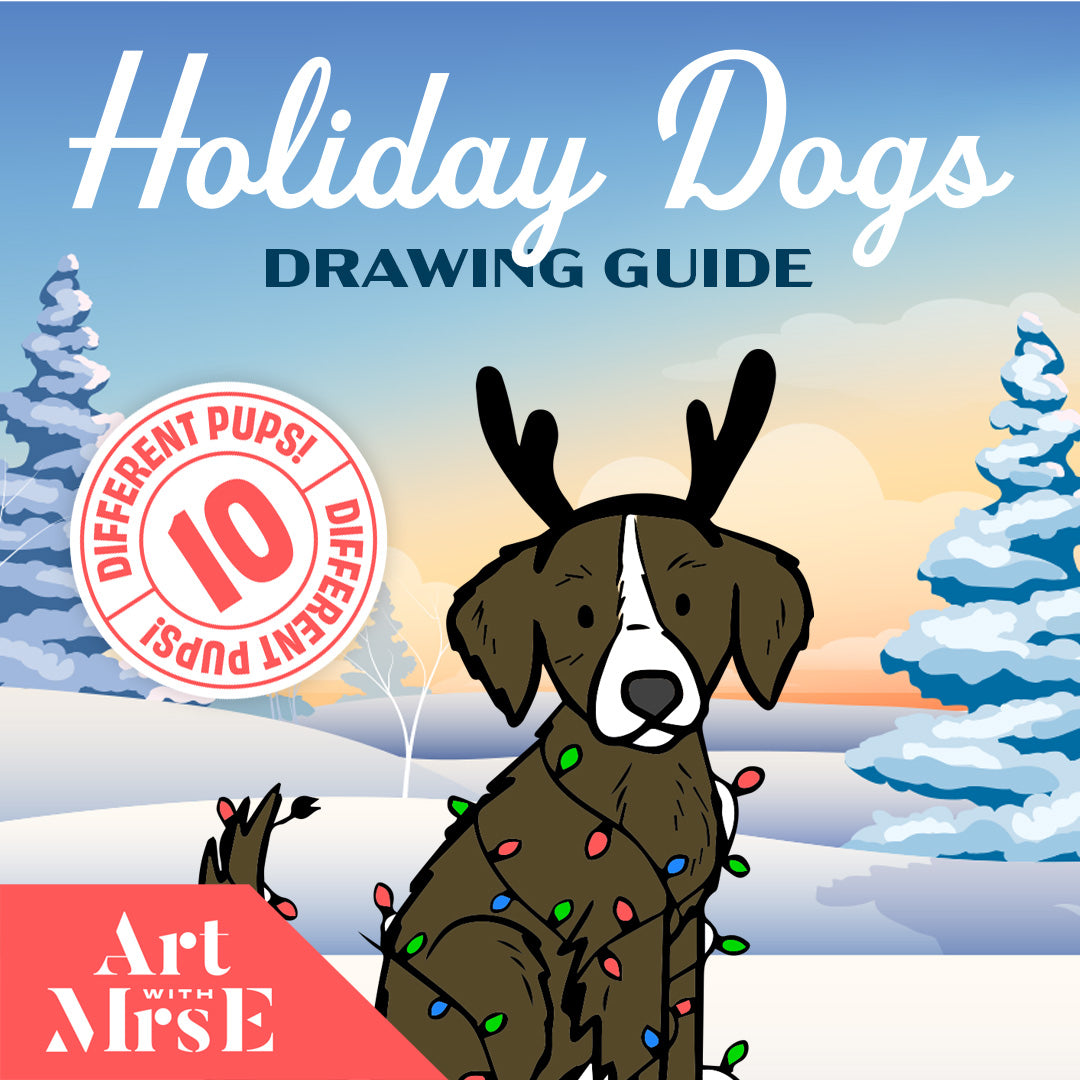

Holiday Dogs || Directed Drawing Guide for Elementary || Digital Download


Haunted House Guided Drawing | Digital Download
Buy 5 products and get 20% off your entire purchase.
The Real Me | Art Lesson | Digital Download


Simple Self-Portrait Drawing Guide | Grades K-2 | Digital Download
Northern Lights Winter Landscapes | Art Lesson | Digital Download
Advanced Self-Portrait Guide / Digital Download
Elements of Art Posters // Digital Download

How To Draw Bubble Letters + Add Shading | Digital Download
Current Favorites

Type: Lessons
The Real Me | Art Lesson | Digital Download
"The Real Me” lesson is a fun and interactive mixed media self portrait project. In this lesson students will not only paint their physical appearance but focus on who they are on the inside and the things that makes them special and unique. By creating drawings, collages, and words of affirmation students will be able to express their true authentic selves through this project.
_______________________________________________________________
Suggested Materials:
- White paper
- tempera paint
- oil pastels
- variety of scrap paper
- scissors
- glue
- and other mixed media of choice.

Type: Lessons
Whimsical Landscape | Art Lesson
Landscapes have been the subject of painters and artist for hundreds of years, but in this lesson you and your students will learn how to create a bright, vibrant and modern landscape inspired by master, Vincent Van Gogh and modern artist Justin Vining. In this lesson your students will be be painting with watercolor colored pencils, or washable markers which means all the fun with little mess!
In this PDF, the lesson is broken down into clear and simple steps complete with full color photos demonstrating and explaining each step of the project as well as a drawing guide of simple steps for your students to use at their seats. This lesson is great for students age 6-11 but really students of all ages (and hey, maybe some adults) can enjoy the fun and engaging style and process! Your students are sure to love the style and techniques of this lesson!

Type: Lessons
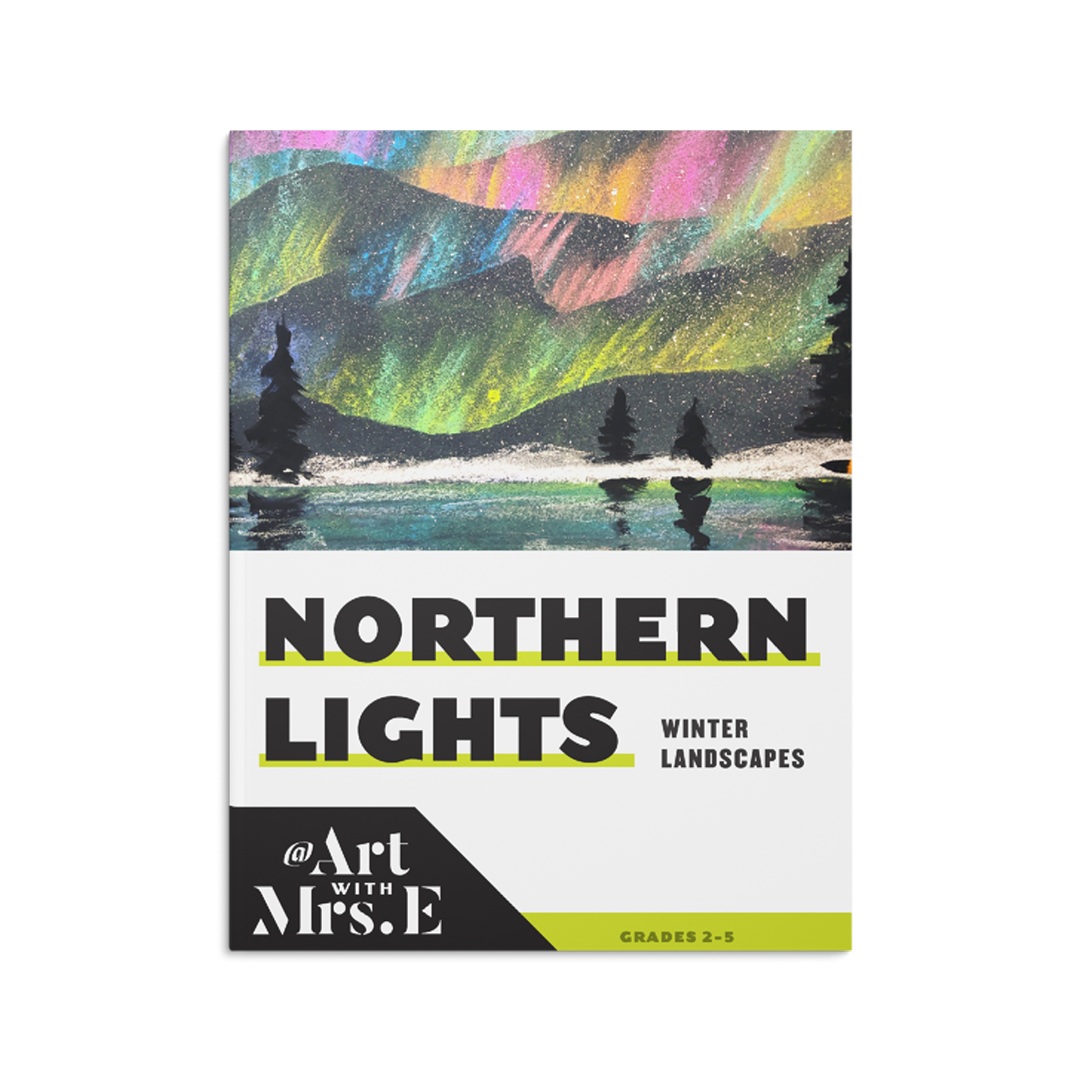
Northern Lights Winter Landscapes | Art Lesson | Digital Download
Looking for the perfect winter art project? Well then I've got y'all covered. This Northern Lights Winter Landscape is not only visually stunning but students of all ages and artistic abilities will create a gorgeous work of art that is sure to be a show stopper! Your students will learn all about the gorgeous natural phenomenon that is the aurora borealis, and use super fun, engaging and (dare I say MINDBLOWING ) techniques to create their winter landscape. This is also the perfect lesson to connect to science!
In this 26 page PDF, the lesson is broken down into clear and simple steps complete with full color photos demonstrating and explaining each step of the project. This lesson is great for students age 7-12 but really students of all ages (and hey, maybe some adults) can enjoy the fun and engaging process!
The digital pdf for this lesson includes:
- National Standards
- Lesson Objectives
- Vocabulary
- Books/ video providing literary connections
- Art History
- Supplies needed for each project
- Step by step instructions with full color photos
- Student work examples
- Helpful tips & tricks
___________
Terms & Use:
Please note, in purchasing this resource, you are agreeing that the contents are the property of Kaitlyn Edington and licensed to you only for classroom/personal use. I, Kaitlyn Edington retain the copyright, and reserve all rights to this product.
This lesson is intended for classroom use only and may not claimed or resold as your own.
Licensing & Usage Disclaimer:
All lesson purchases include a single-use license unless otherwise noted. A single-use license grants permission for one individual educator to teach the lesson to their own students (such as a single class, grade level, or rotation in a public or private school setting). The lesson may not be shared, reproduced, or distributed to other teachers, schools, or organizations.
A group license is required for any organization, business, or private studio intending to teach the lesson to multiple classes, large group events, or more than one educator’s students (for example: art camps, after-school programs, or private studios teaching up to 100 participants).
Purchasing any lesson does not grant permission to redistribute, sell, upload to shared drives, or otherwise share lesson materials outside of the licensed group. All rights remain with the original creator.

Type: Lessons
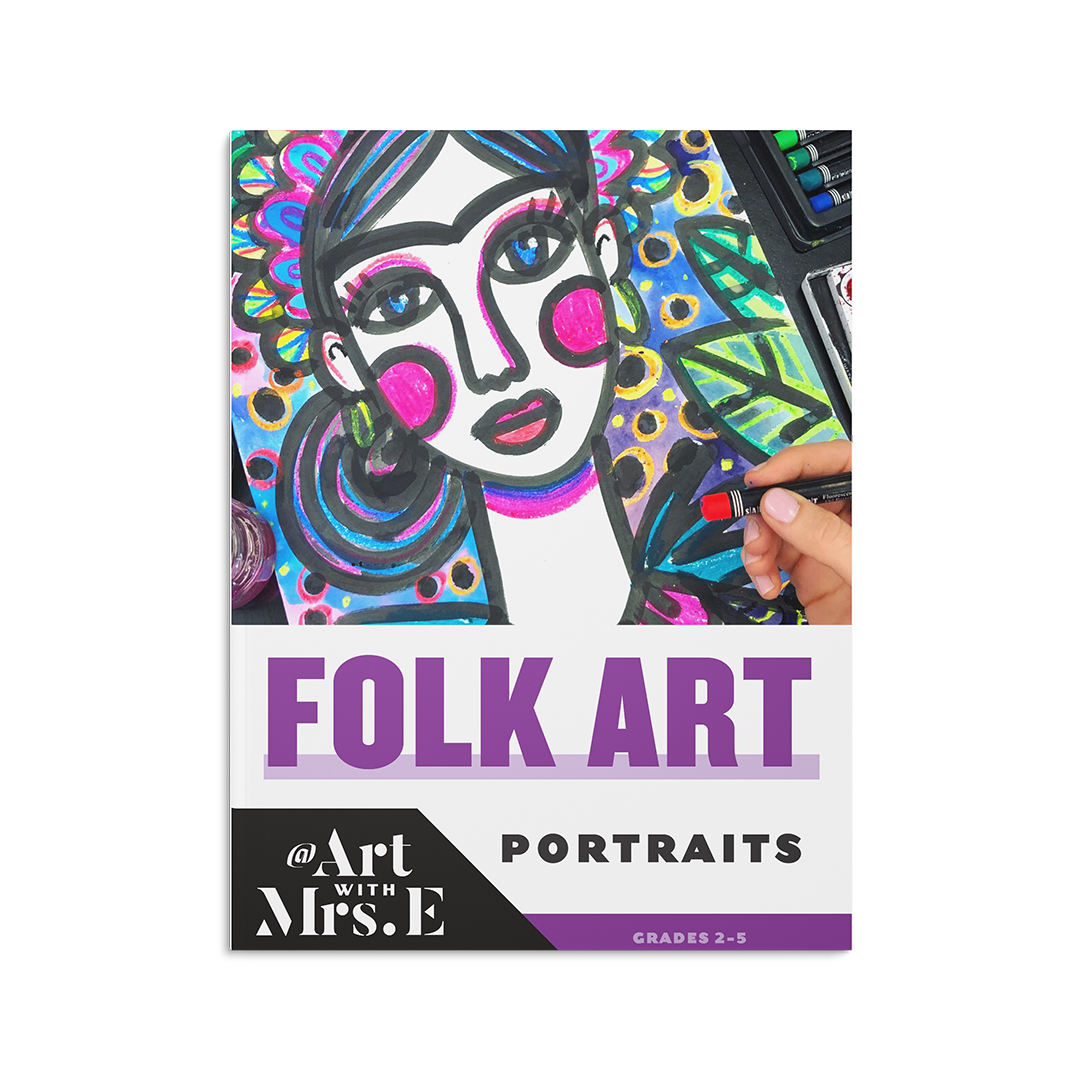
Folk Art | Lesson | Digital Download
Are you looking for a portrait or self portrait lesson that won’t intimidate your students and will keep them engaged the whole time? Well this folk art portrait lesson is perfect for almost all grade levels! In this lesson your students will learn about folk artist, Heather Galler who is best known for her bold black lines, her bright colors and colorful fun patterns! Heather’s style is not only eye catching but approachable for young artists. This lesson can be easily adapted to a self portrait, portrait for a biography unit, creating portraits of friends and classmates and so many more!
In this PDF, the lesson is broken down into clear and simple steps complete with full color photos demonstrating and explaining each step of the project. This lesson is great for students age 7-14 but really students of all ages (and hey, maybe some adults) can enjoy the fun and engaging style and process!
The digital pdf for this lesson includes:
- Step by step instructions with full color photos
- Lesson Objectives
- Artist background info on Heather Galler
- Supplies needed for each project
- Vocabulary
- Student work examples
- Helpful tips & tricks
___________
Terms & Use:
Please note, in purchasing this resource, you are agreeing that the contents are the property of Kaitlyn Edington and licensed to you only for classroom/personal use. I, Kaitlyn Edington retain the copyright, and reserve all rights to this product.
This lesson is intended for classroom use only and may not claimed or resold as your own.
Licensing & Usage Disclaimer:
All lesson purchases include a single-use license unless otherwise noted. A single-use license grants permission for one individual educator to teach the lesson to their own students (such as a single class, grade level, or rotation in a public or private school setting). The lesson may not be shared, reproduced, or distributed to other teachers, schools, or organizations.
A group license is required for any organization, business, or private studio intending to teach the lesson to multiple classes, large group events, or more than one educator’s students (for example: art camps, after-school programs, or private studios teaching up to 100 participants).
Purchasing any lesson does not grant permission to redistribute, sell, upload to shared drives, or otherwise share lesson materials outside of the licensed group. All rights remain with the original creator.

Type: Classroom Decor
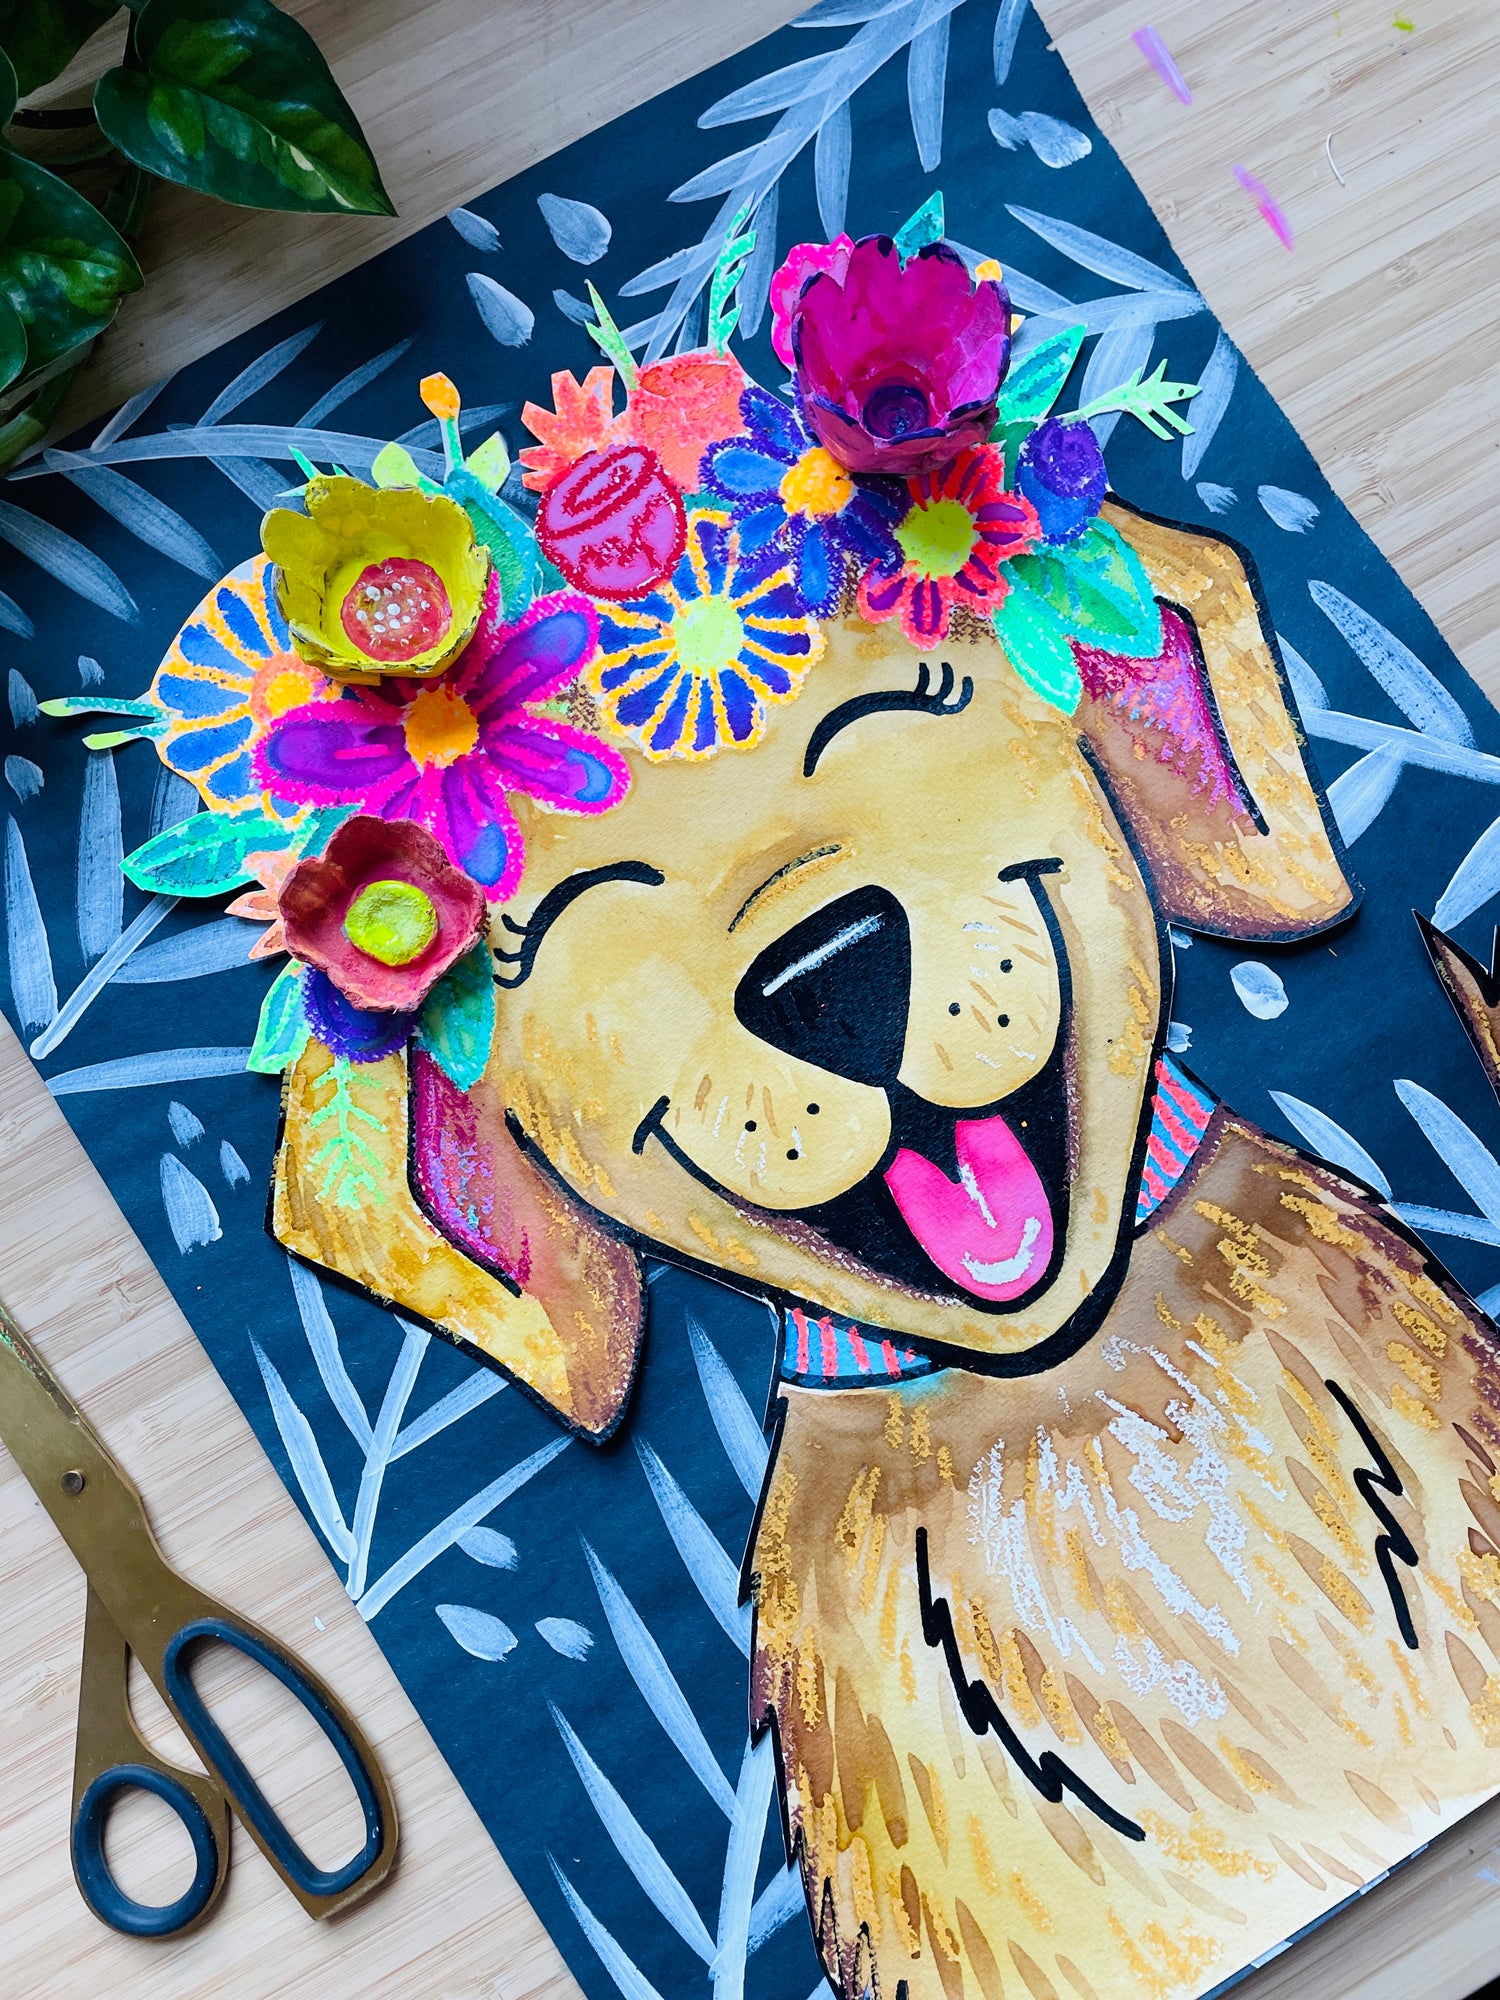
Dog Weaving Lesson | Digital Download
Looking for a PAW-some paper weaving project to do with your elementary students? Well then look no further! In this lesson your students will not only learn the basics of weaving but they will learn about some of their favorite artists and their pets, while getting the opportunity to customize their weaving by adding their own pet. This lesson is 22 pages of step by step photographs, countless book and video resources, two pages of Art with Mrs. E drawing guides for different dog profiles & bodies and more. The only thing more exciting than weaving for your students is getting the chance to turn it into their own pet!
_______________________________________________________________
MATERIALS RECOMMENDED
- Construction paper
- bubble wrap
- paint brush
- tempera paint
- Sharpie marker, crayons/ oil pastels, etc for details on dog
- Glue Stick
- Scissors
- Ruler
Testimonials

Jennifer D.
Used in a homeschool setting with a 2nd grade boy. We LOVE Art with Mrs E's lessons, and rely on them heavily for our homeschool art. Thanks for another great resource!


Breda H.
Amazing resource. So detailed and the step by step is very straightforward. I loved how it used a range of different art techniques that the children really enjoyed.


Marie M.
My class loved this drawing lesson. The guides provided the kids with easy to follow step by step instructions. The guides were also a great springboard for the kids to create their own winter wonderlands. I will certainly be making use of this lesson again next year.


Shop Merch + Goods


Type:
Anything You Can Imagine Long Sleeve Shirt


Type: Art Print
Happy Houseplants Print

Blog posts

How to Make Festive Foil Embossed Ornaments
There’s just something about the holiday season that makes me want to gather with friends, sip something warm, and make something creative together. If you’re looking for an activity that’s equal parts cozy and beautiful, embossed foil decorations are it! These little gems look elegant and shiny, but here’s the best part- they’re so simple to make. No fancy tools or artistic background required, just a little bit of craft foil, a pencil, and some imagination! Not to mention, they're incredibly addicting to make :) What is Foil Embossing? Embossing is the process of pressing designs into a surface so they stand out in relief. With craft foil, you can trace or draw a design, and the lines stay permanently raised. Unlike kitchen foil, these sheets are thicker and sturdier, so they won’t rip or crinkle back. Think of them as the “sweet spot”, thin enough to cut with scissors, but strong enough to hold beautiful details. That shiny finish catches the light just right, making your leaves, acorns, and mushrooms shimmer like little treasures. Supplies You’ll Need (Note: This post contains a few affiliate links—if you choose to shop through them, I may earn a tiny commission at no extra cost to you. It helps support me in creating more projects to share with you, so thank you!) Copper Craft foil- .003" (look for foil made for embossing or “metal tooling foil”) Embossing tools or a dull pencil/ craft stick Scissors Crafting wire Foam pad or stack of paper to emboss on Folk Art Idea Sheet Optional: Ribbons for decorating or hanging Step-by-Step Instructions Draw your Folk Animal Design Choose a simple animal shape: rabbit, bird, deer, fox, or other simple animal or object. Sketch the outline of the animal on a piece of paper that's the same size as your metal square ( 5" x 5" or so). If you want to skip the drawing of your own animal all together- you can actually just cut out one of the illustrations in my Idea Sheet to just trace! 2. Trace or Draw Tape your drawing or image to the metal foil. Use a pencil or embossing tool to press lines and details into the foil. Don’t worry about perfection—the texture is what makes these special. Be sure to put a stack of papers, or even a dish cloth under the foil. This will allow the foil to "give" a bit when you press down. 3. Emboss the Foil on front and back. Remove the paper and use your embossing tools to really push the lines in both on the front, and on the back. Embossing is when your design pops up and stands out. Debossing is when it sinks in, almost like a carved impression. You can really have fun using larger embossing tools to push large areas out and then use smaller tools to draw small lines and patterns. 4. Cut It Out Once you’re happy with the design, carefully cut around the shape with scissors. 5. Add Finishing Touches (Optional) Poke a small hole at the top with a push pin or hole punch and string copper wire or ribbon through to turn your foil pieces into seasonal garland. Ideas for Using Your Foil Decorations Create ornaments for your Christmas tree Use as gift tags to add a handmade touch. String several together to make a garland for your mantel. Add to cards, collages, or even frame them as mini artwork. Crafting is ALWAYS Better Together :) One of my favorite parts about this project is that it’s so social. Because the process is relaxing and repetitive, it’s perfect for doing while chatting. Set a pile of foil sheets on the table at your next book club, pour some cider, and watch the creativity unfold. Everyone goes home with a handful of shiny fall keepsakes—and a memory of the time you spent together. Embossed foil fall decorations are the perfect mix of simple, affordable, and stunning. Whether you’re crafting with friends, your kids, or just enjoying some solo creative time, they’ll bring a touch of shimmer to your season. If you'd like to check out my tutorial on Talk Pittsburgh, just click the video link below! Looking for more Winter themed art lessons and ideas?? Check out my blog all about how to make an easy Winter Village with your students, or how to paint your windows for the season! Or how about my most popular art lesson- the Northern Lights Lesson! So many fun possibilities this winter! Have fun!
Learn more
The Ultimate Guide to Window Painting: What Paints to Use & How to Remove Them
Want to paint your classroom or home windows for the holidays but not sure which paint to use? This complete guide breaks down the best paints for window art—including tempera, acrylic, latex, chalk markers, and Posca pens, and explains exactly how to remove each one from glass. Whether you’re creating classroom window murals, holiday displays, or seasonal business art, you'll find expert tips on choosing the right paint, making your designs look vibrant, and cleaning it all off with ease. Perfect for teachers, parents, and artists looking for easy window painting ideas and simple cleanup methods.
Learn more
Mouse Paint: The Perfect Color Mixing Art Project for Lower Elementary Students
Introduce your students to color mixing and art making with the classic story, Mouse Paint This elementary art lesson is perfect for K–2, this project combines storytelling, playful discovery, and hands-on artmaking to teach primary and secondary colors in a fun and engaging way. The perfect kindergarten color mixing project!
Learn more

Quality art accessories, vibrant community, and support for teachers. Unleash your creativity with Quell!
