

Creating oversized cardboard houses is one of my favorite projects to do with my adapted art class!
How To Create Oversized Cardboard Houses with your Students

1. Gather your supplies
As many of you probably know, the #1 rule as an art teacher is NEVER EVER throw away any type of cardboard! These cardboard houses that I created with my adapted art class were created from old Tag Board paper boxes or you could also use old boxes that anchor charts come in. Every year when I am unloading my supplies I make sure to keep these trifold boxes safe in my storage room because they are ✨GOLD ✨.

2. Draw the simple features of a home
Using a thick black marker or bingo dauber (if you haven’t created the Cassie Stephens India ink bingo daubers yet, what are you waiting for? They are a GAME CHANGER in the art room! You can find everything you need to know on her blog here), begin by drawing simple house details on each cardboard box. A roofline, front door, windows, maybe some shutters, whatever you want! I try to make them each a little different but it’s ok if they are all similar. This is just to help give my students a start to the project, instead of having them create a house from a completely blank canvas. (Note: this is all PREP work meant to be done before you see students in class.)
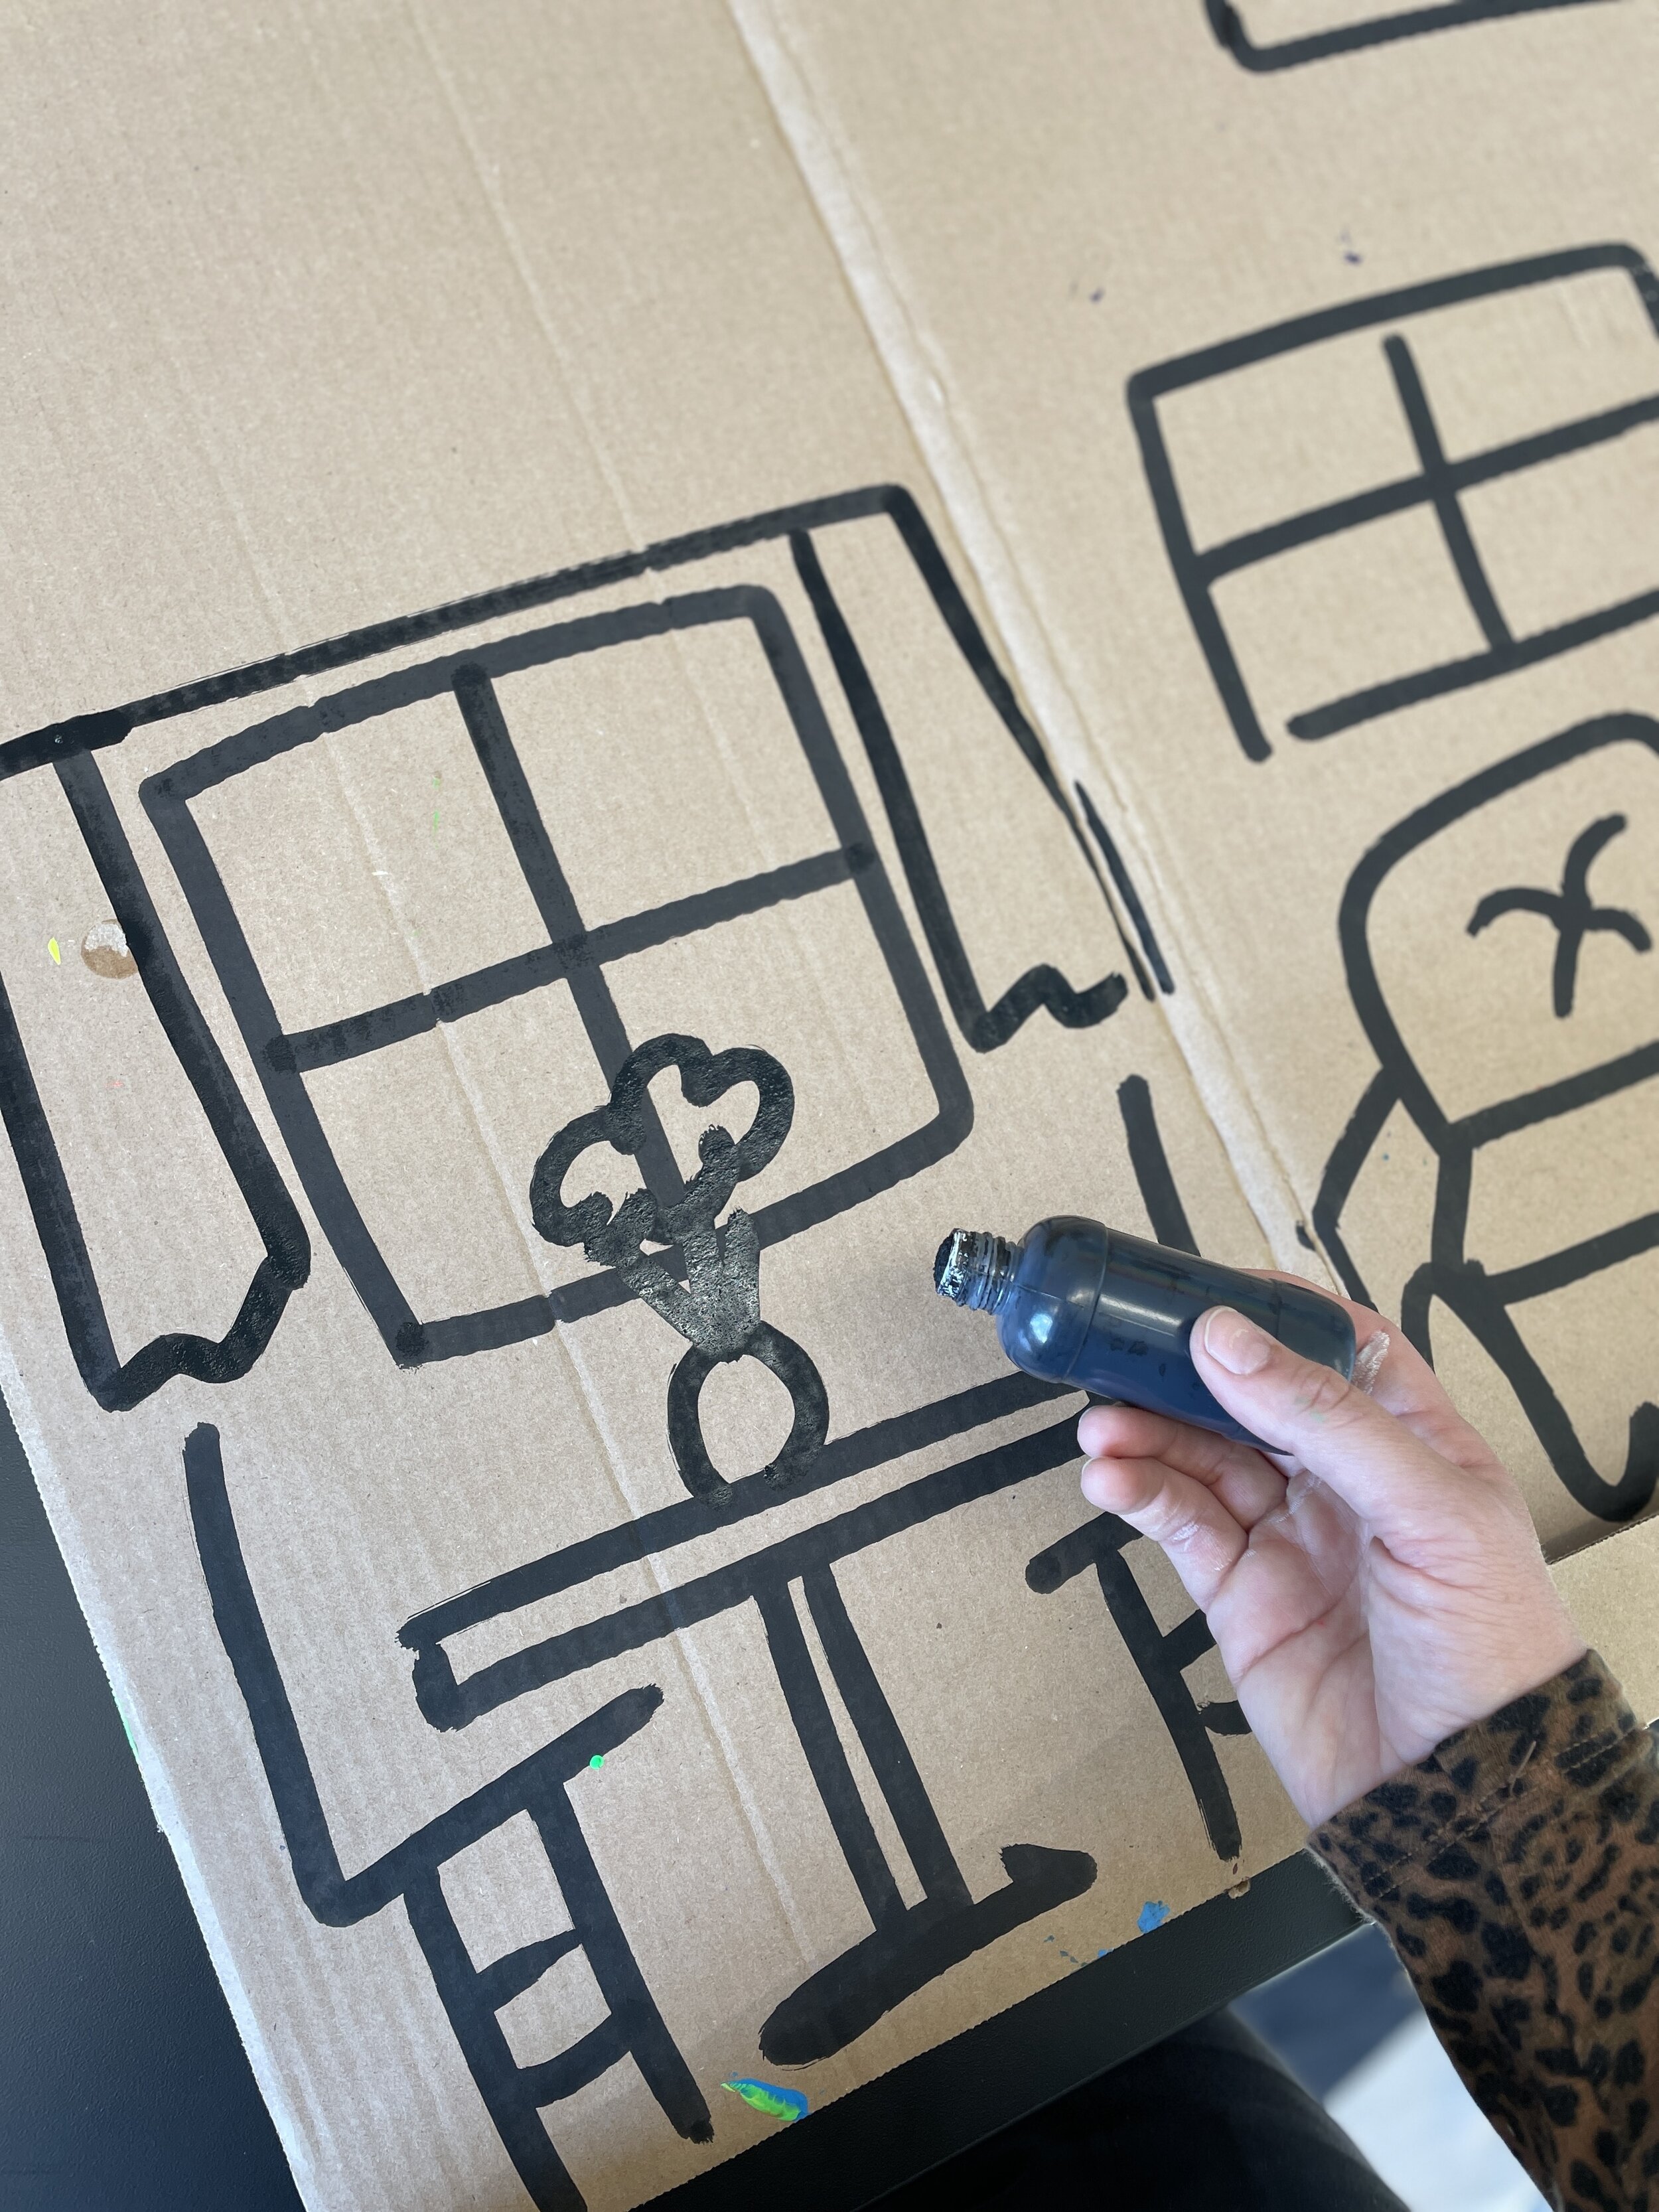
3. (Optional) Draw the start of the nside of the house
You can draw windows or bushes on the side panels, as well as flipping the box over to draw what the inside of the house would be. In the past when I have drawn a few things for the “inside” my students’ imaginations take off and I love seeing what else they add inside their houses!
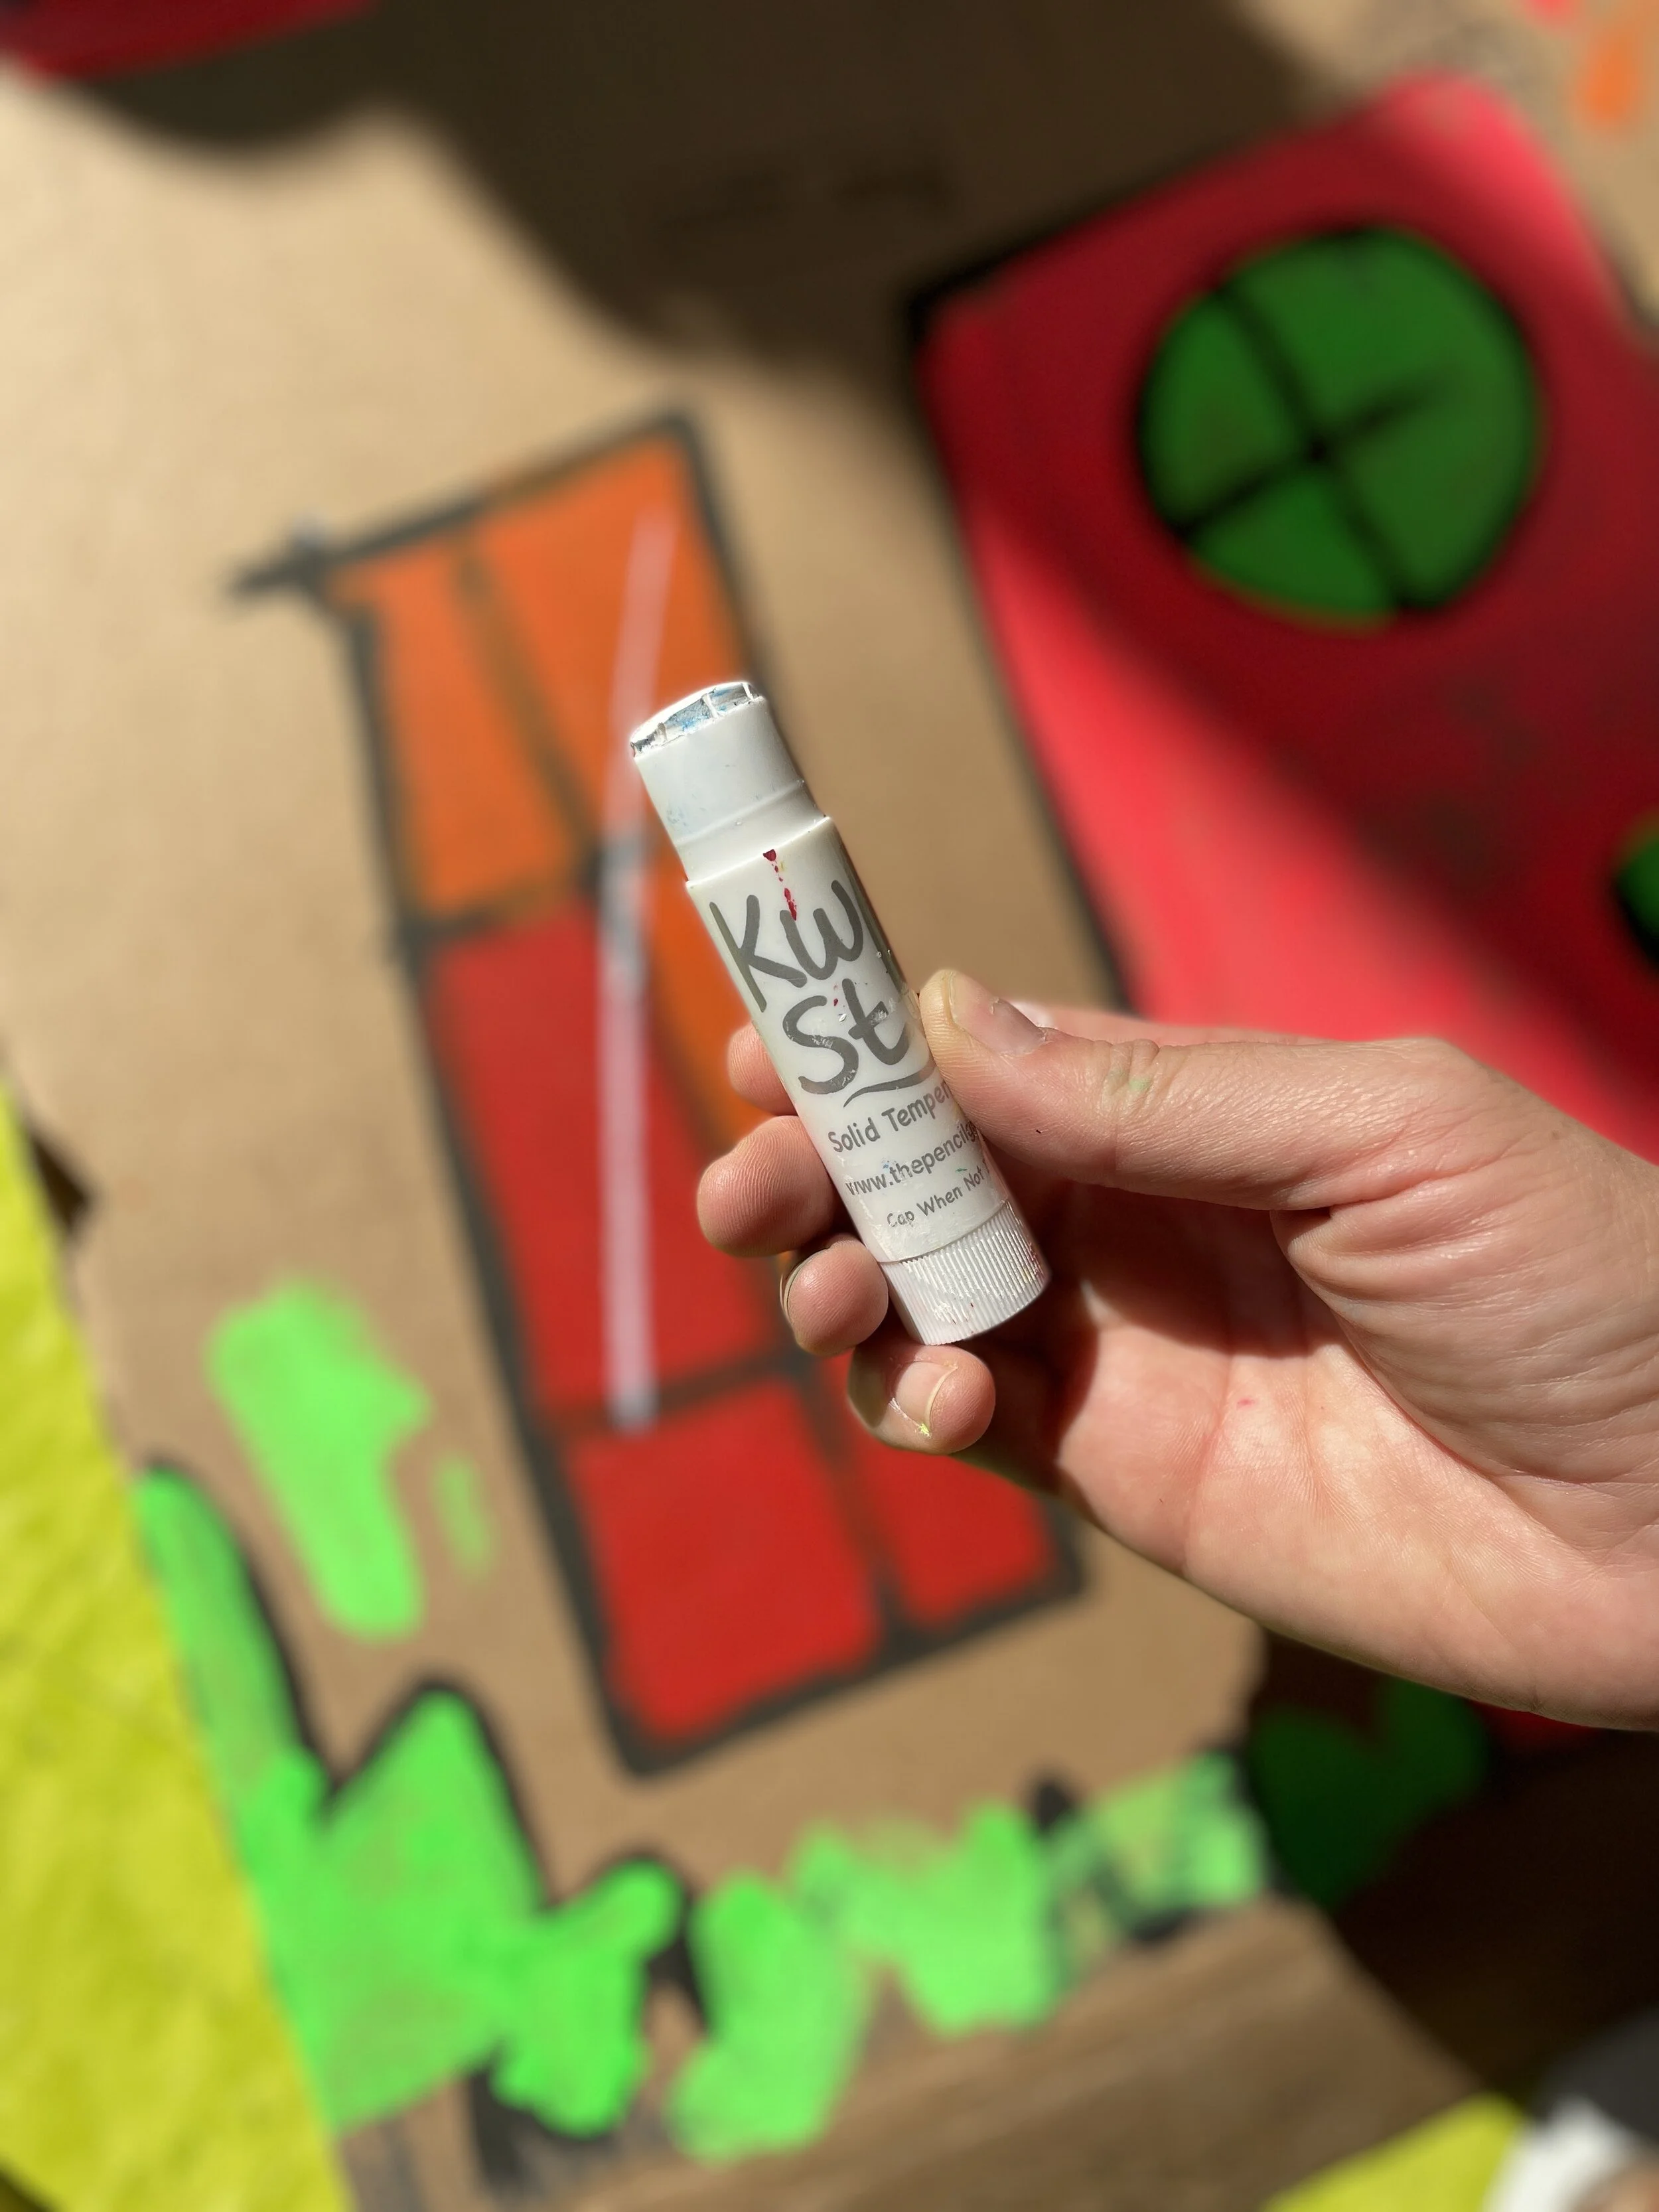
4. Let students go wild with color!
Next, using Kwik Stix paint sticks or some other kind of paint stick/ gel crayon have your students color in their houses and add their own details. If you’re feeling brave you can also have students just use tempera paint (add a little bit of white to each color so it stands out on the cardboard). But if you’re looking for a “less messy” option I could go with the Kwik Stix.
If you don’t have enough boxes for each student to have their own, they can absolutely collaborate! I have had up to 3 or 4 students working on one house before. It’s totally up to you!
Lastly, for some extra fun you can also partially cut open some of the doors or windows with a box cutter or, my personal favorite The Canary corrugated cardboard cutter (another essential for the art room!)
I hope your student enjoy this fun project! Don’t forget to tag me on Instagram if you share so I can see your students’ amazing work!


